tell northeast:
uncovering regional stories worth sharing.

Photographing Maine's Night Sky
Story and Photographs by Jon Secord of J Secord Photography
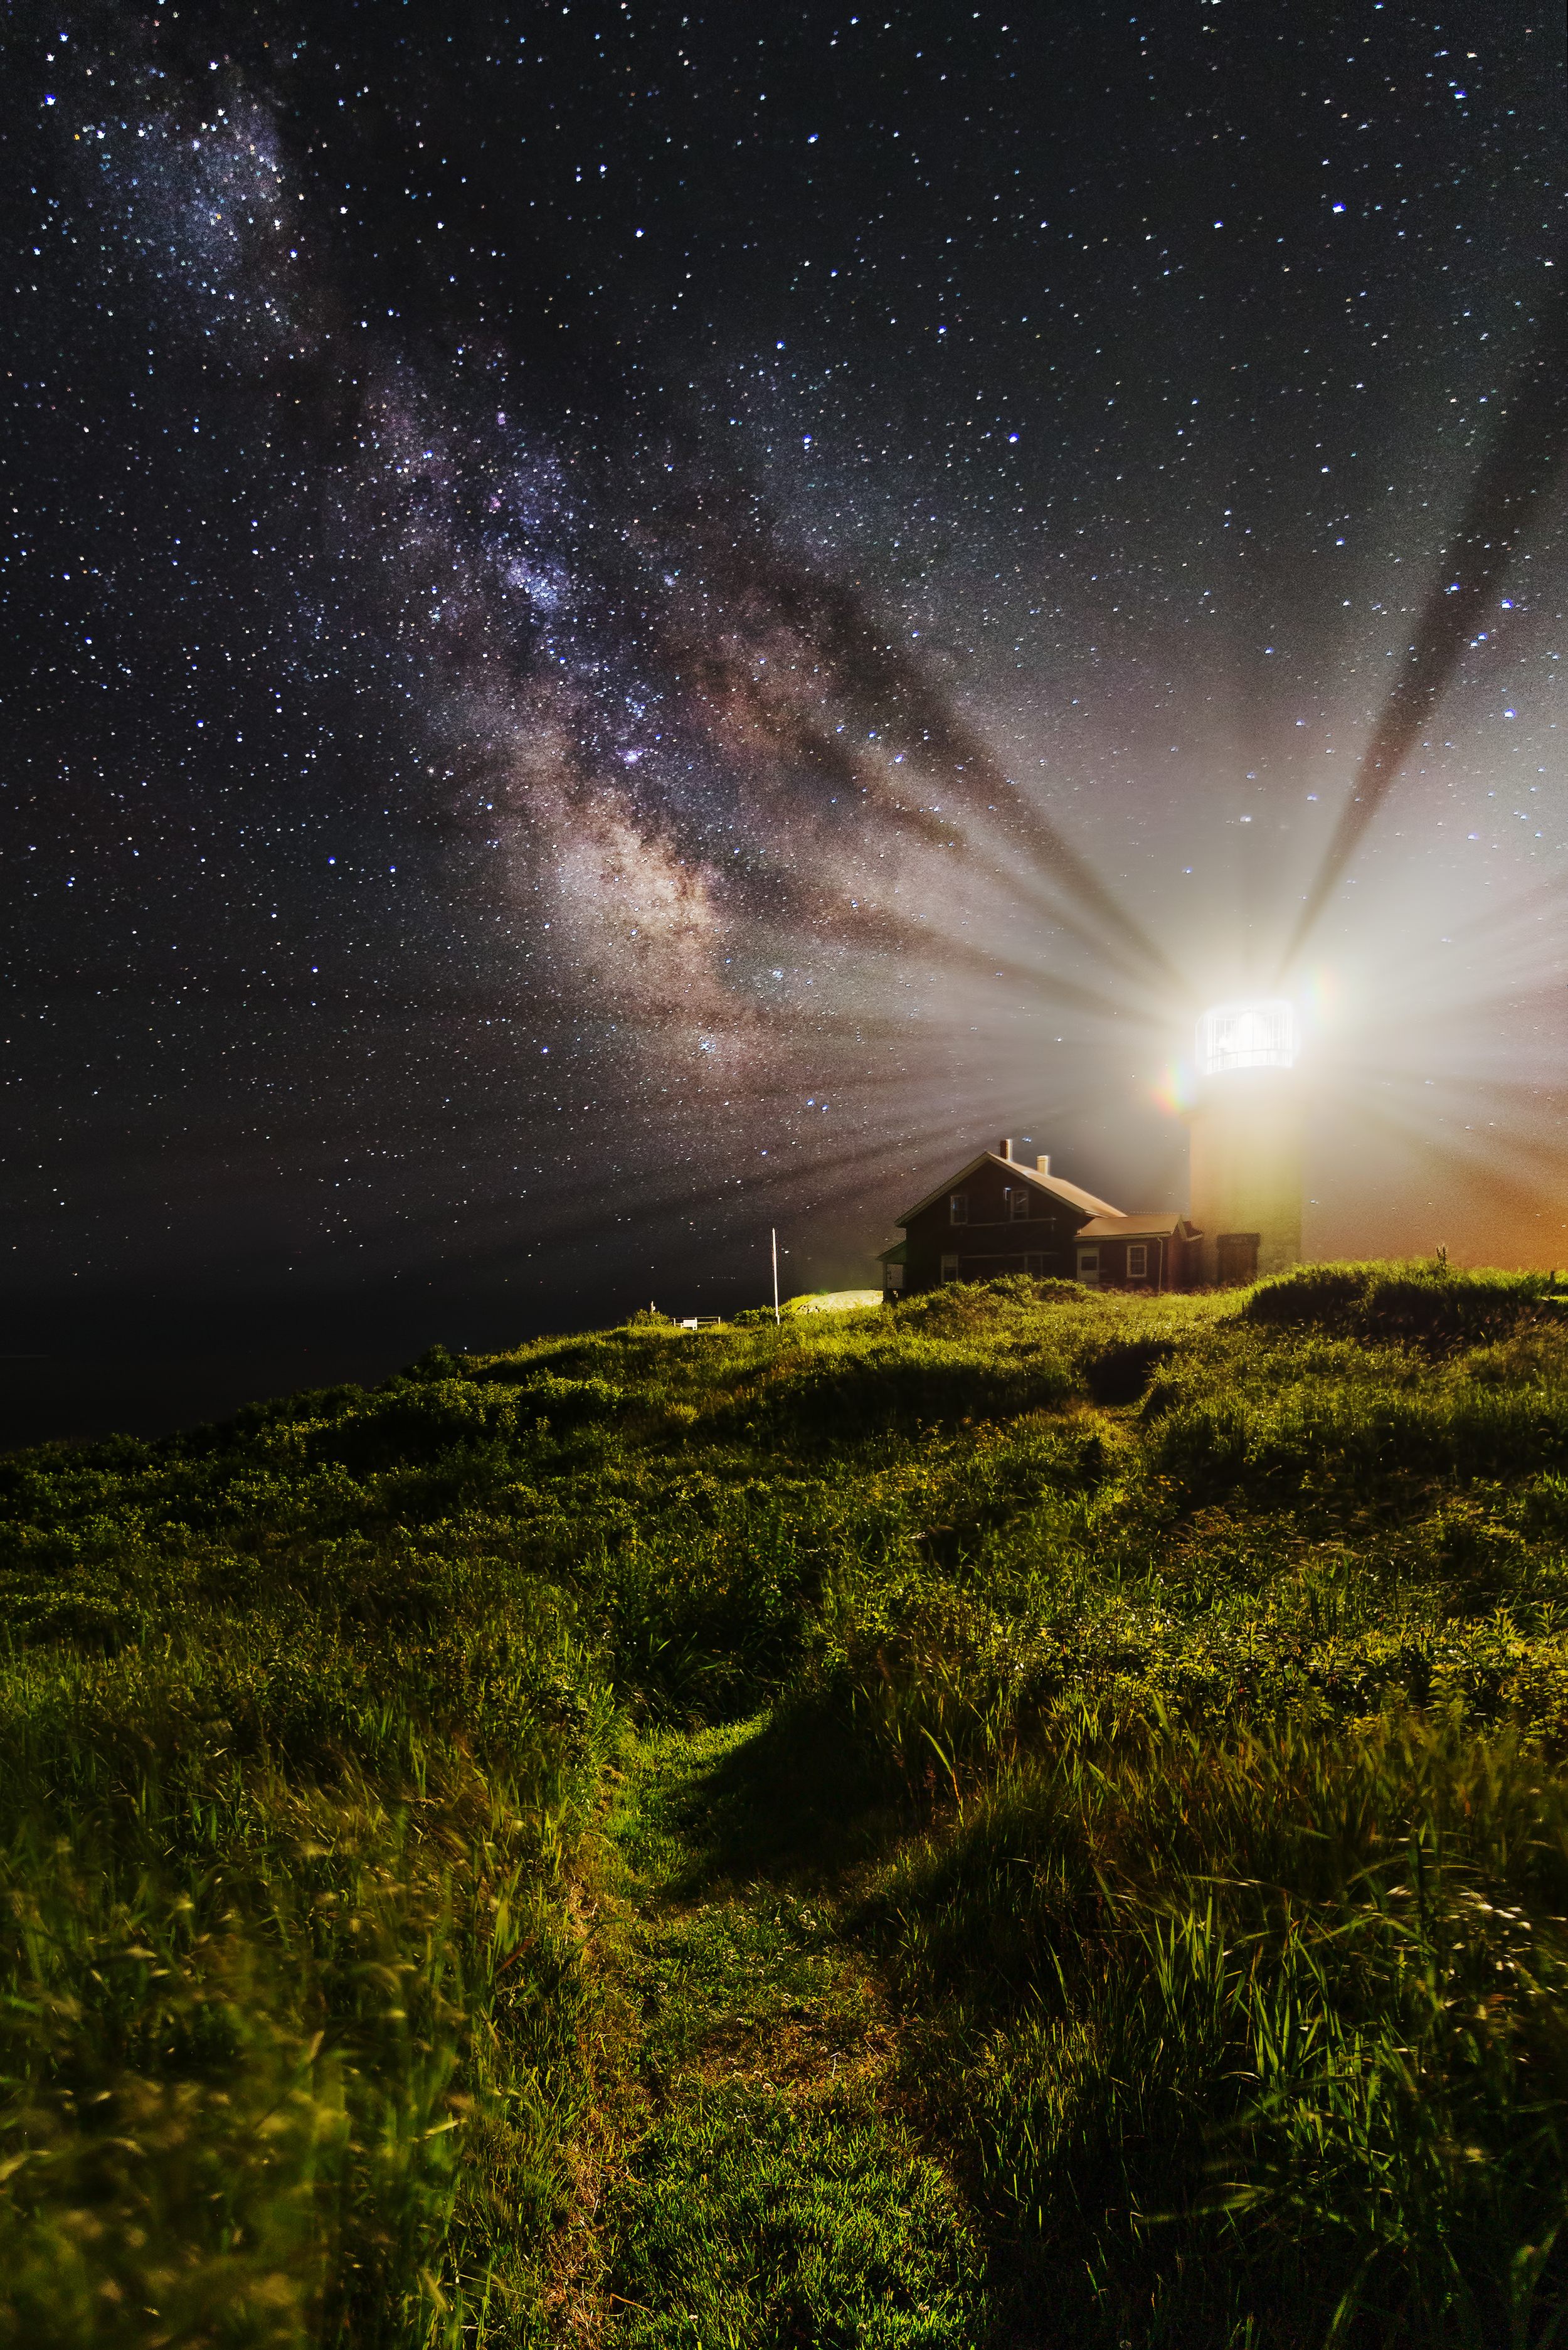
Every summer, thousands of people flock to the coast of Maine to enjoy it’s beautiful beaches, rugged coastline, eat at their favorite seafood shack, or visit the many lighthouses. For me, the coast of Maine has a different draw. As a landscape astrophotographer, one of my biggest challenges is finding an area free of light pollution from nearby cities and towns, which washes out detail in the night sky. The many peninsulas along the coast stretching out into the Atlantic Ocean give an unobstructed view south, with nothing for thousands of miles, offering the night photographer a perfect opportunity to capture the Milky Way.
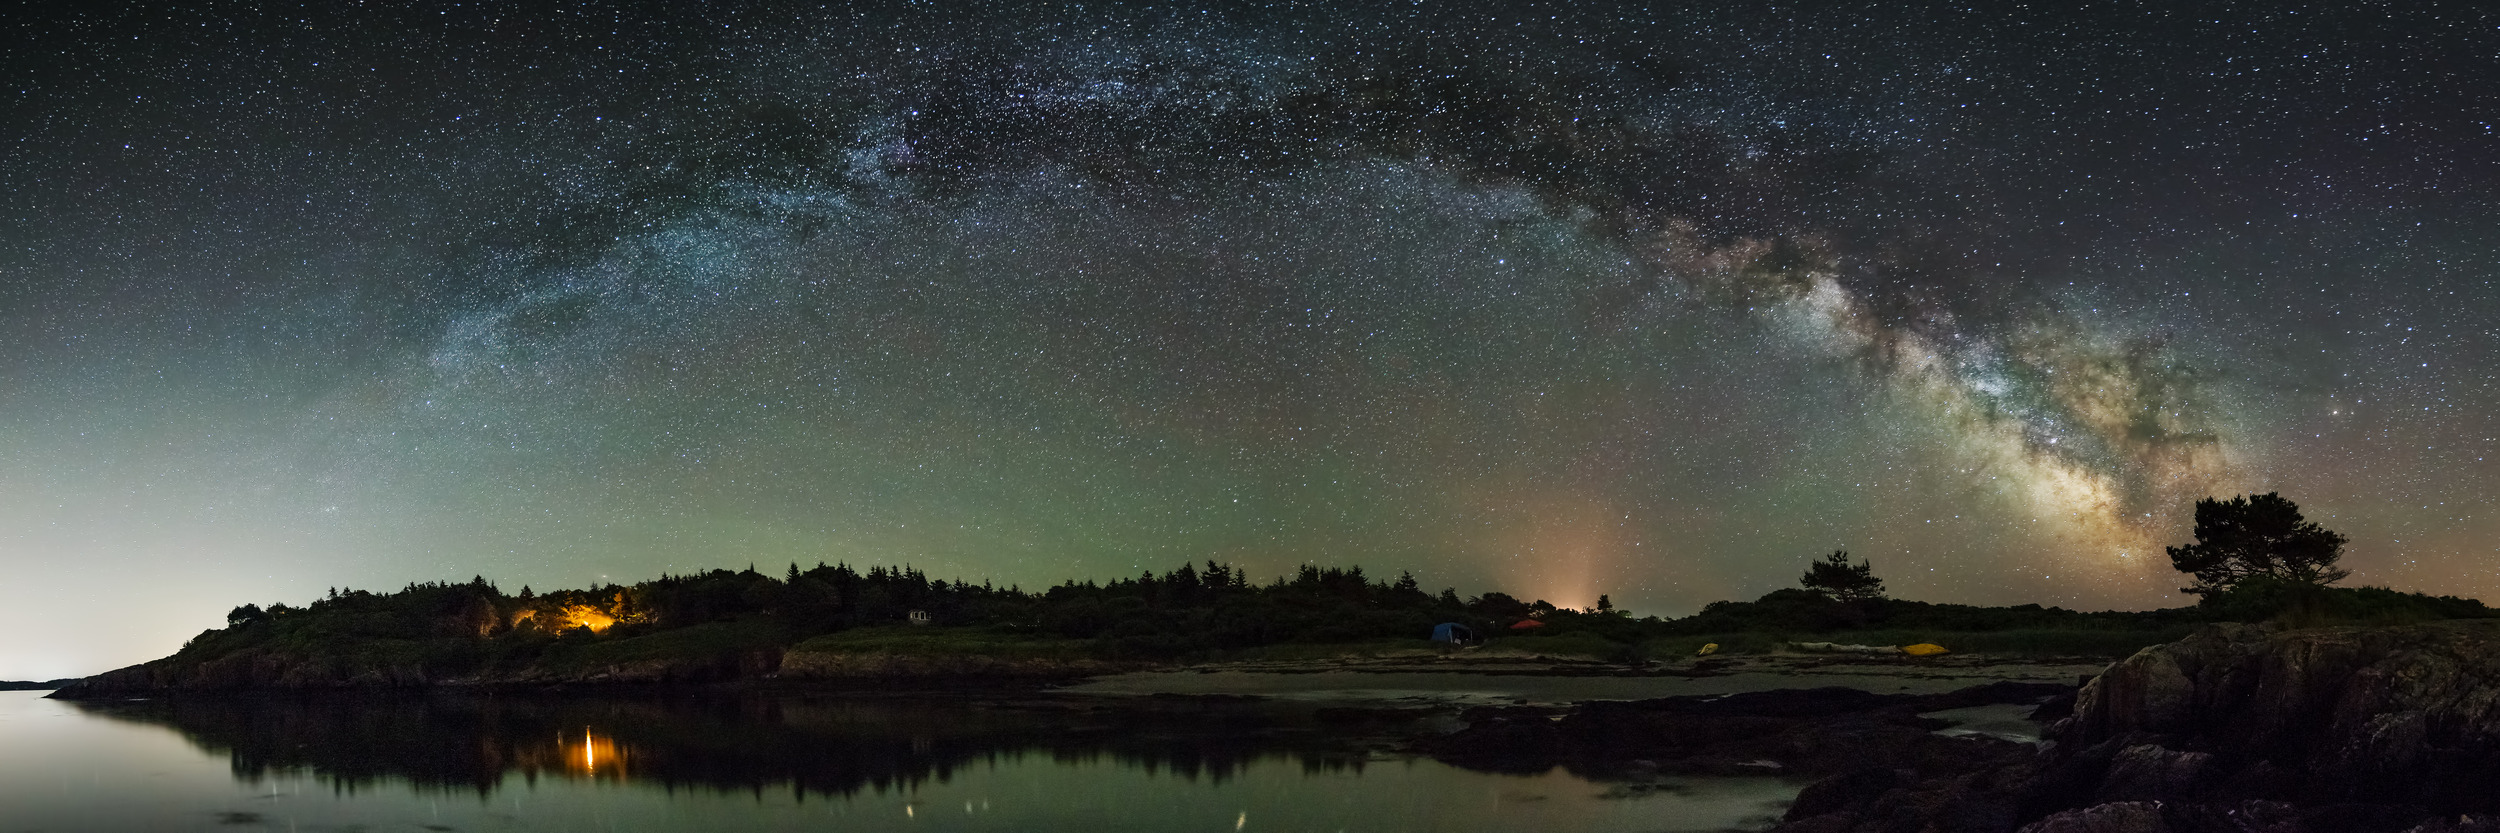
During the summer months, the core of our galaxy is visible to the south, and moves west over the course of the night. The best time for viewing the Milky Way is during the week of the new moon, about two hours after sunset. Earlier in the night, it will be visible arching lower over the horizon from South to North. By Midnight, it will basically be directly overhead. On my three week trip to Maine earlier this summer, it was clear for nine nights in a row — almost unheard of — and I would shoot from around 11pm-3am. After 3am, the Milky Way would be far enough west in the sky that light pollution from Brunswick and Portland would start to wash out my frame.
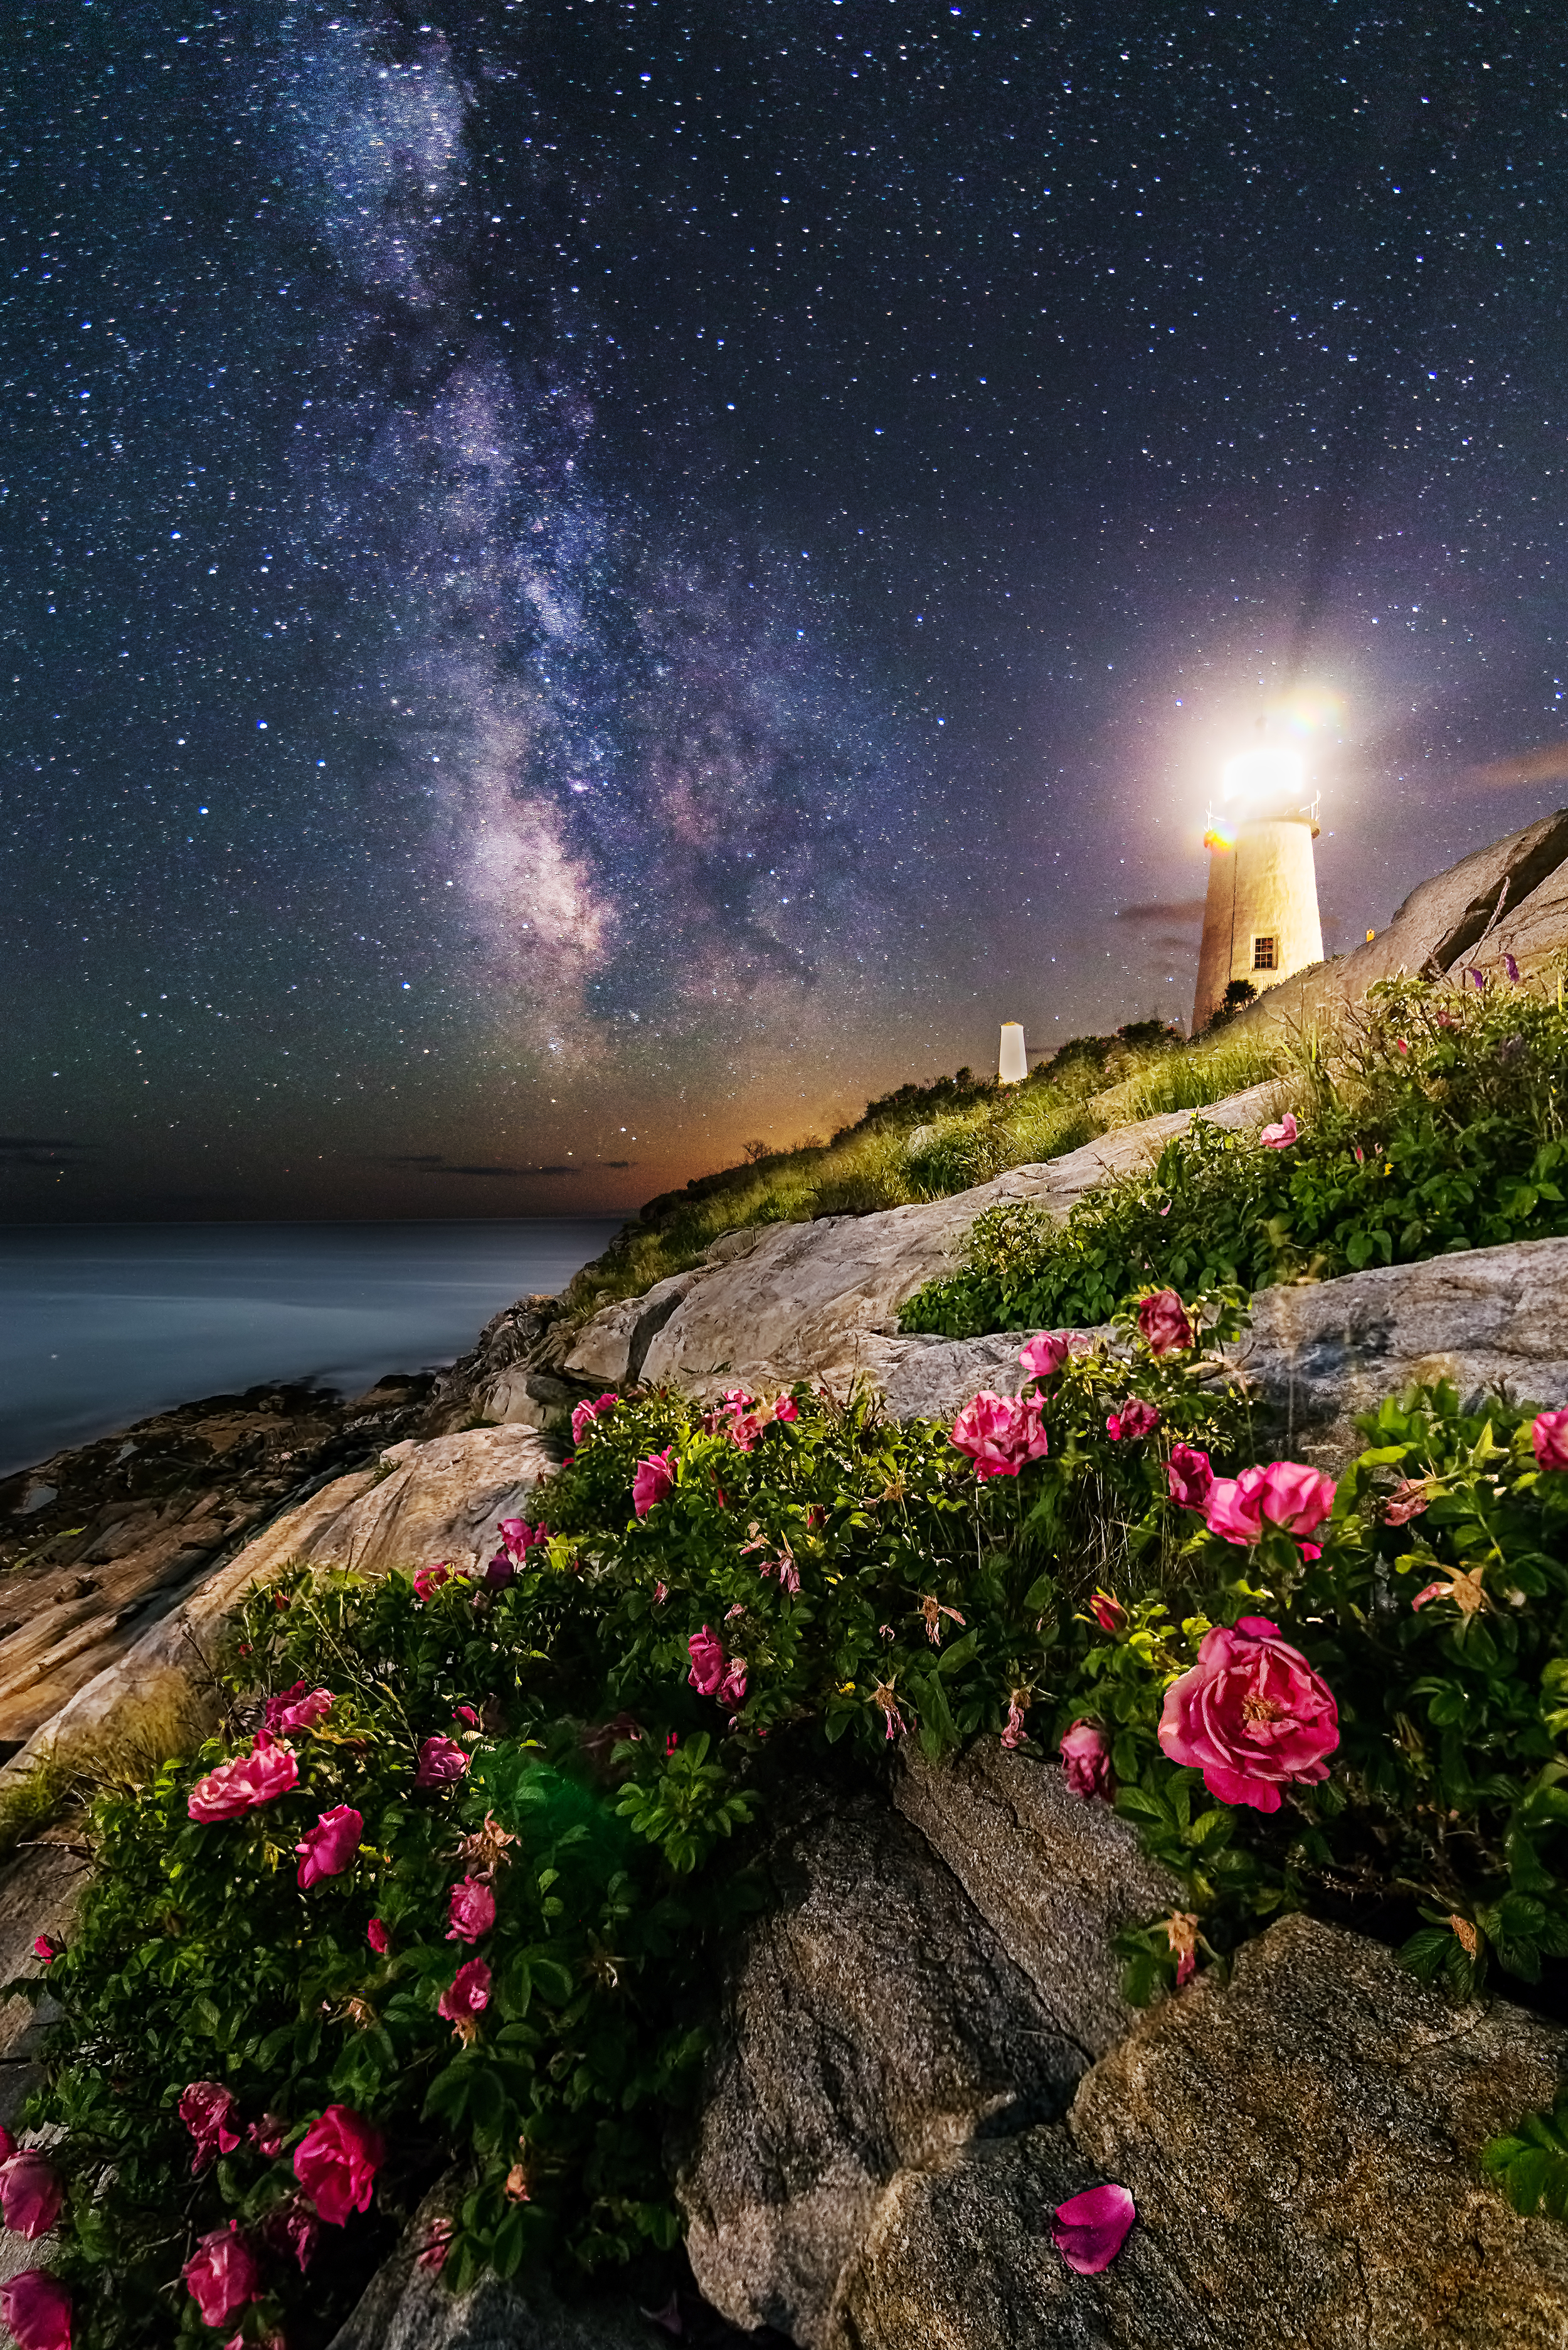
There’s really nothing like going out in the middle of the night, photographing remote locations while the majority of people are asleep. Even popular places like Pemaquid Point Lighthouse, busy during the day, feel completely different at night. Since discovering night photography just under a year ago, a whole new world has opened up that I never even knew existed.
Night Photography: A Brief Guide
People often ask me how they might go about capturing photos of the night sky, assuming they need advanced camera gear, costing thousands of dollars. Gear definitely plays a role, but getting great looking images of the night sky doesn’t necessarily mean an empty wallet. One of the most important factors is using a wide, fast lens. The length of your exposure will depend on how wide your lens is, and every second matters when trying to pick up detail in the sky and foreground at night. Because of the earth’s rotation, the stars will appear to trail after a certain point in your exposure, and the goal is getting pinpoint stars. The other essential feature for a lens is a wide aperture, which controls how much light is let in. Again, you’ll need as much light as possible here, so a lens that opens to f2.8, or larger, is optimal. For crop sensor cameras (Canon 60D, T3/4/5i, Nikon D3100, D5000, D7000, to name a few) I highly recommend the Tokina 11-16 f2.8 lens. For full frame cameras (Canon 5D, 6D, Nikon D600, D800, etc) there are a few more options. The Rokinon 14mm f2.8, Tokina 16-28 f2.8, and Nikon 14-28 f2.8 are lenses that I’ve used and can recommend.
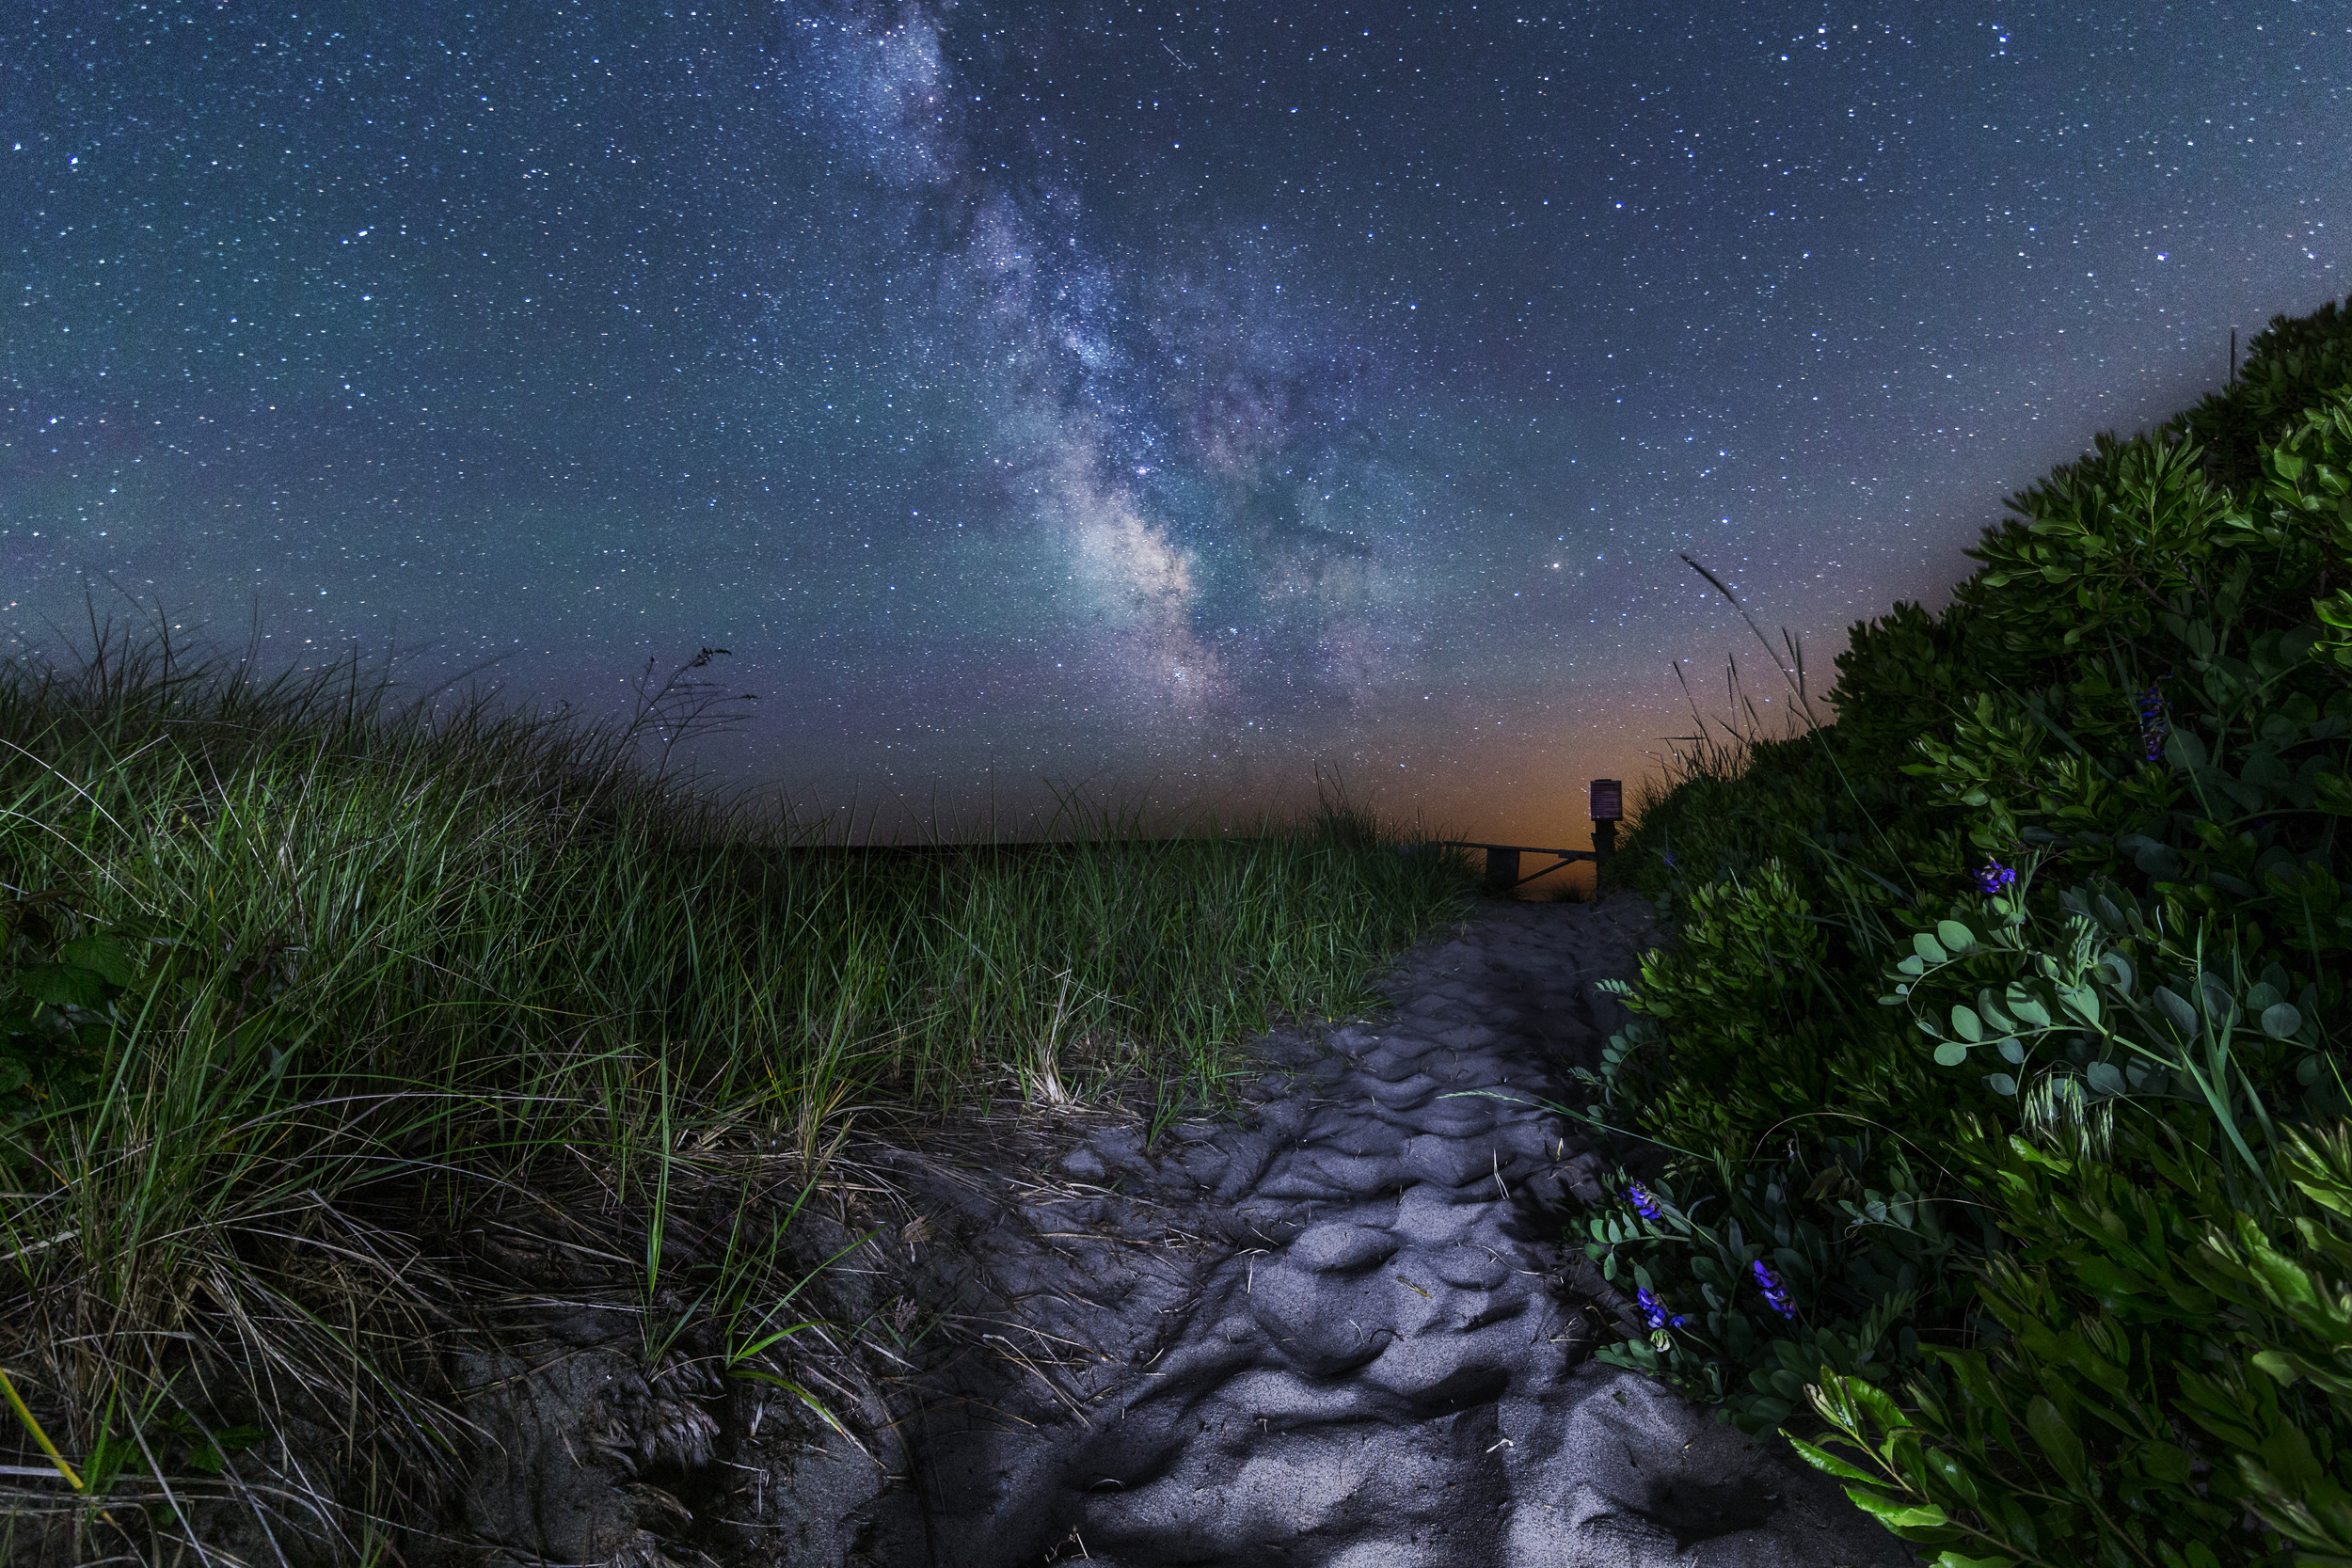
Another factor, and arguably the most important, is finding an area free of light pollution. One of the things that surprised me the most when starting out, was how far I needed to travel to find a truly dark location. Areas that may seem dark to the naked eye, will show light pollution from nearby cities and towns as an ugly band above your horizon that will wash out detail in the sky. Plan on travelling at least 25-50 miles away from any major towns to find a suitable location. Try and find an area with some interesting foreground elements for your photos, which will add a scene of scale and depth to your images. Google Earth is one of my biggest resources, allowing me to explore an area and find a spot that will face south before making a long drive to a new location.

This photo demonstrates how crucial finding a light-pollution-free area is. Plan on traveling at least 25-50 miles outside of any major towns in order to find a suitable location.
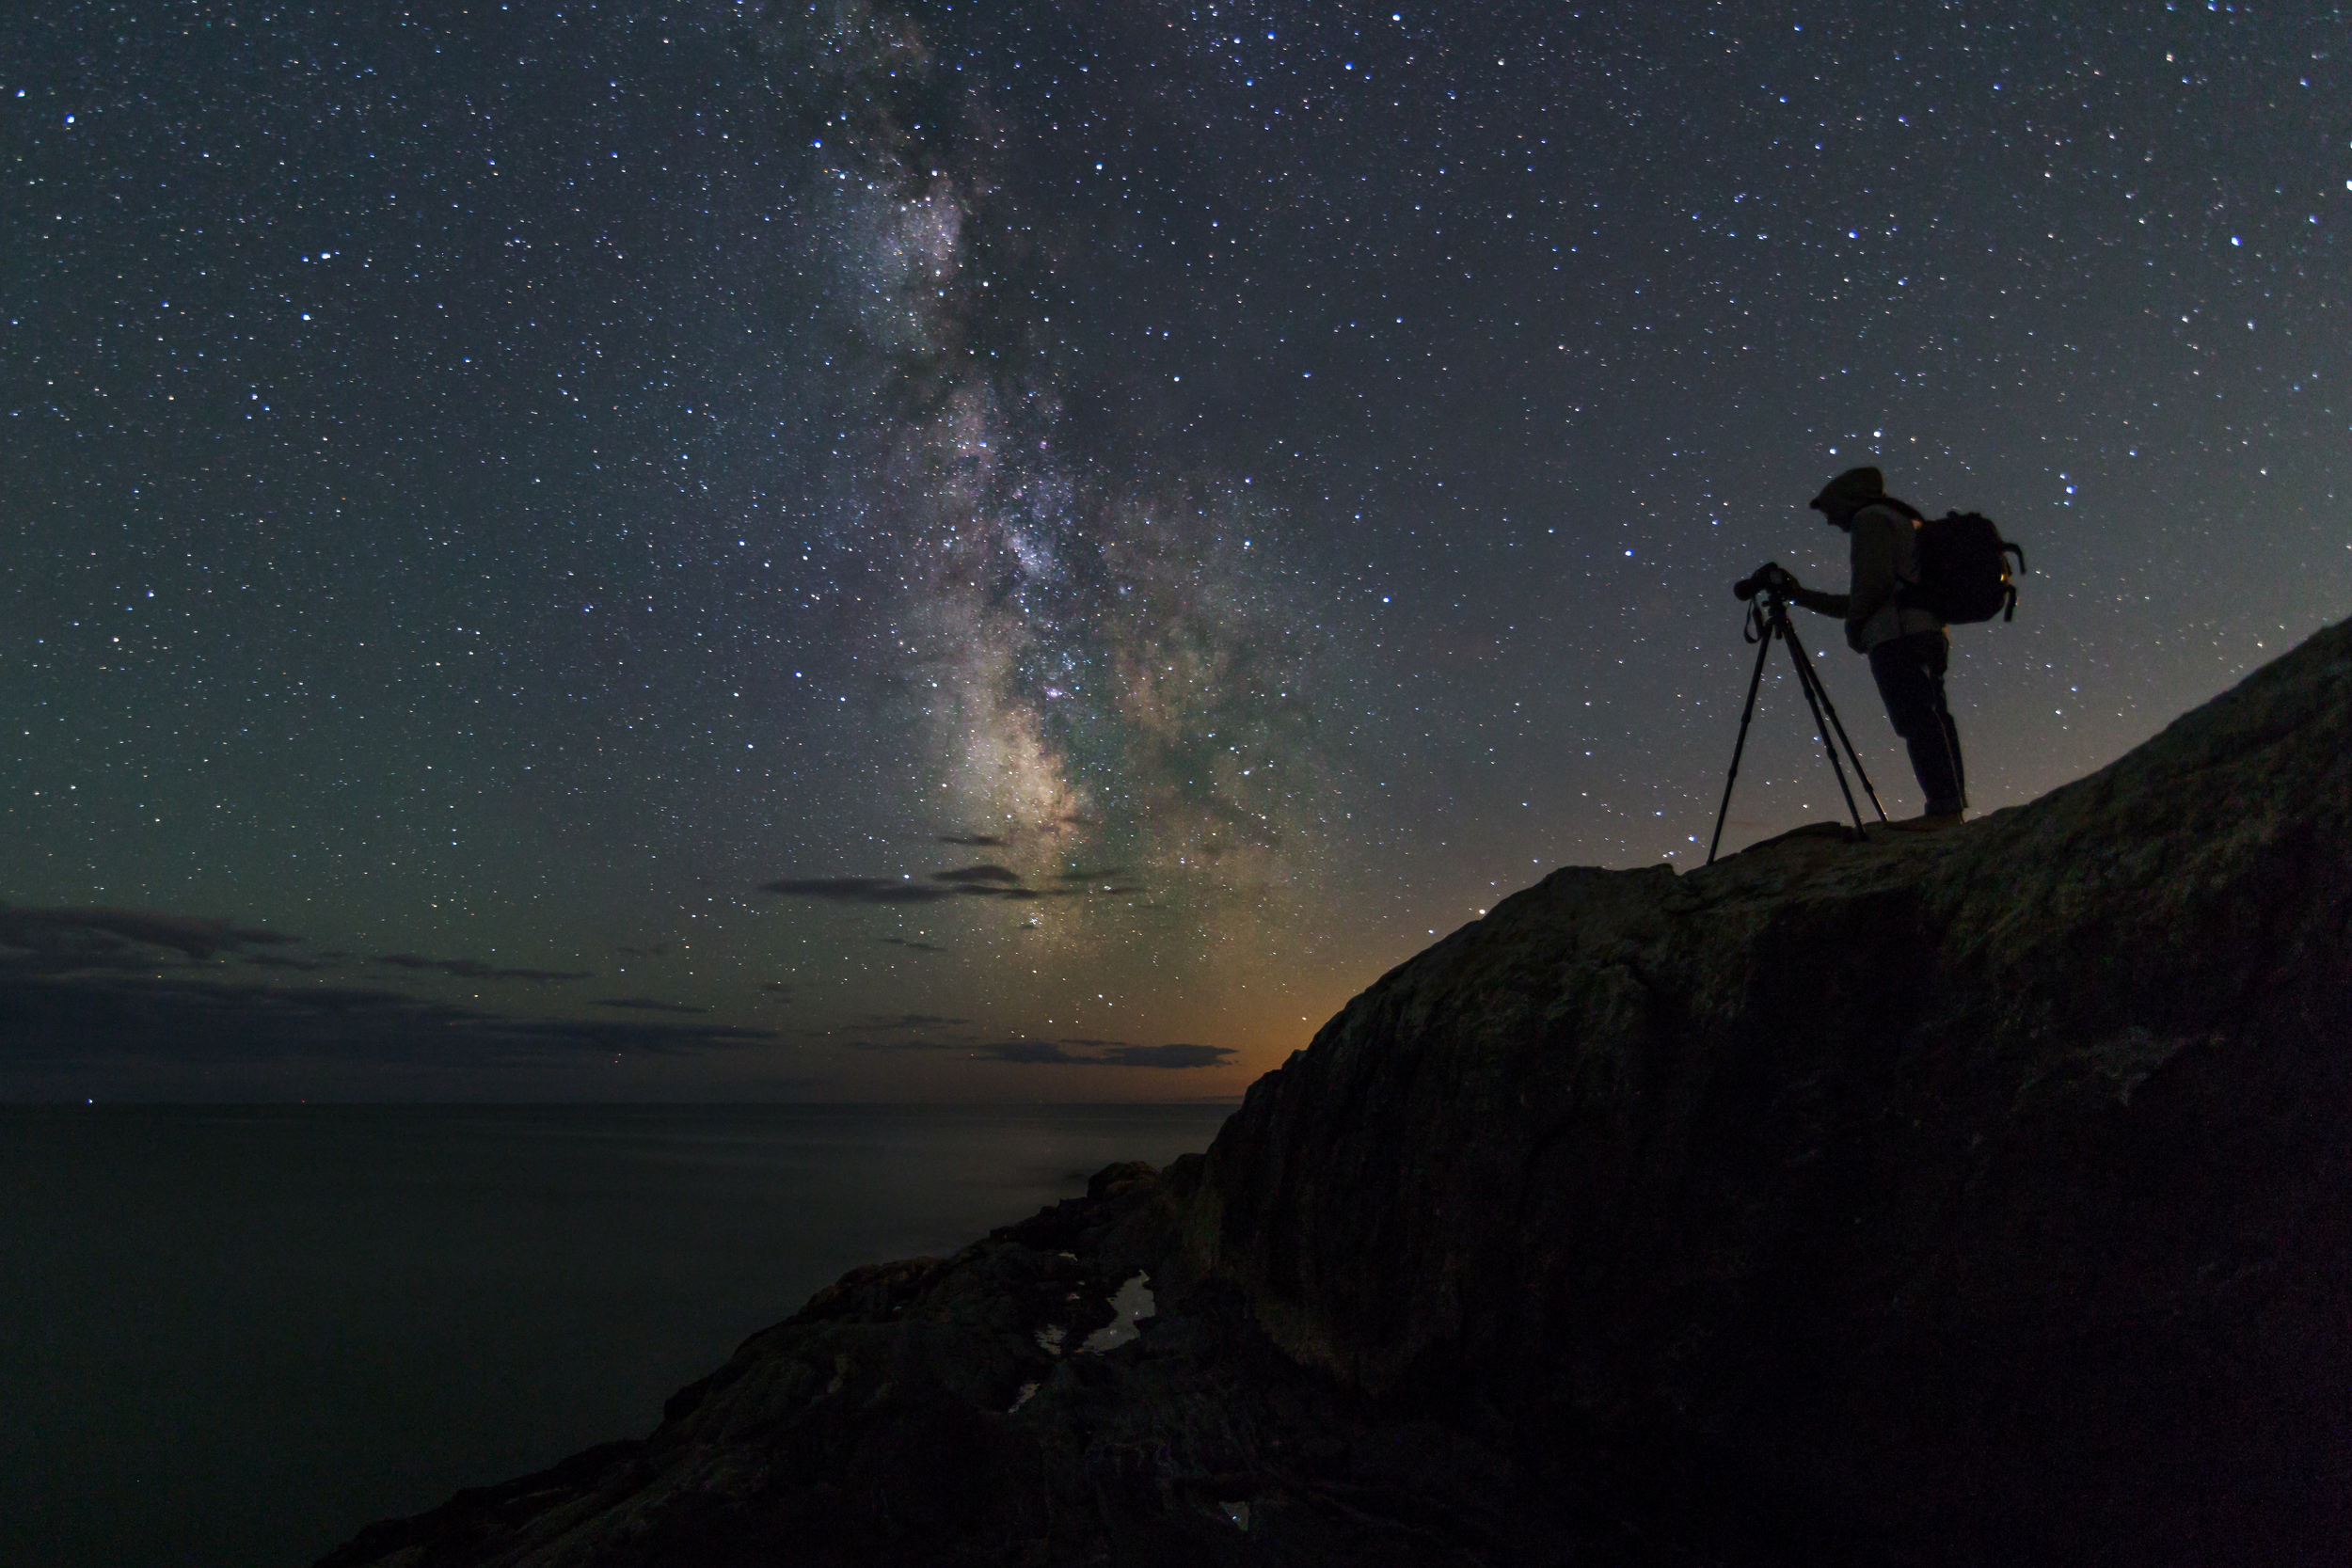
You will also absolutely need a tripod, to keep your camera still over the long exposures needed for night photography, and a flashlight. A few other things I like to have, but aren’t mandatory, are a cable release for my camera, snacks, a caffeinated beverage, a compass, and a fully charged phone.
Now that you’ve got all the necessary gear, and have found a nice dark spot, the fun really starts. I like to arrive at a location a little early, about an hour after sunset, to scout out some foreground options. The coast of Maine has countless options — a lighthouse, tide pool, a sandy beach, that will add some interest to your photo. Once you’ve found a scene you like, set up your camera and tripod, making sure it is sturdy and will not move during your exposure. Before taking any photos, you’ll need to go into the camera menu and adjust some settings. I always shoot in RAW, not JPEG, because there will be much more flexibility in editing later. I also like to set my White Balance to Tungsten, which will be closer to the natural color temperature of the night sky. The last thing I do is turn on the camera’s 2-second timer, allowing for a delay between pressing the shutter and actually taking the exposure, which will reduce any vibrations in camera (you can also use a cable release for this).
Next you’ll want to switch from auto to manual focus on your lens, otherwise your camera will endlessly search for something to focus on. Instead, manually focus your lens at infinity. I shoot in manual mode, starting off taking exposures at ISO3200, f2.8, 30 seconds, and adjust from there. Each scene will be different, with varying levels of ambient light, so I will either raise or lower my ISO based off those initial frames.
I recommend trying several different exposure settings for each scene, seeing what looks best to you. Once you get the hang of getting sky exposures down, you can also play with longer foreground exposures and blending them together later, or doing star trail photos. There are many good guides online for both. For many of the photos in this article, I shot exposures of up to 10 minutes, focusing on closer foreground objects, and blended them together with my sky frames.
I will never forget the first time I looked on my camera screen and saw the Milky Way arching across the frame. In the past year, I have seen countless amazing things at night- the Northern Lights dancing across the sky, the Milky Way, meteor showers, beautiful moonrises and sets, and can’t think of a single time I didn’t enjoy a night under the stars. I hope this guide inspires you to try your hand at landscape astrophotography, go on your own night adventures, and bring back some photos to share.

Related Articles...

Recipe by Chef Jeremy Sewall

Baked Scallops with Toasted Breadcrumbs
Recipe by Karen J. Covey

Recipe by Mandi Tompkins