How To: Build Terrariums
How To: Build Terrariums
Words & Photos by Taryne Messer
Nature becomes infinitely more precious when you live in the city. Admittedly, it took the constant bombardment of sidewalk trash melting in the sun, the eau de pee-laced urban streets and countless plastic bottle tumbleweeds for me to form this opinion.
I was living in Brooklyn a couple years back when I recognized how the humble house plant provided an accessible path back to nature for a large metropolitan population. Everything I know about plants is through time and experience, trial and error; I do not have a degree in horticulture, I've gained a skill set only through hands on experience. Along the way I learned something invaluable, it lies in the capacity to slow down and just observe. Truly, no one has a black thumb perhaps just a defeatist mentality. That unhappy fern parked in front of your sunny window, its foliage singed brown? Move it to a different spot, one with heavier filtered light. Remove the crispy foliage, keep soil evenly moist and then, just wait. Two weeks of care, nothing and then suddenly a glorious trumpet blows in the distance: new growth has sprouted from the center. Even if only to realize that most houseplants are hybridized to be resilient and trudge through your neglectful phases, you cultivate a mindfulness and respect for plants as you nurture slices of nature.
For those just starting out, terrariums can be one of the easiest ways to experiment with plants. Glass containers create a micro-climate that seals moisture in; high humidity allows for plants to absorb water more readily through their foliage. This setup cuts down on watering needs while simultaneously becoming an ornate shrine to view your plants growth. I love using old containers from flea markets as planting vessels; a beat-up metal dish can serve as your base and be topped with with a glass bell jar to create an old-world botanical feel.
My favorite one-stop plant shop in Boston is Allandale Farm, located right past the Arnold Arboretum on 259 Allandale Road in Brookline, MA. They grow an excellent selection of unique succulents in their greenhouses and offer a thorough inventory of terrarium supplies: rocks, soil, rooting hormone, glass containers and some outstanding airplants. The staff is always knowledgeable and gracious in answering any questions you may have. It's a worthwhile field trip; their farm stand carries seasonal produce grown onsite as well as an impressive selection of local artisanal foods.
Build Your Own Terrarium
Step 1: Choose a Container
Use an old fish bowl, one of those glass vases under your sink, a wine glass...be resourceful!
Step 2: Create Drainage
Place at least one inch of rock evenly at the bottom of your terrarium. This will help displace excess water, preventing soil from becoming over-saturated and soppy (which will cause your plants to rot). I like to use rocks from the aquarium section of any local pet store, you can usually find loads of ornamental varieties there.
Step 3: Soil Composition
Pick a mixture of soil that best suits your plant palette. Be sure to choose plants that thrive in the same climate conditions; cacti and ferns don't want to shack up together. Cacti and succulents do well in a sand/soil blend (two parts potting soil: one part sand). Ferns, begonias and philodendrons will do just fine in regular potting soil. Allow for at least 3" of soil to be distributed through-out the entire container to accommodate root growth.
Step 4: Clip and Root
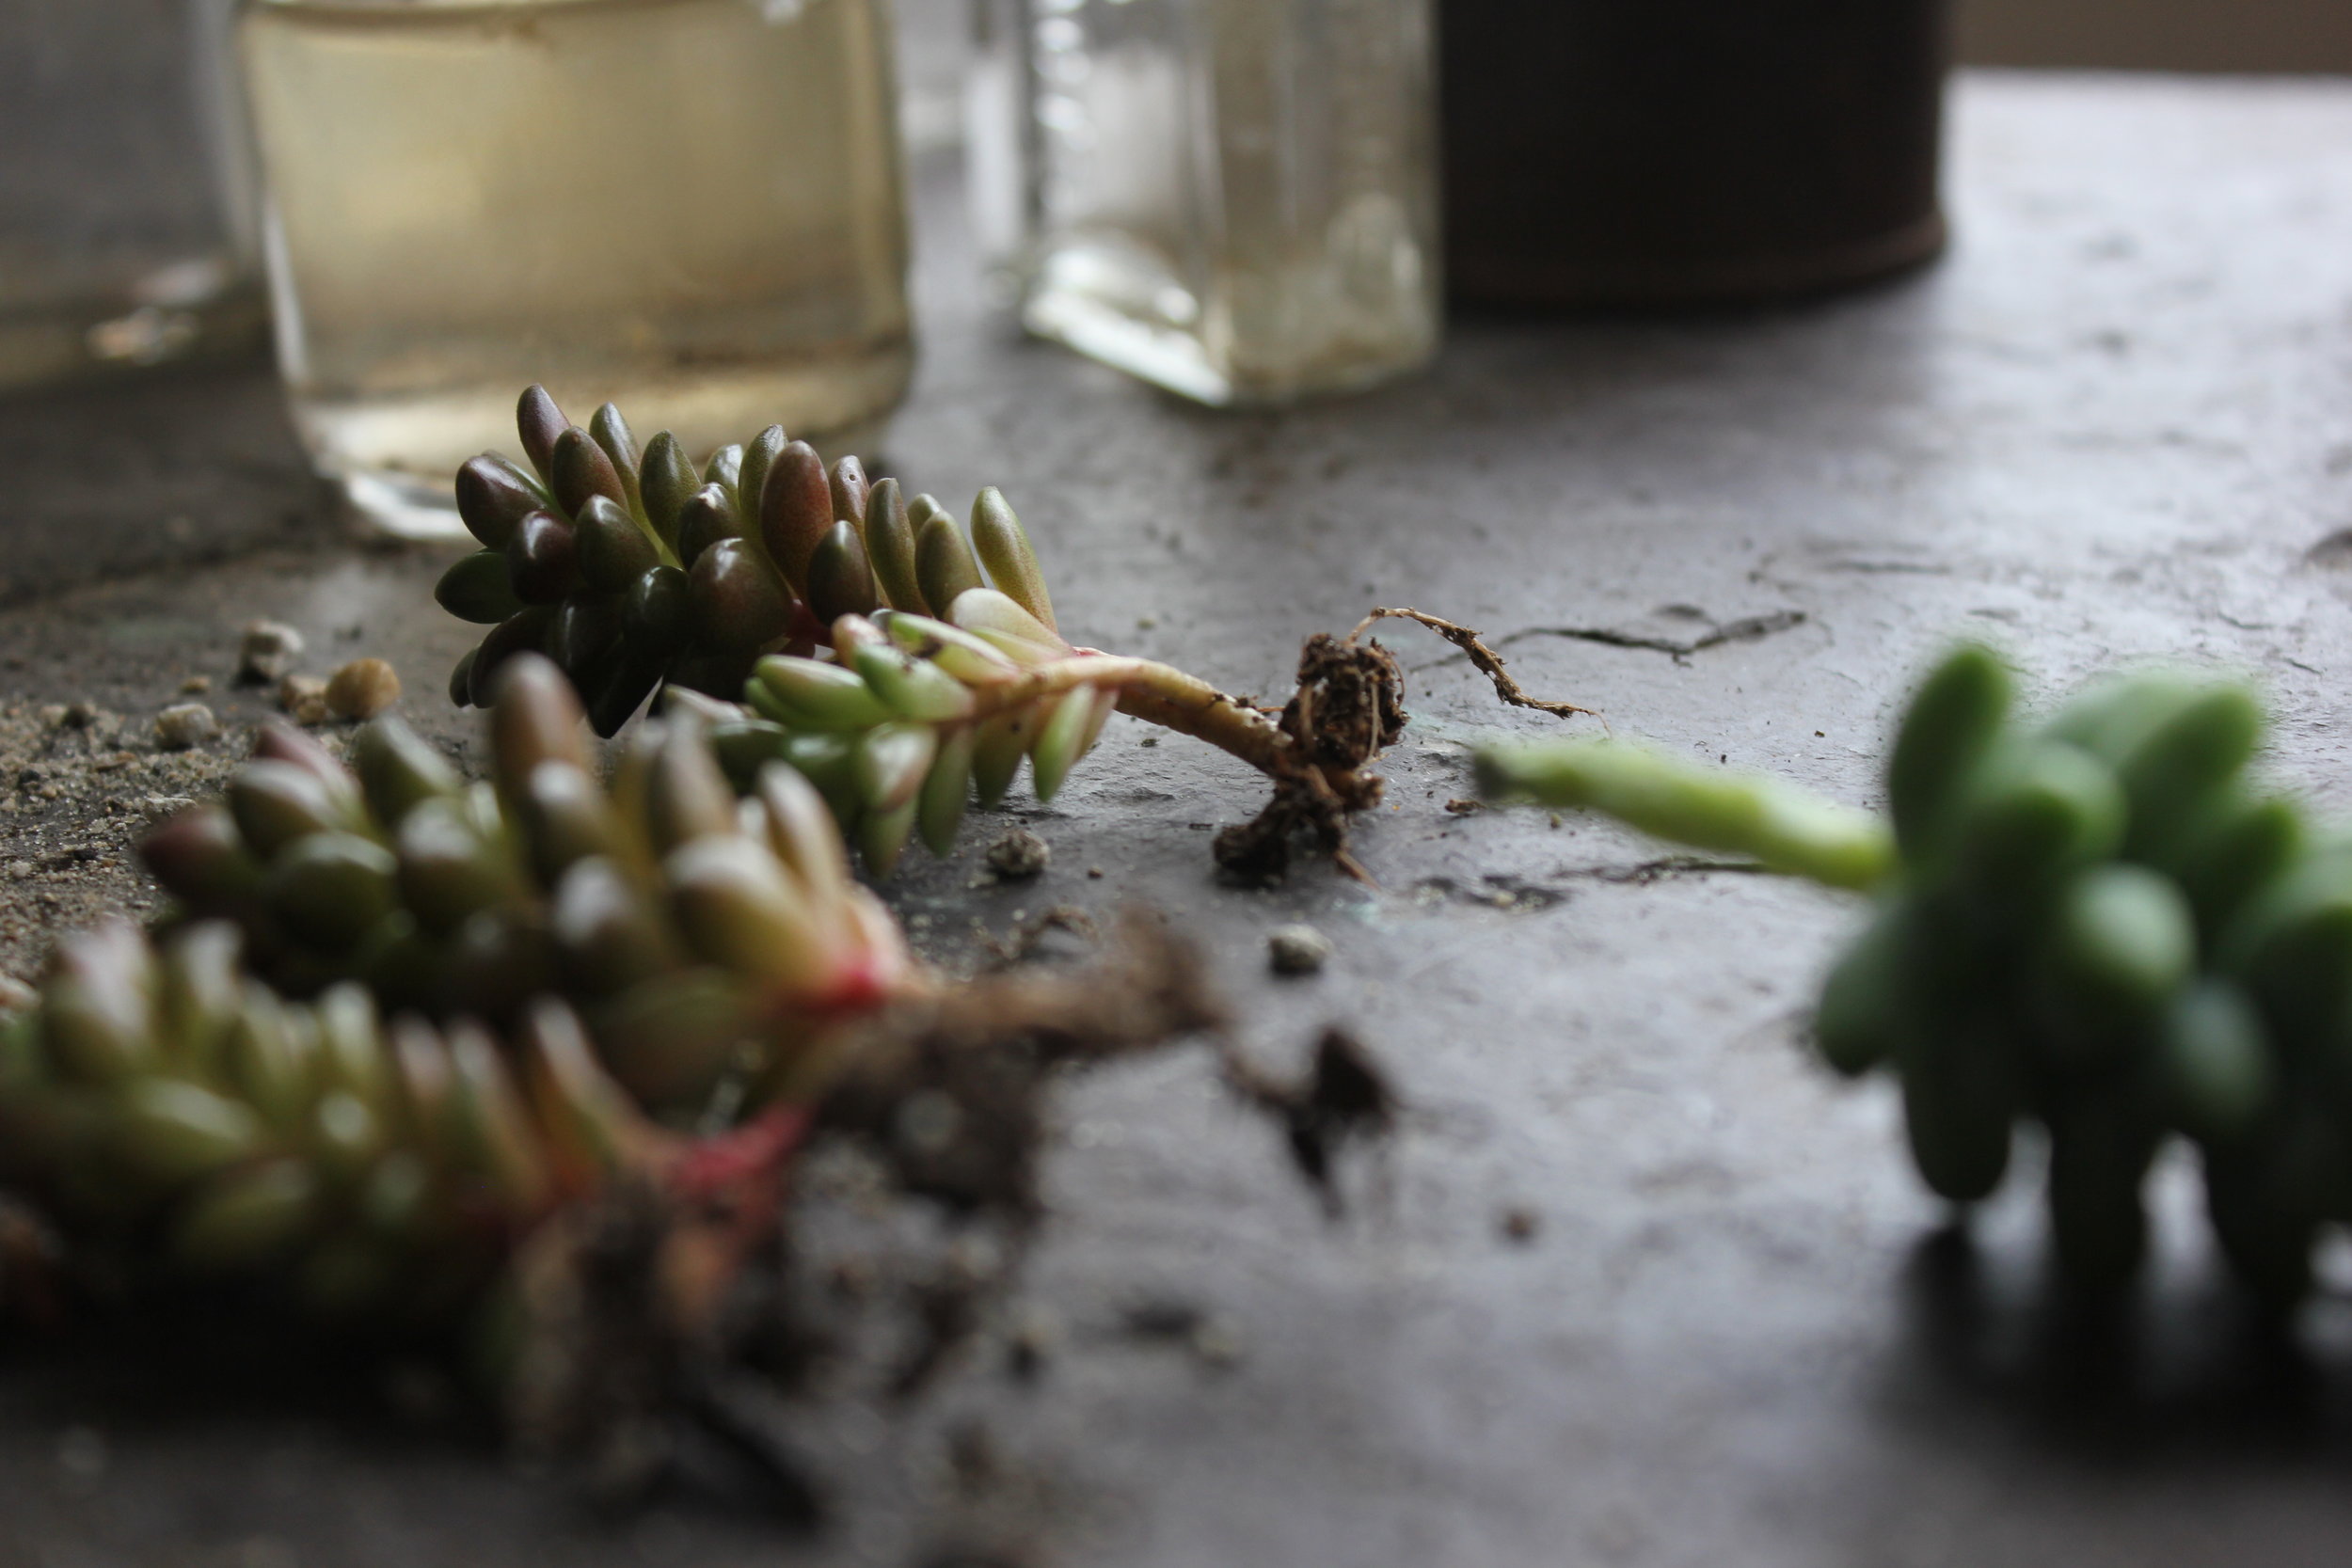
Finding small enough specimens to place inside your terrarium can be tricky. A cheap remedy is to take clippings from your personal plant collection, root them and then plant them within your vessel. Succulents are particularly easy to root, often doing so on their own. Snip an offset shoot from a thick stem, place clipping into a bud vase filled with water and set near a sunny window. Roots should form within a few weeks, mixing a rooting hormone into the water will help to accelerate this process.
Step 5: Arrange
I like there to be a central cluster of plants in my arrangements; a tall, medium and low-plant grouping can help to activate more depth within your container. Be mindful that plants will continue to grow in size, so be sure to leave space between plants to accommodate future growth. Plants' roots should be fully buried beneath the soil. A 1/4"-1/2' layer of ornamental rocks can be placed above soil for additional aesthetics.
Step 6: Placement
Place terrarium in a room with bright sunlight; they often fare best when positioned offset from a sunny window. Monitor the soil's moisture (stick a finger into it) and allow to lightly dry-out between waterings. Watering amounts will vary based on the size of your container, it is best to be consistent with your watering schedule to prevent stress on the plants.
Step 7: Maintenance Tips
Always prune rotting or dead foliage to promote new growth. Yellowing of foliage tends to indicate over watering and a need for more sunlight. Browning of foliage indicates under watering and a need for filtered light.


