
Family Traditions: Strawberry Jam
Family Traditions: Strawberry Jam
Words and Recipe by Sarah Page Kyrcz
Photographs by Jenn Bakos
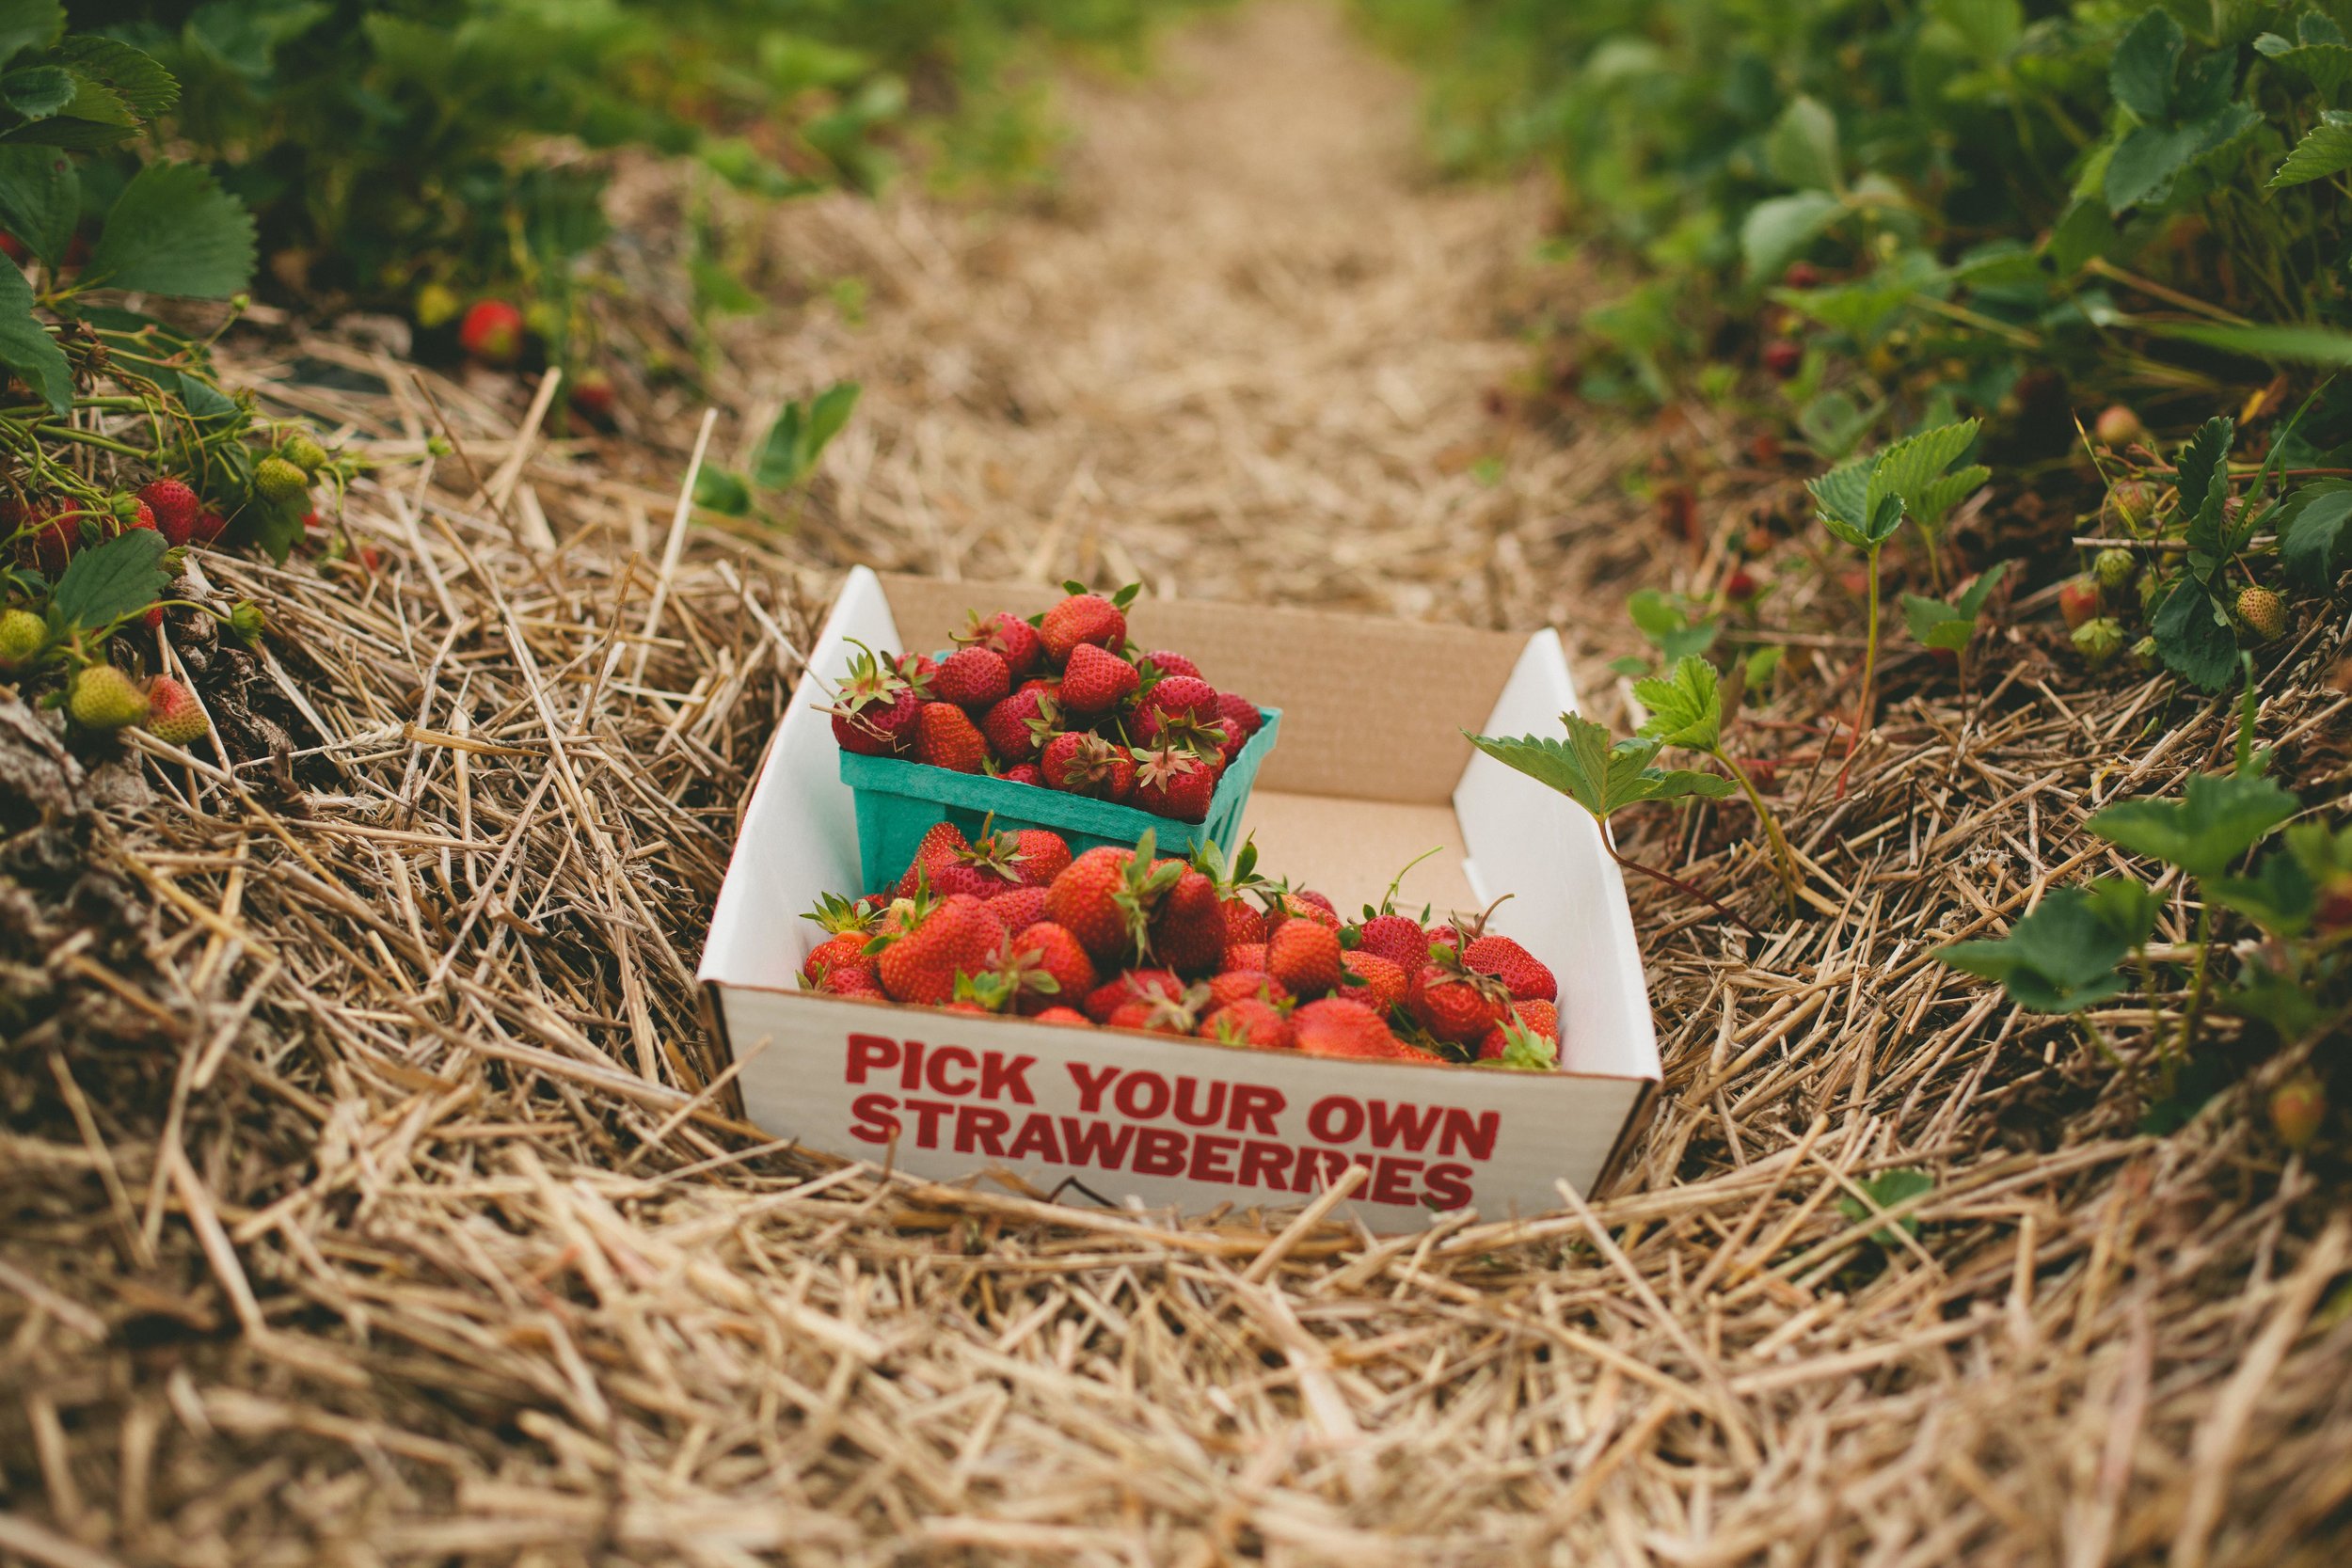
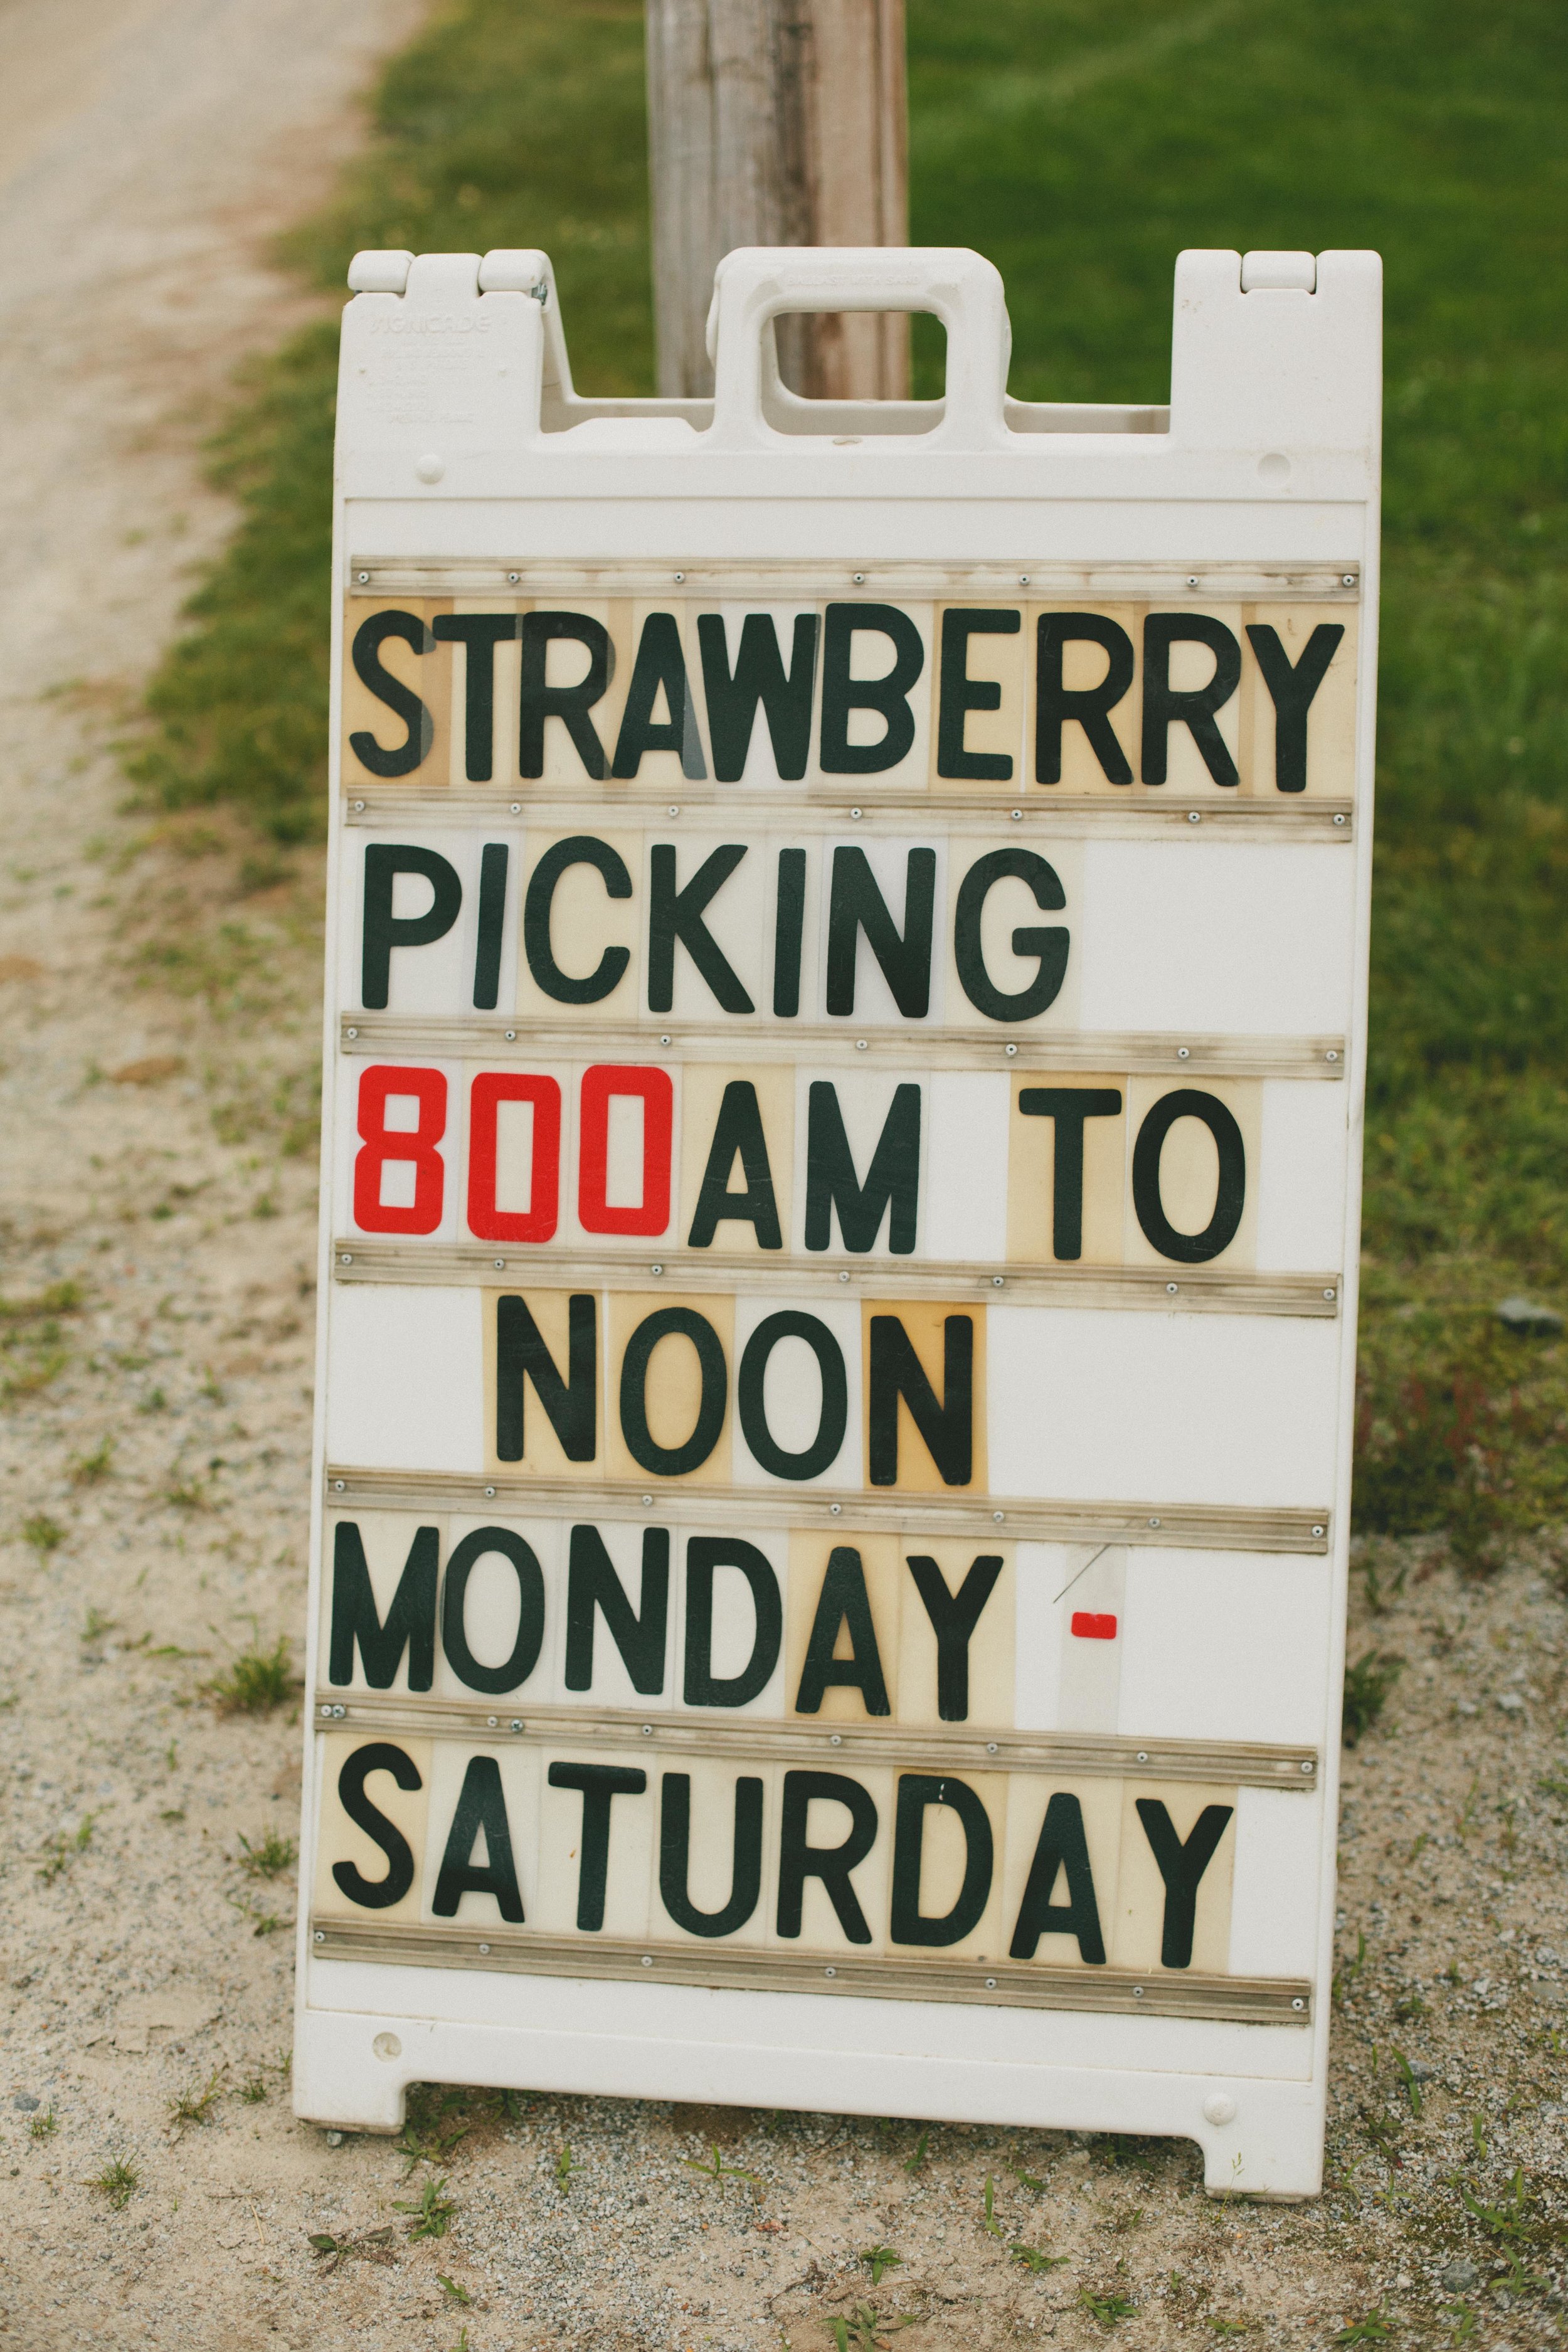
My two girls and I always knows when the “pick you own” fruit season is just about to start here in our shoreline town. The best indicator of this exciting time, when the strawberries are red, ripe and juicy, perfect for plucking off the vine is when the our treasured inventory of homemade jam is nearly depleted!
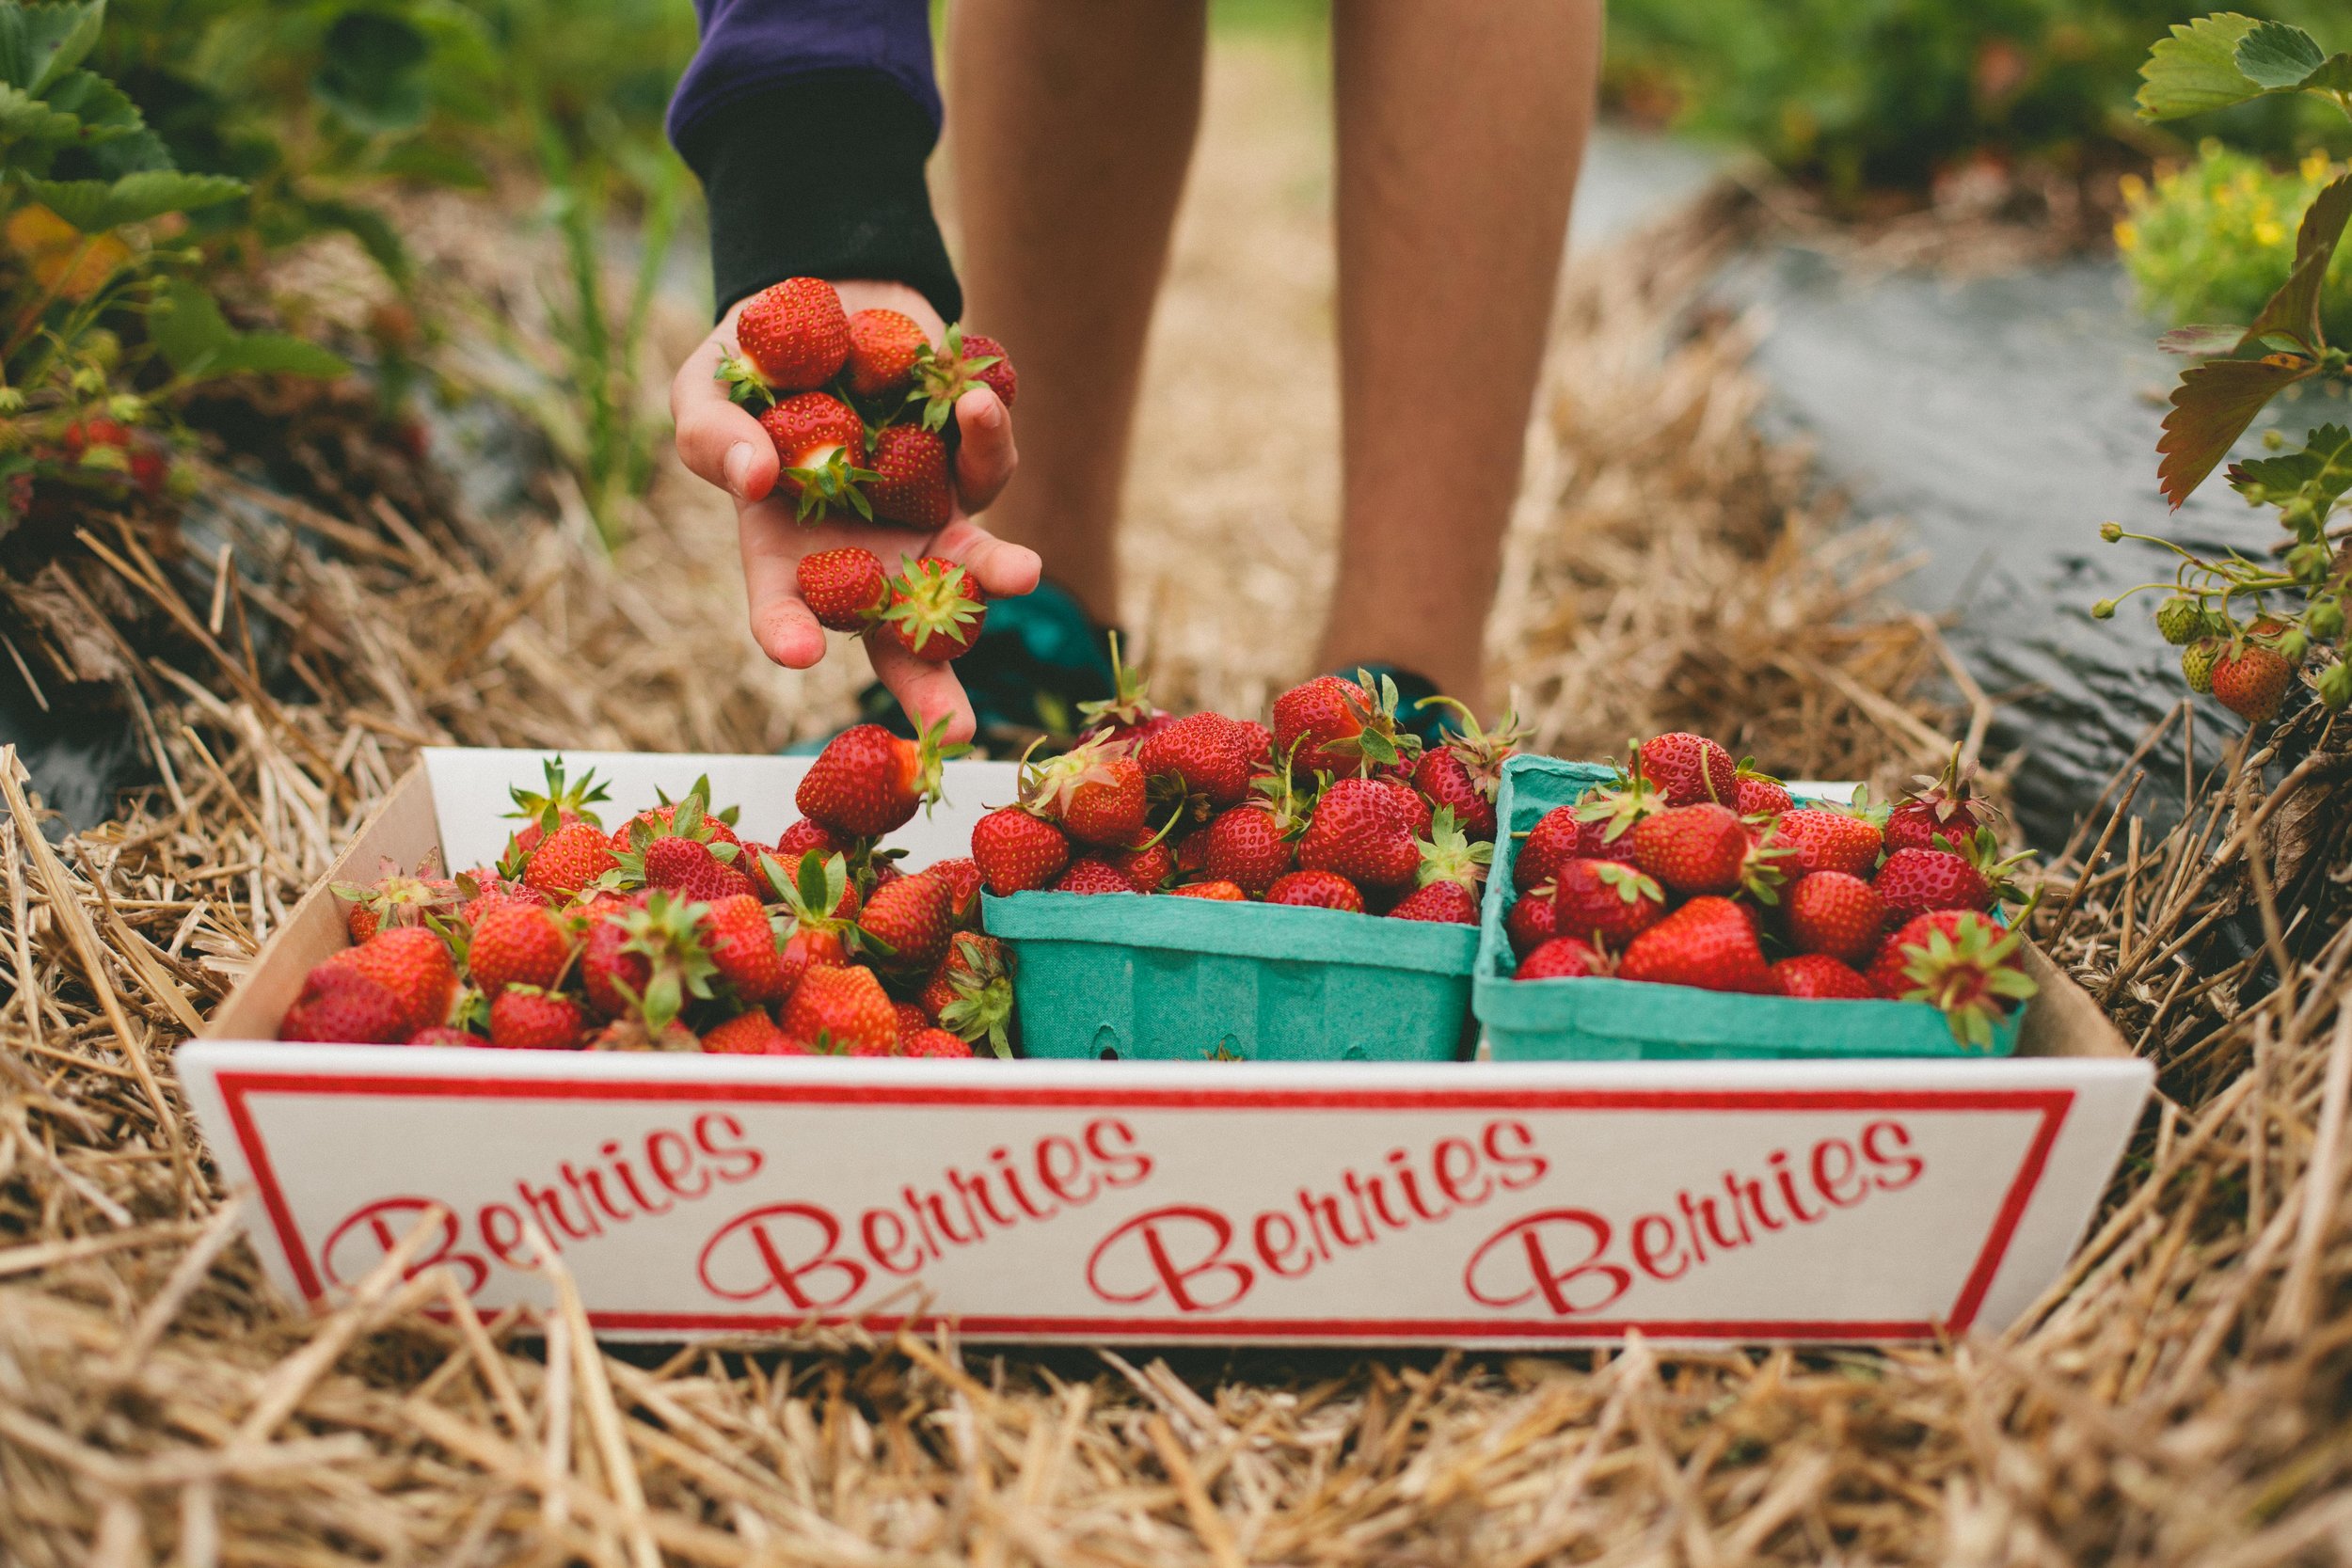
There is nothing quite like harvesting a strawberry, raspberry or blueberry and, fresh off the vine and partaking in the sweetness. We are always mindful to add a little something to the “Sin Bin” for those treats enjoyed while gathering!
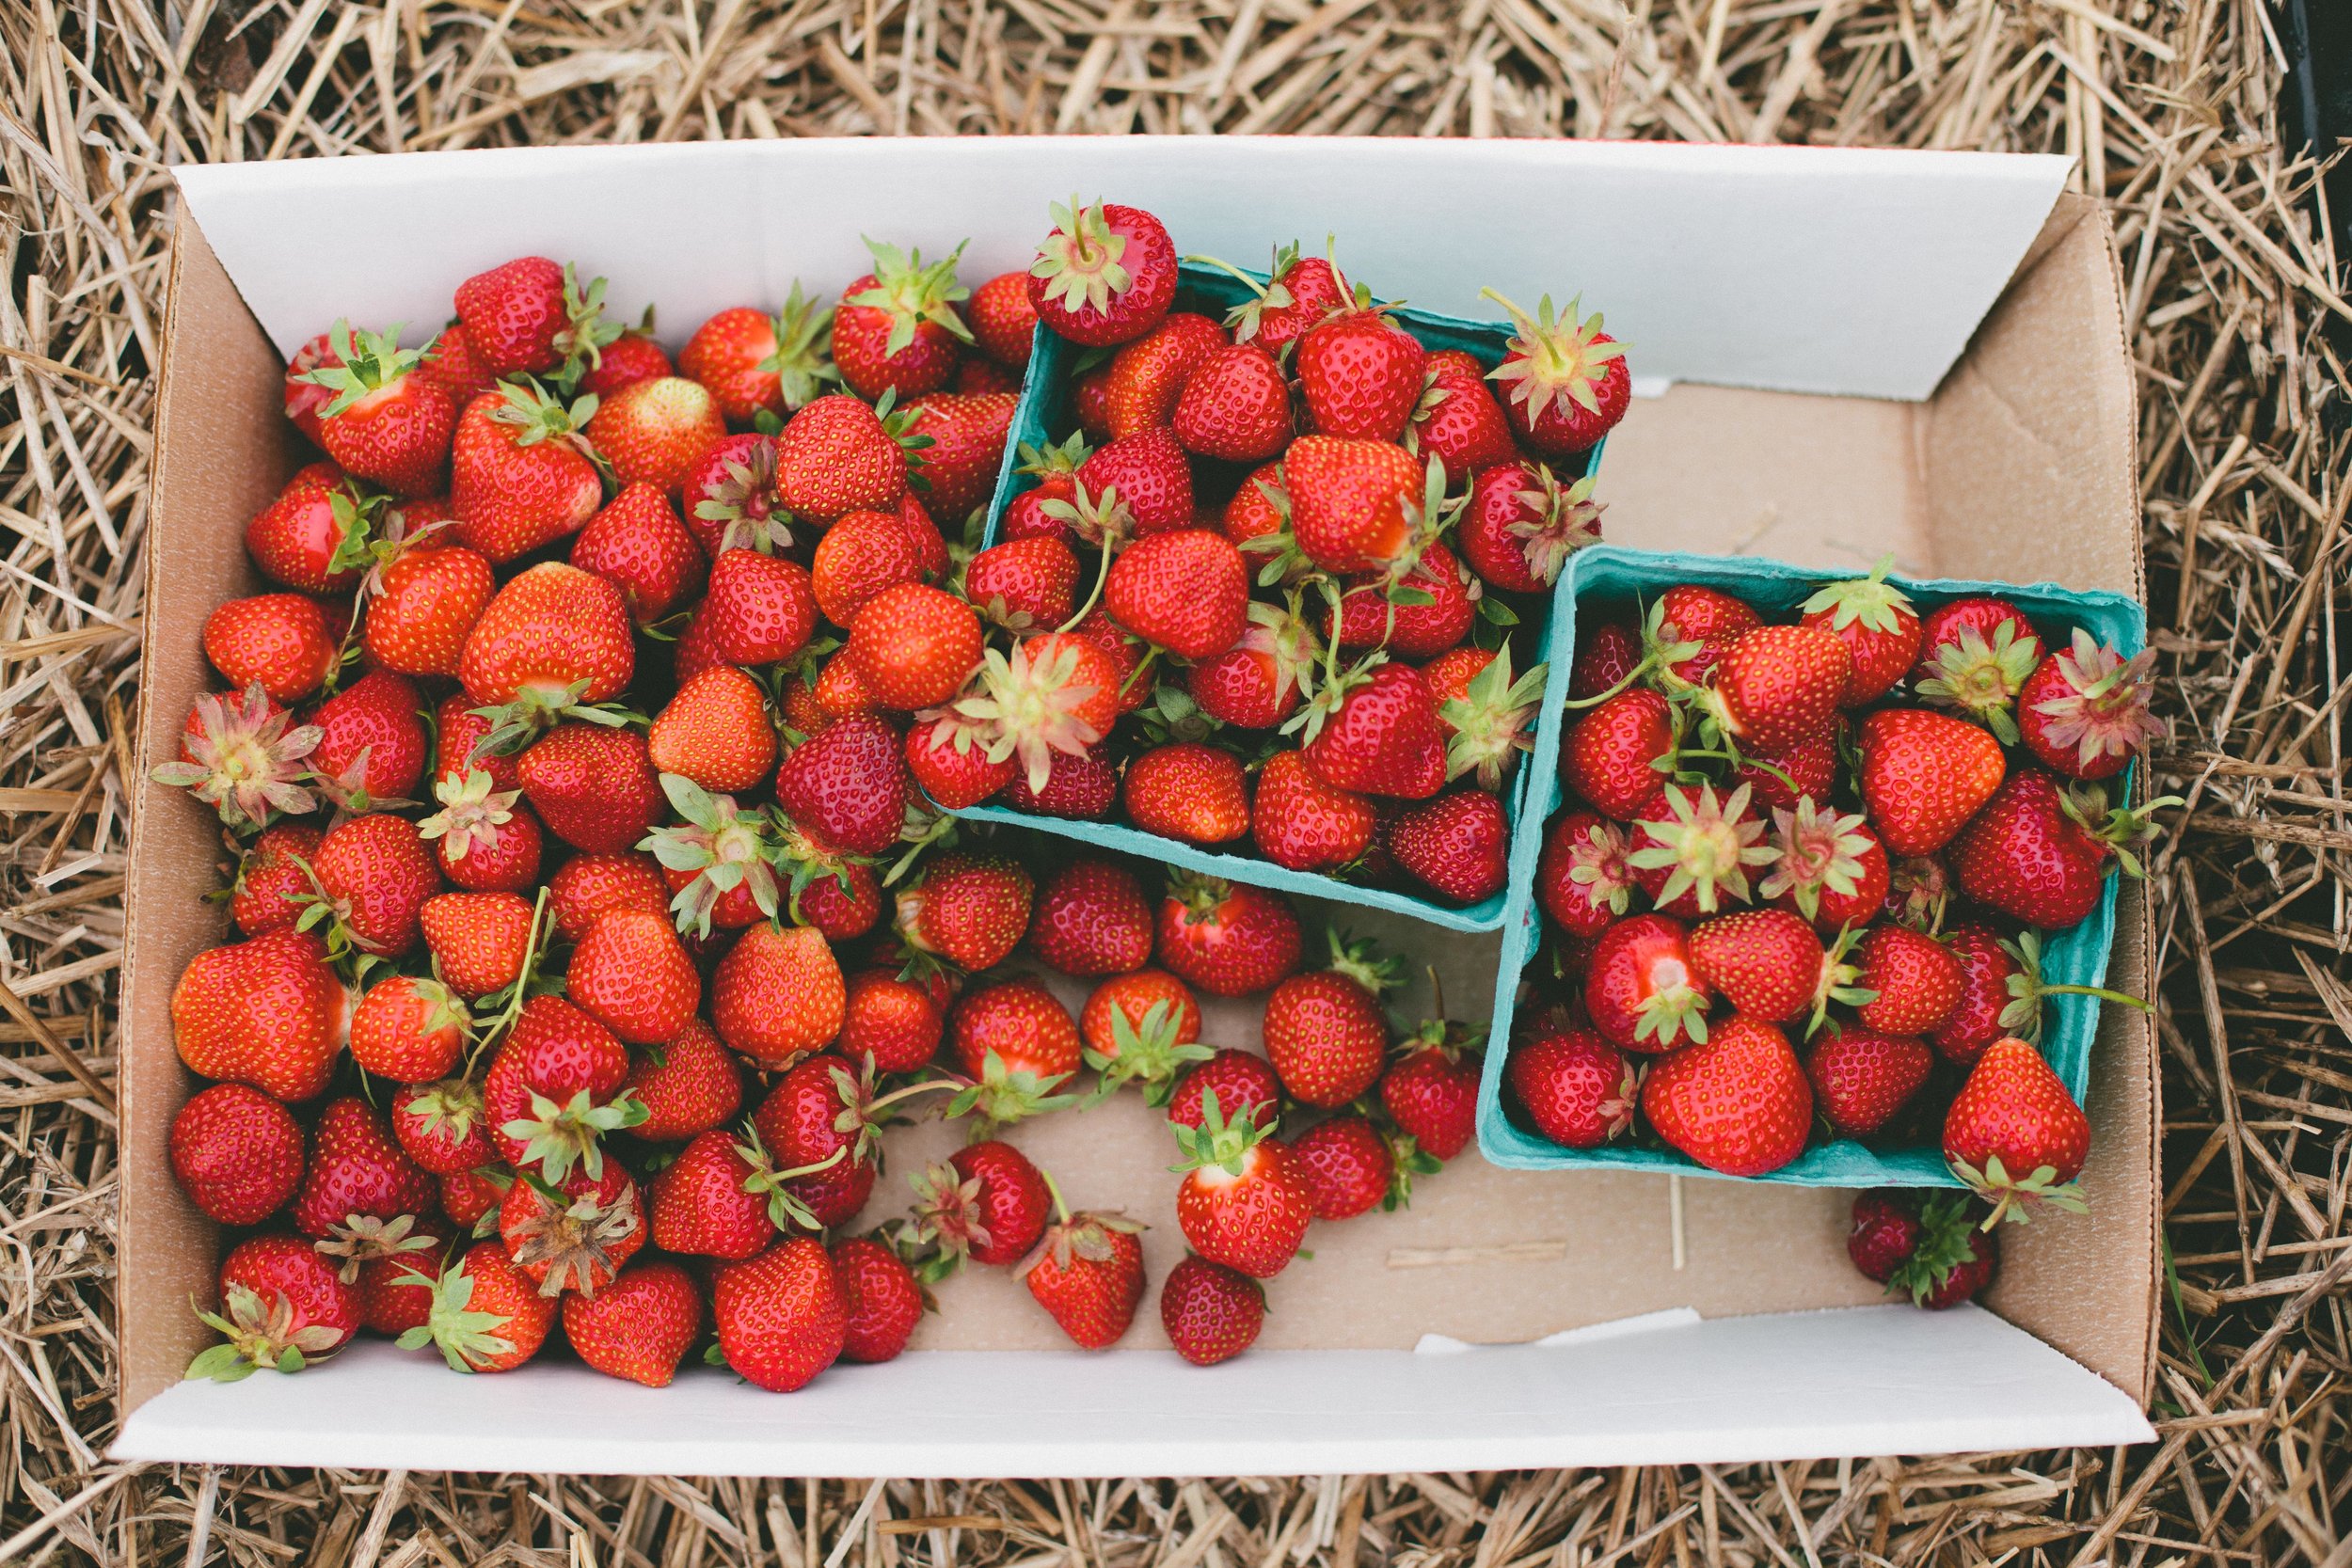
The real goal of our visits to the fields of fresh fruit, though, is to fill our buckets, with the ripest of the ripe, and return home to turn them into homemade jam. These delectable jars of liquid gold are lovingly prepared, season after season, to be savored all year long.

While we all thoroughly enjoy every last morsel of this homemade treat it is also something that family and friends have come to expect as a special gift. Everyone knows that one requirement to remain on the coveted list is that they return the empty jar to be used and reused!
The strawberry season, starting mid-June is such an exciting time. These luscious berries ripe and ready for picking not only brings us together as a family, but brings me back to my childhood and the memories of my parents canning all summer long to sustain us through the winter.
Making homemade jam is a family tradition passed down from my mom and dad, which my girls have embraced and look forward to doing with me.
It was never a favorite chore of mine, as a young girl, weeding the family garden. It was hot, boring and tedious work. As I bent over the neatly laid out rows of vegetables I daydreamed of riding my bike, climbing trees, swimming and romping in the neighborhood. The result however, which I did not appreciate at the time, was home cooked meals, with homegrown food, all year long.
While I only concentrate on preserving jam, my parents spent the majority of the summer procuring a variety of vegetables including string beans, cucumbers and tomatoes from a 50 ft by 30 ft garden to keep our family of 10 well fed and healthy through tough New England winters. With such a large family, the canning and preserving was an essential part of our life.

Our 100 year old home had a designated basement “canning cupboard” where the fruits and vegetables of their labors were arranged in perfectly organized rows. This cold, stark corner was the perfect spot to store this precious produce. With the canning cupboard filled by the end of the summer, we were set for the long, cold, stark winter months.
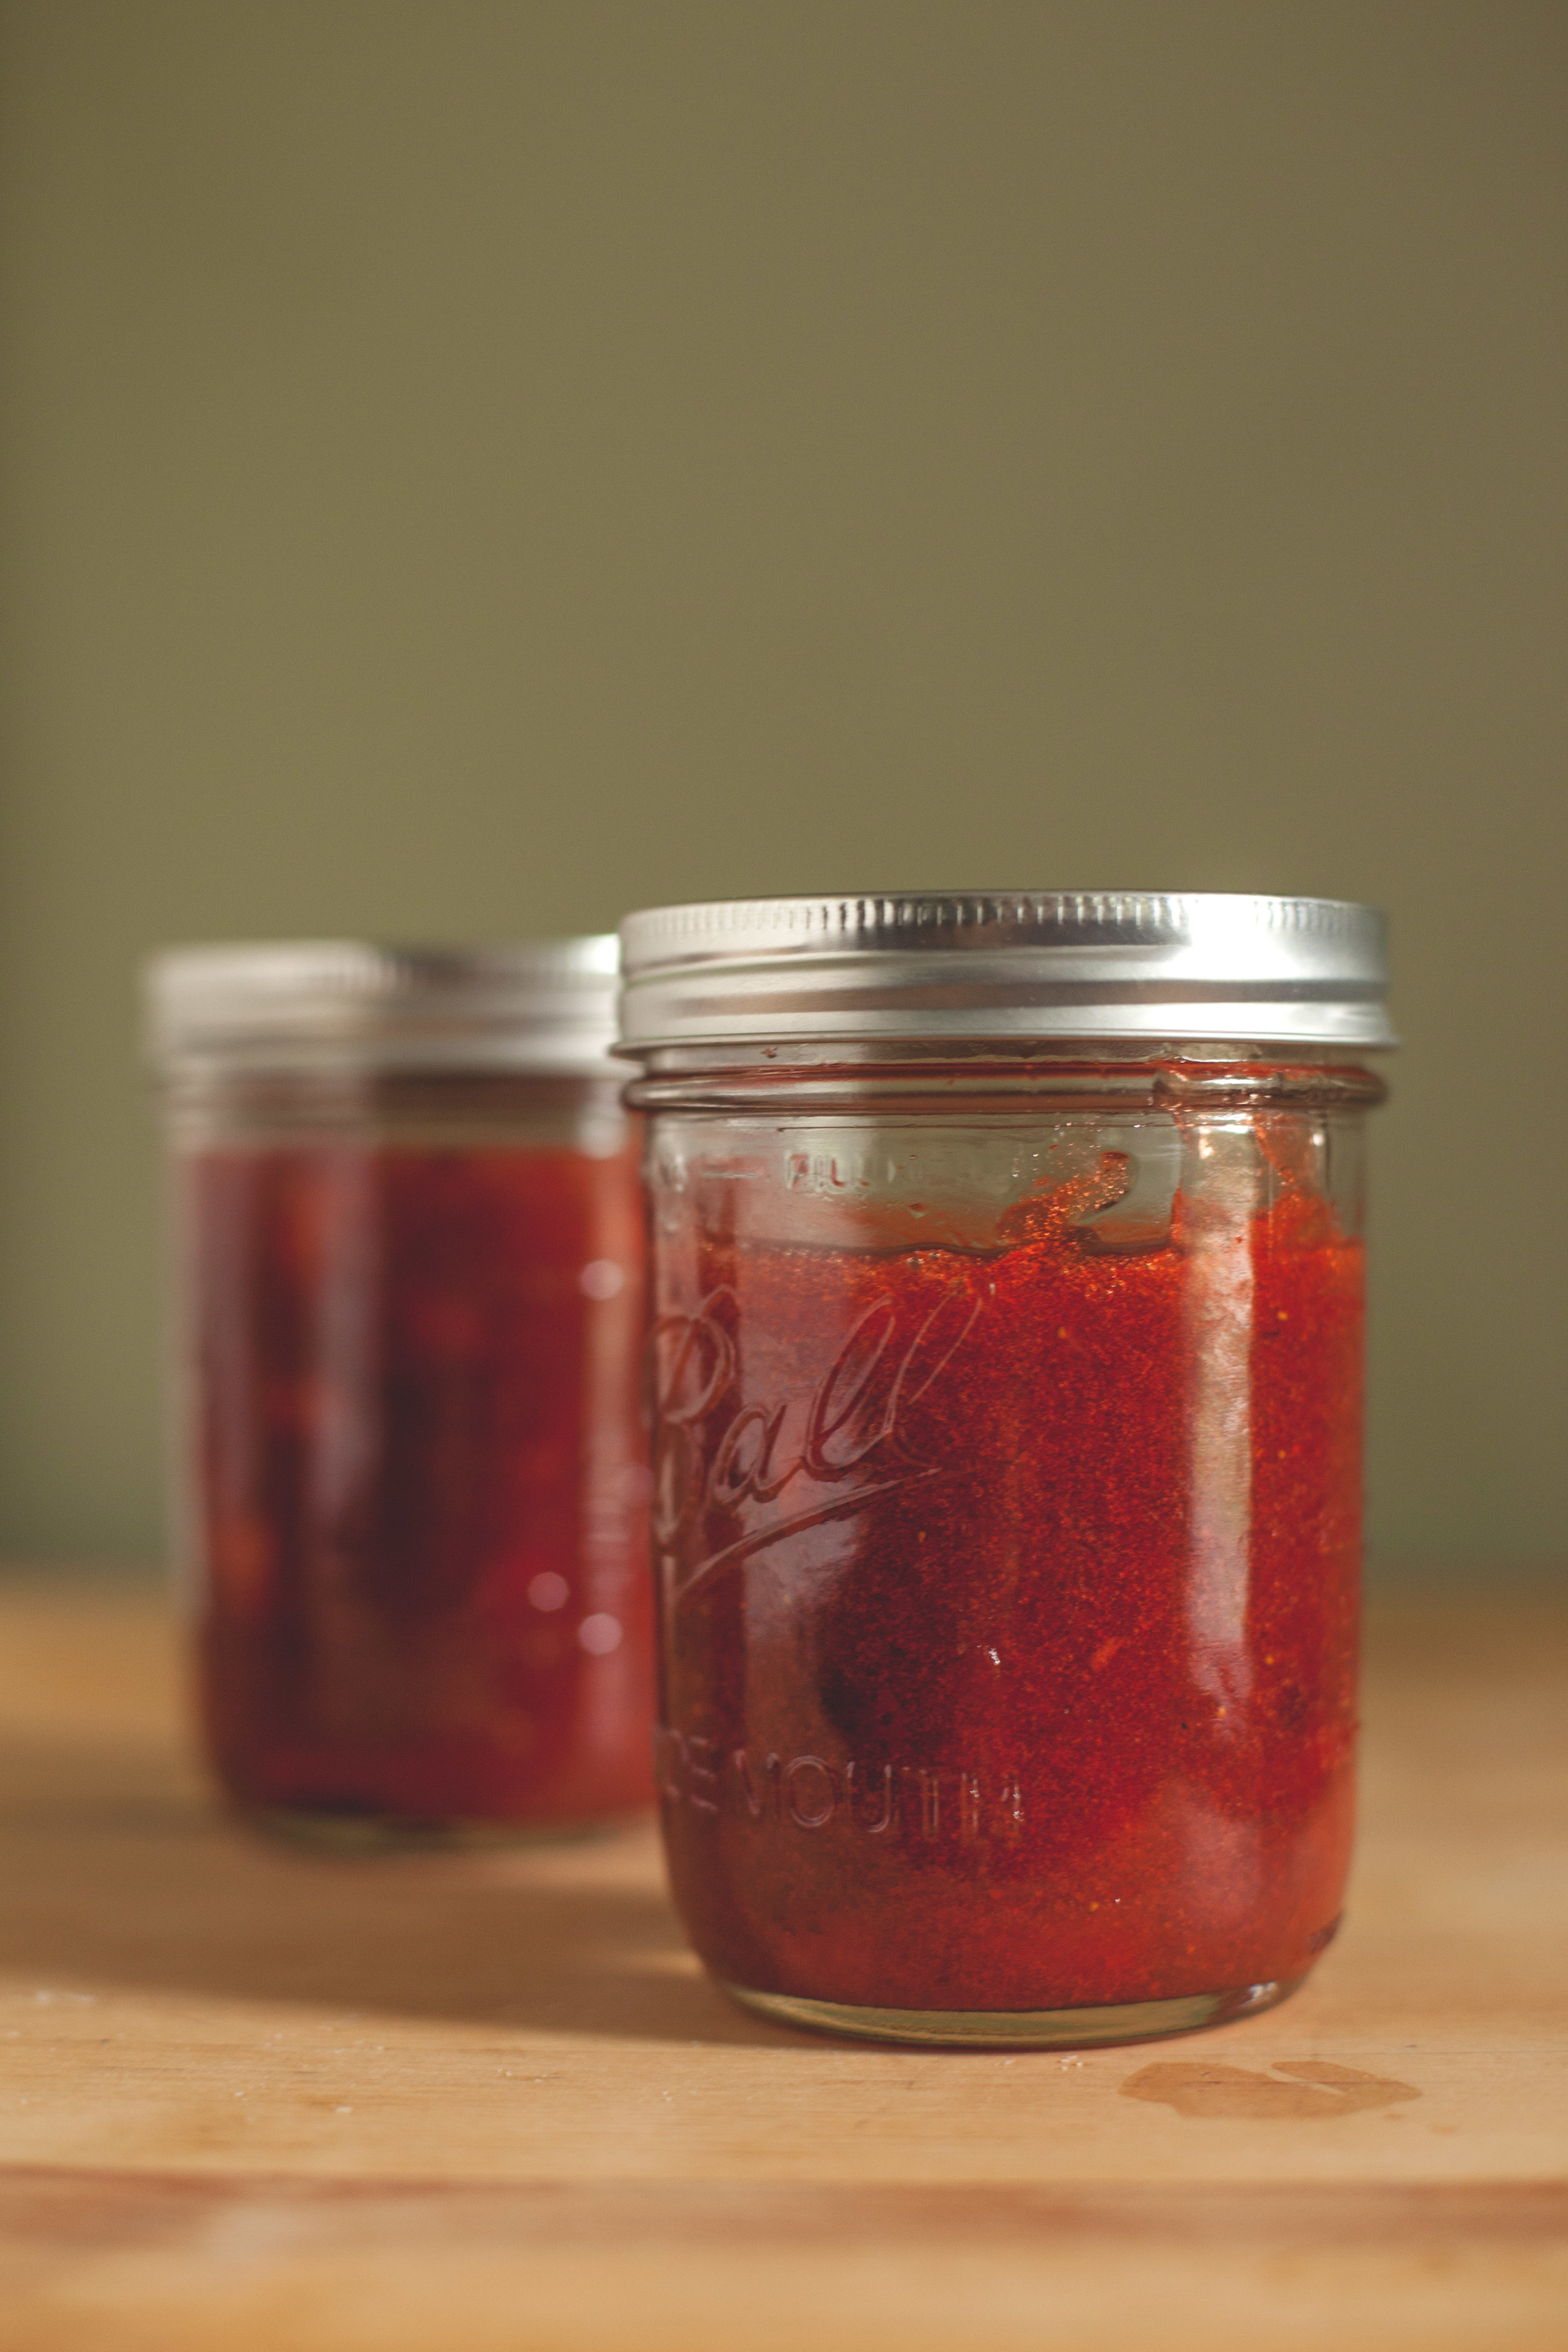
Making jam is a hot and very exacting process. The fruit, sugar and pectin, plus the sterilization of the jars, must be boiled and boiled and boiled for the perfect setting of the jam. Yet when the jars are filled, the tops secured and you hear the familiar POP, as the jars seal, there is an overwhelming sense of accomplishment.
In the middle of a cold, snowy Connecticut winter it is a special treat to sit down with a steamy cup of coffee and a piece of whole-wheat toast slathered with homemade jam.
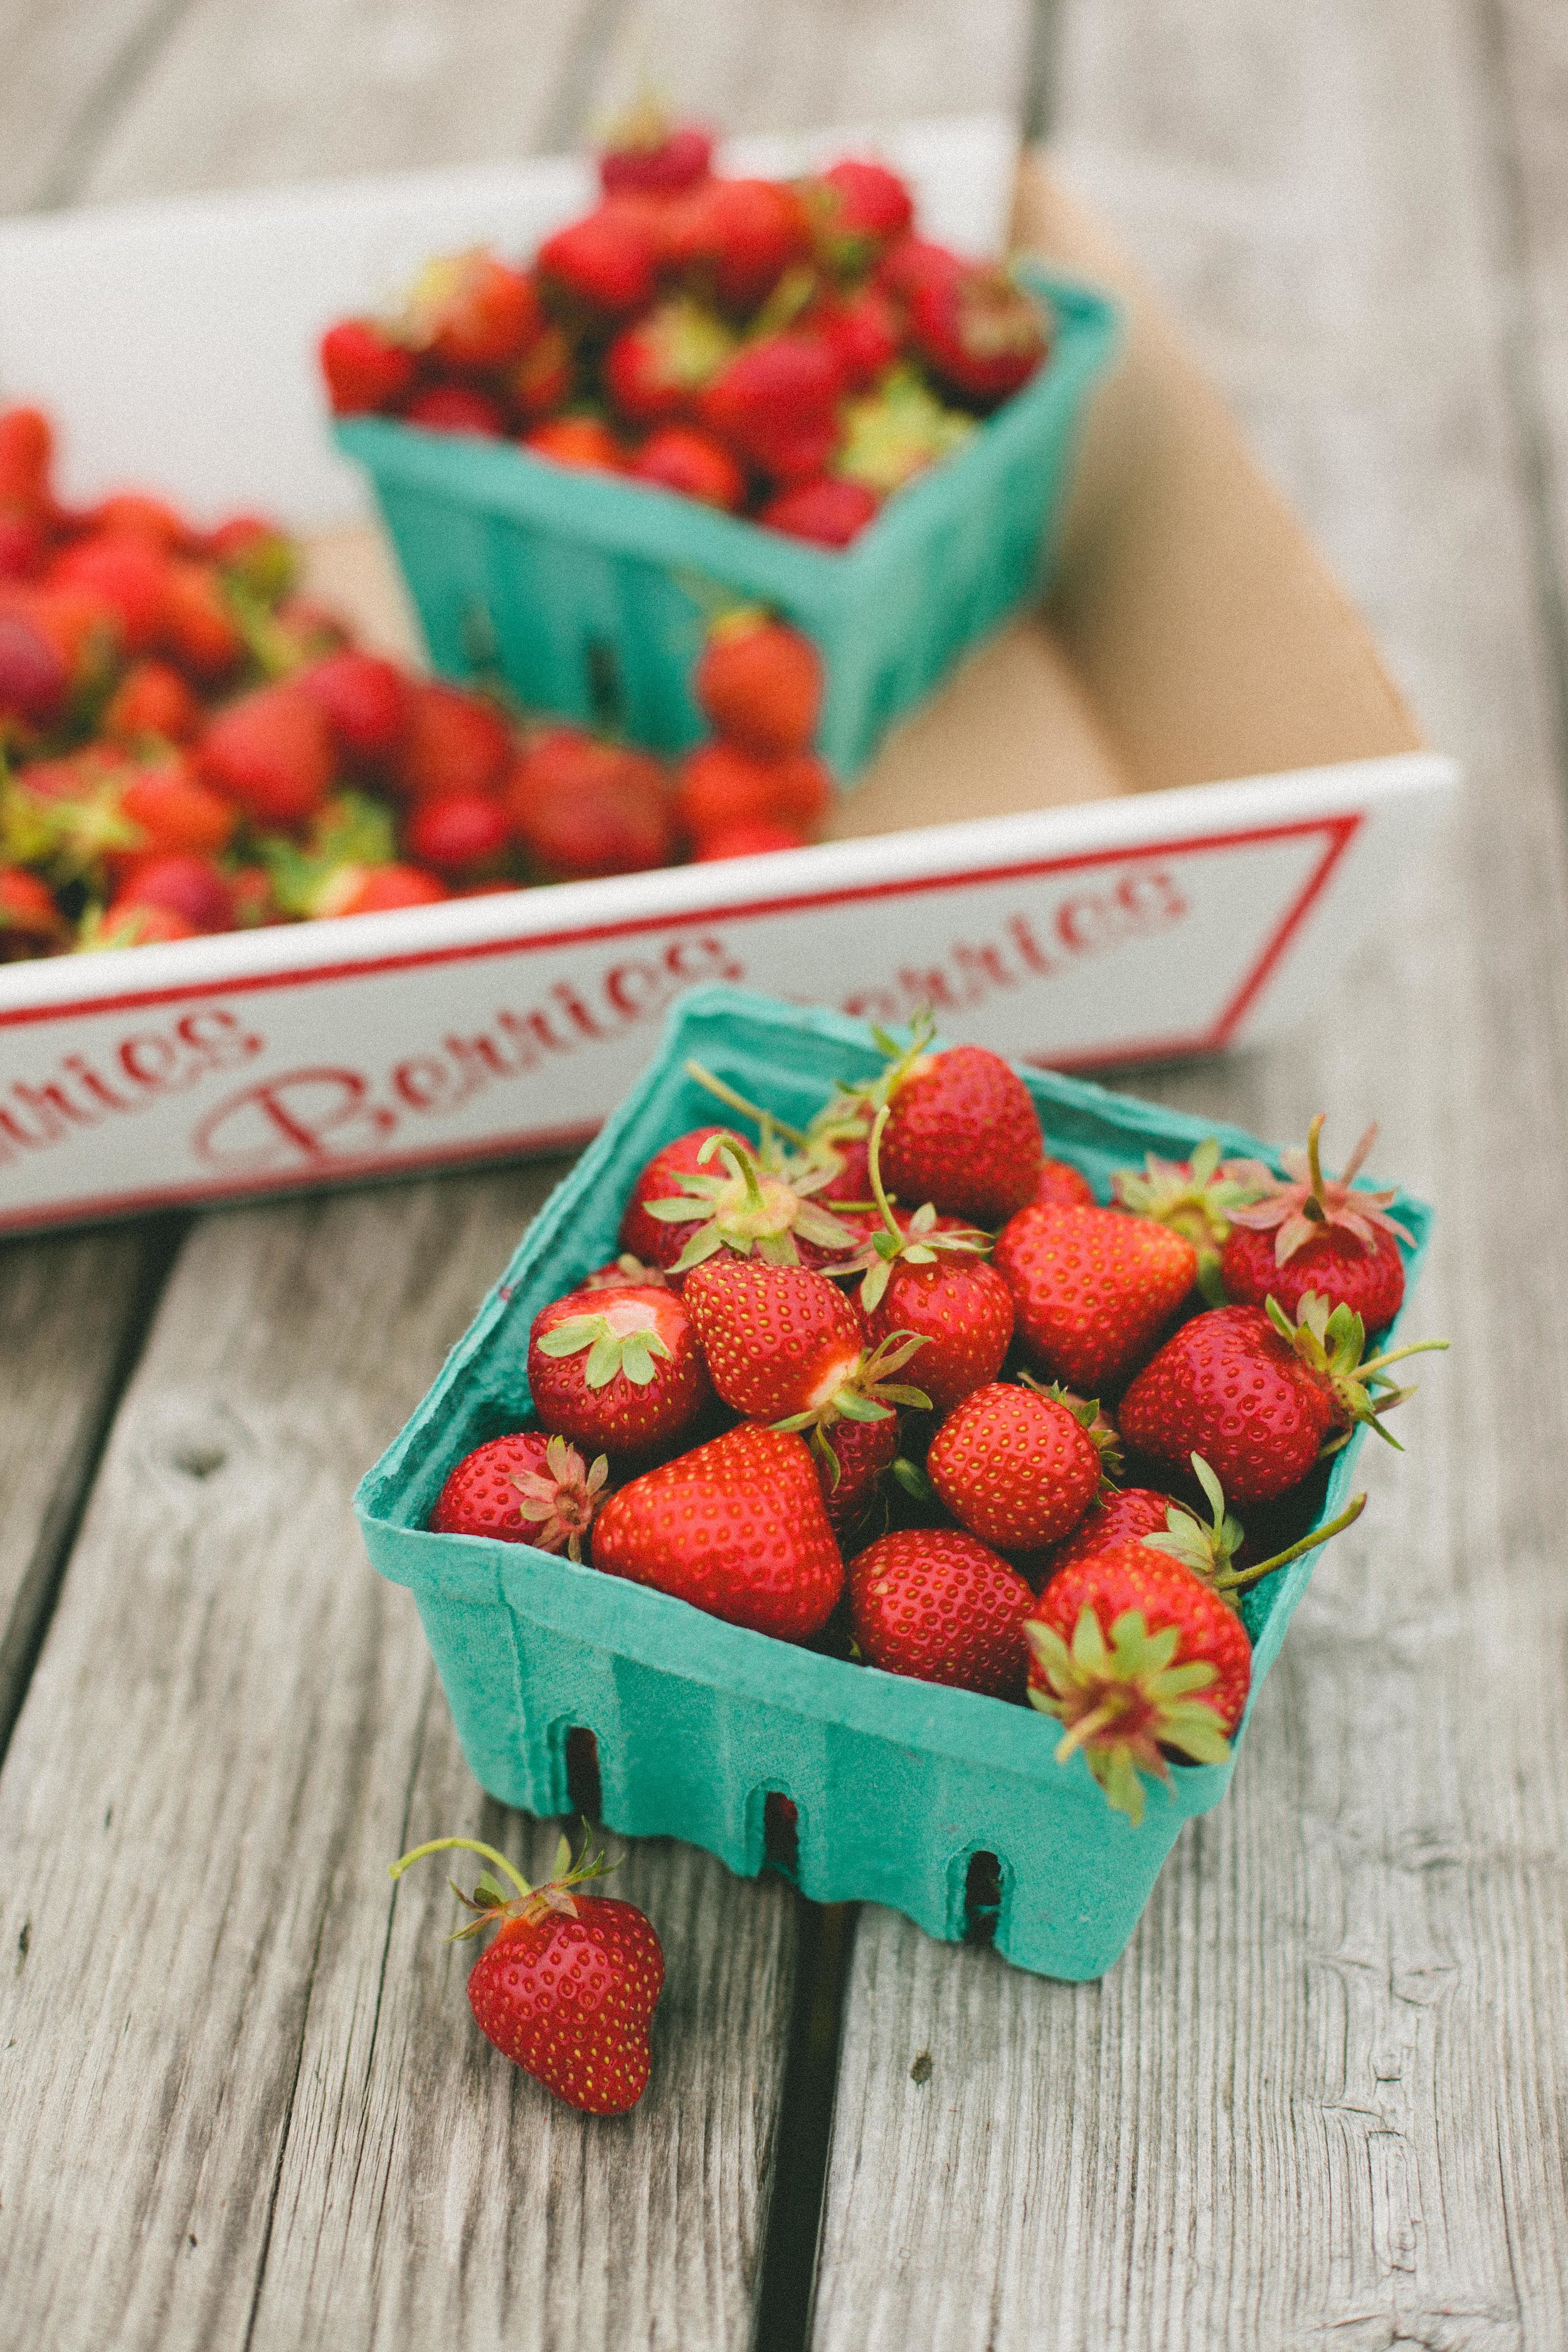
The choices are almost endless. We make strawberry, raspberry, peach, strawberry peach, raspberry peach and triple berry consisting of raspberry, strawberry and blueberry.
Wrapped in a pretty dishtowel this liquid gold is a gift that is sought after year after year.
Strawberry Jam
Ingredients
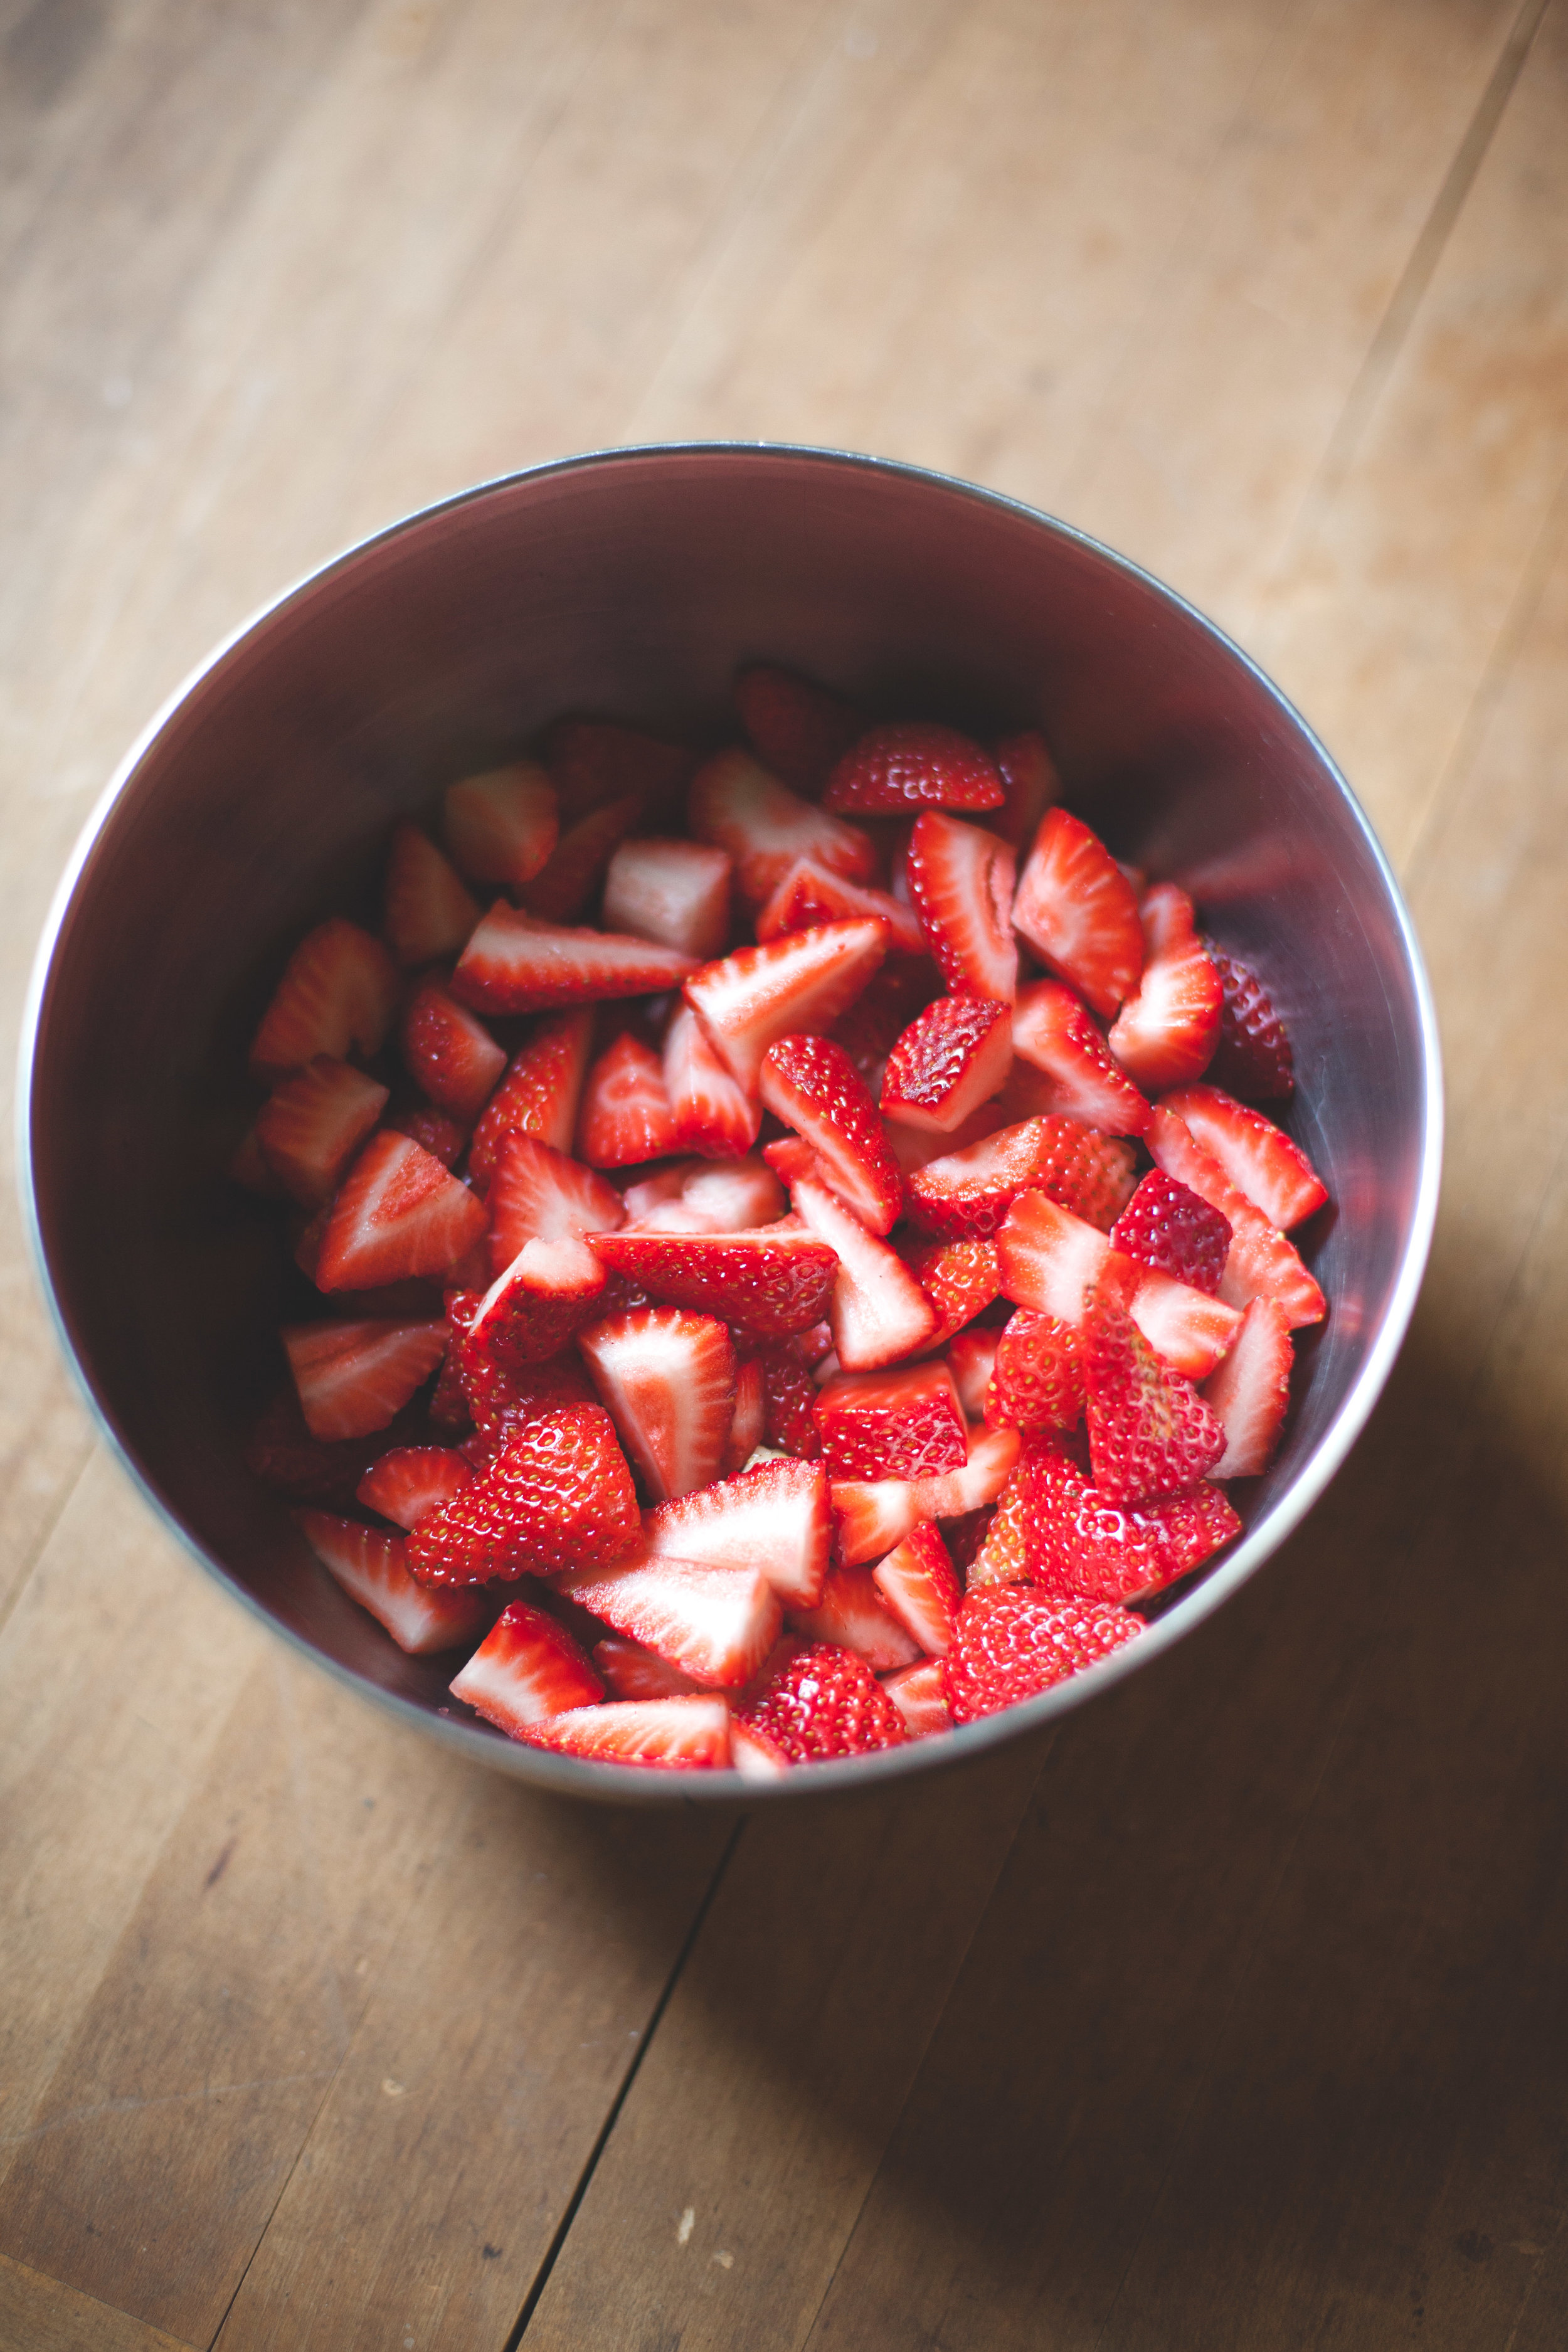
- 6 cups coarsely chopped strawberries
- 4 cups sugar
- ½ teaspoon butter (optional)
- ½ teaspoon butter (optional)
- 1.75 oz. low-sugar powdered fruit pectin (1 box)
- Jam jars
Method
Wash and remove the stems from the strawberries and coarsely chop. Fill a large pan with water, set the jars in the water and bring to a boil. Let the jars sit in the slowly boiling water until they are needed. Fill a shallow saucepan with water, place the lids and screw tops in the pan and bring to a boil. Let this simmer until needed.
Measure the exact amount of strawberries into a 6 or 8-quart saucepan. Optional: Stir in butter (to cut down on foaming). Measure the exact amount of sugar into a separate bowl.
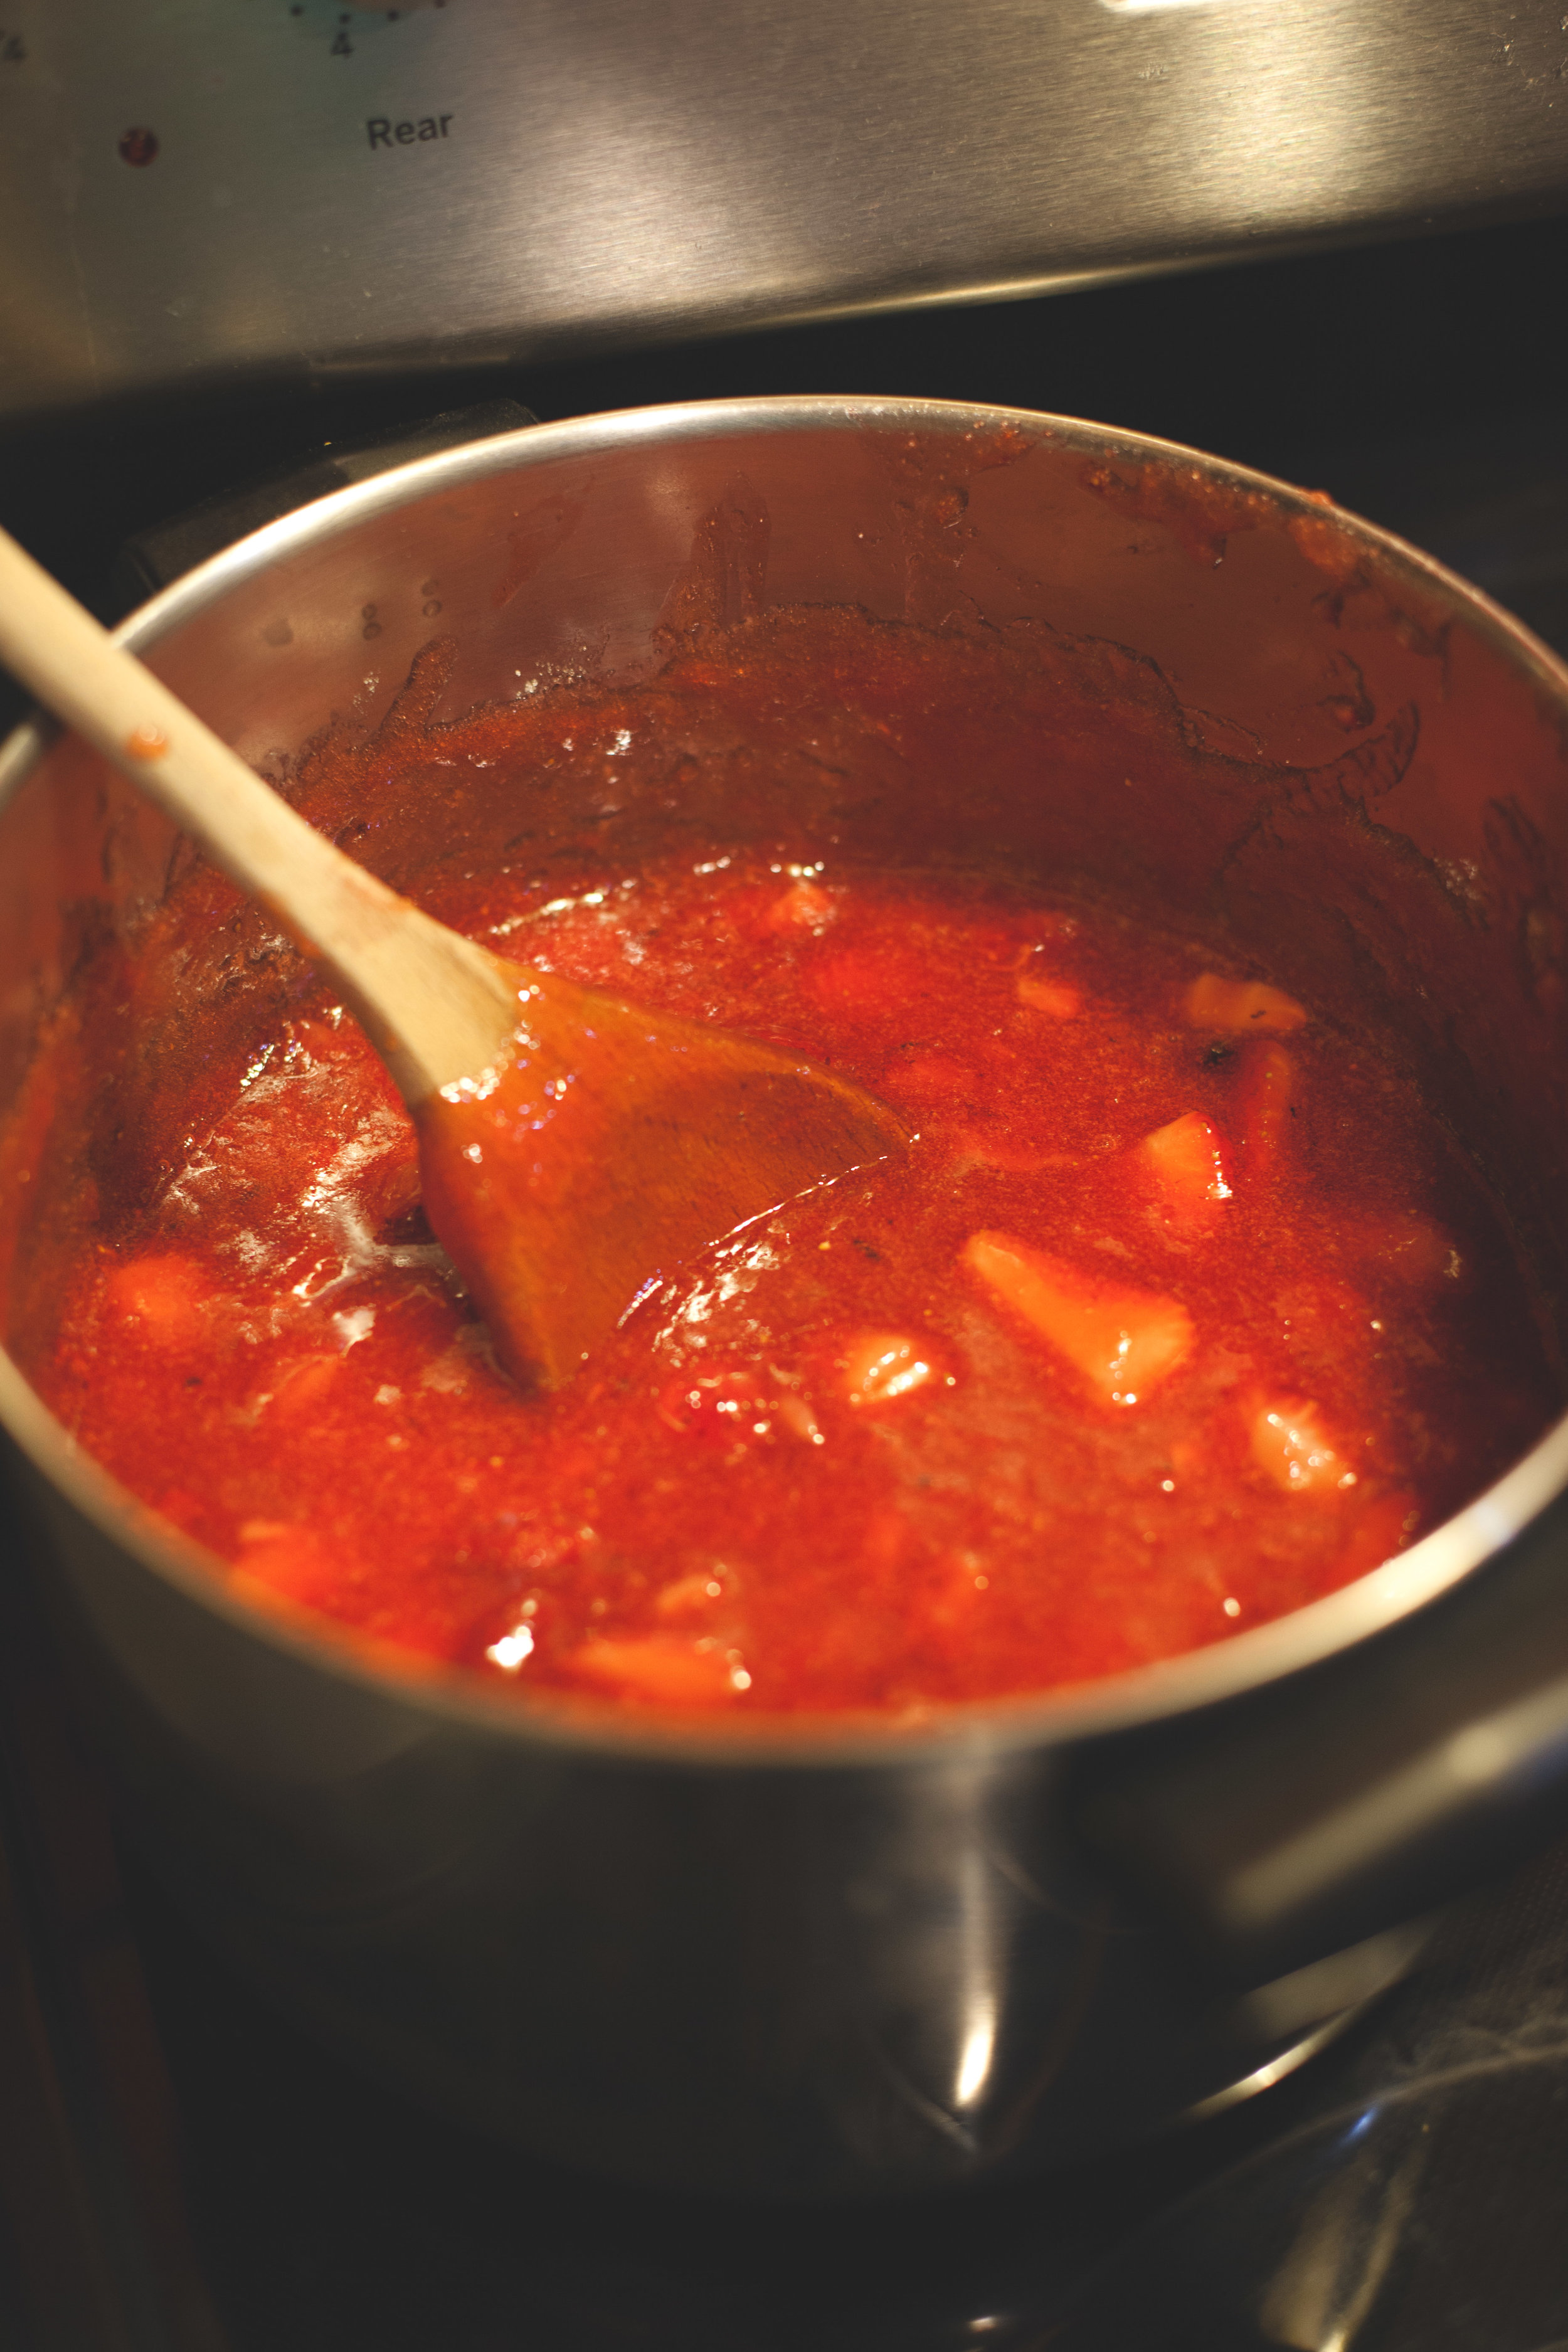
Mix ¼ cup of the measured sugar with 1 box of low sugar powered fruit pectin. Stir this into fruit mixture and bring to a complete rolling boil (a boil that does not stop when stirred) on high heat, stirring constantly. When it has come to a complete boil, add remaining sugar quickly. Return to a full rolling boil and boil for 1 minute. Stirring during process is important to avoid burning fruit.
Remove from heat and skim off any foam.
Ladle quickly into prepared jars. Fill to within 1/8 inch of the top of the jar. Wipe the jar rims and threads clean of any jam. Cover the jars with lids and screw bands. Place the jars upside down on an elevated rack for 5 minutes. Place the jars right side up to cool. As the jars cool you will hear a POP as the jars seal.
You can check the sealing process by pressing down on the middle of the lid with your finger. If the lid springs back, it is not sealed. Cooling times varies, so patience is required! If jars do not seal they should be refrigerated. Store the sealed jam in a cool, dry place for up to a year. Refrigerate open jars for up to 3 weeks.