Naturally Dyed Eggs for Easter
Currently we are working on our 9th issue, The Homesteading Issue, and we have been interested in a lot of do it yourself and using your resources type projects.
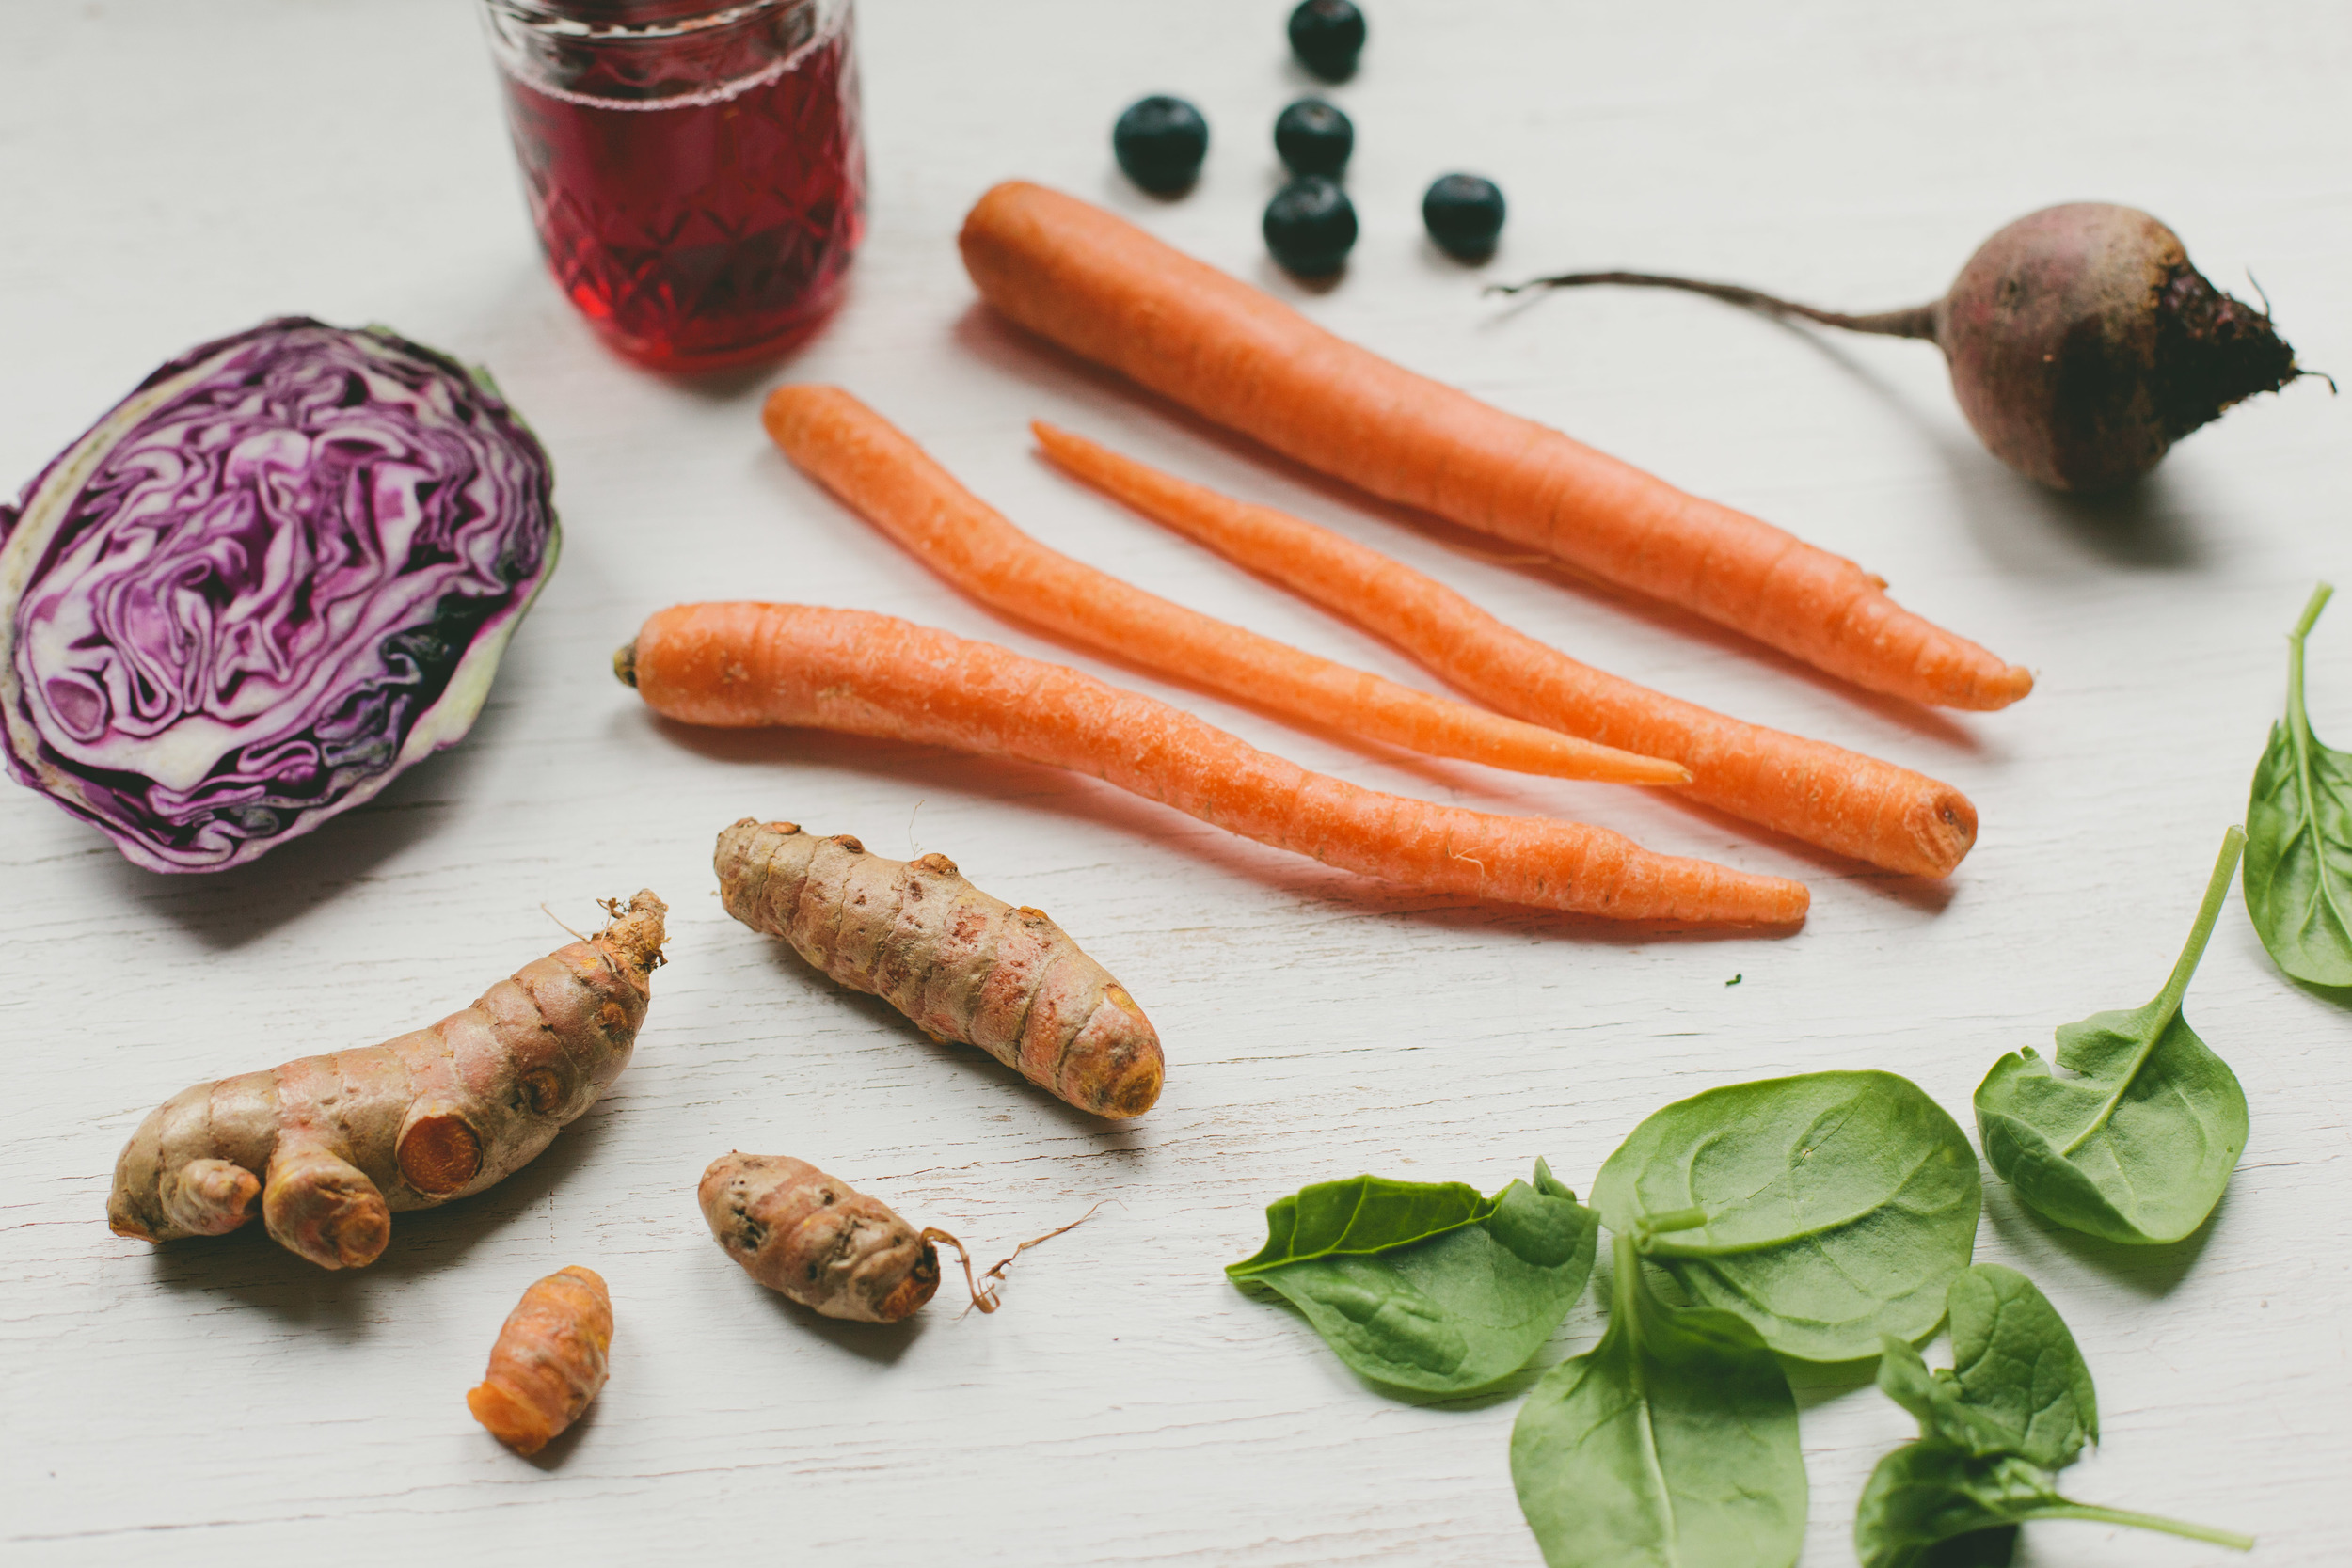
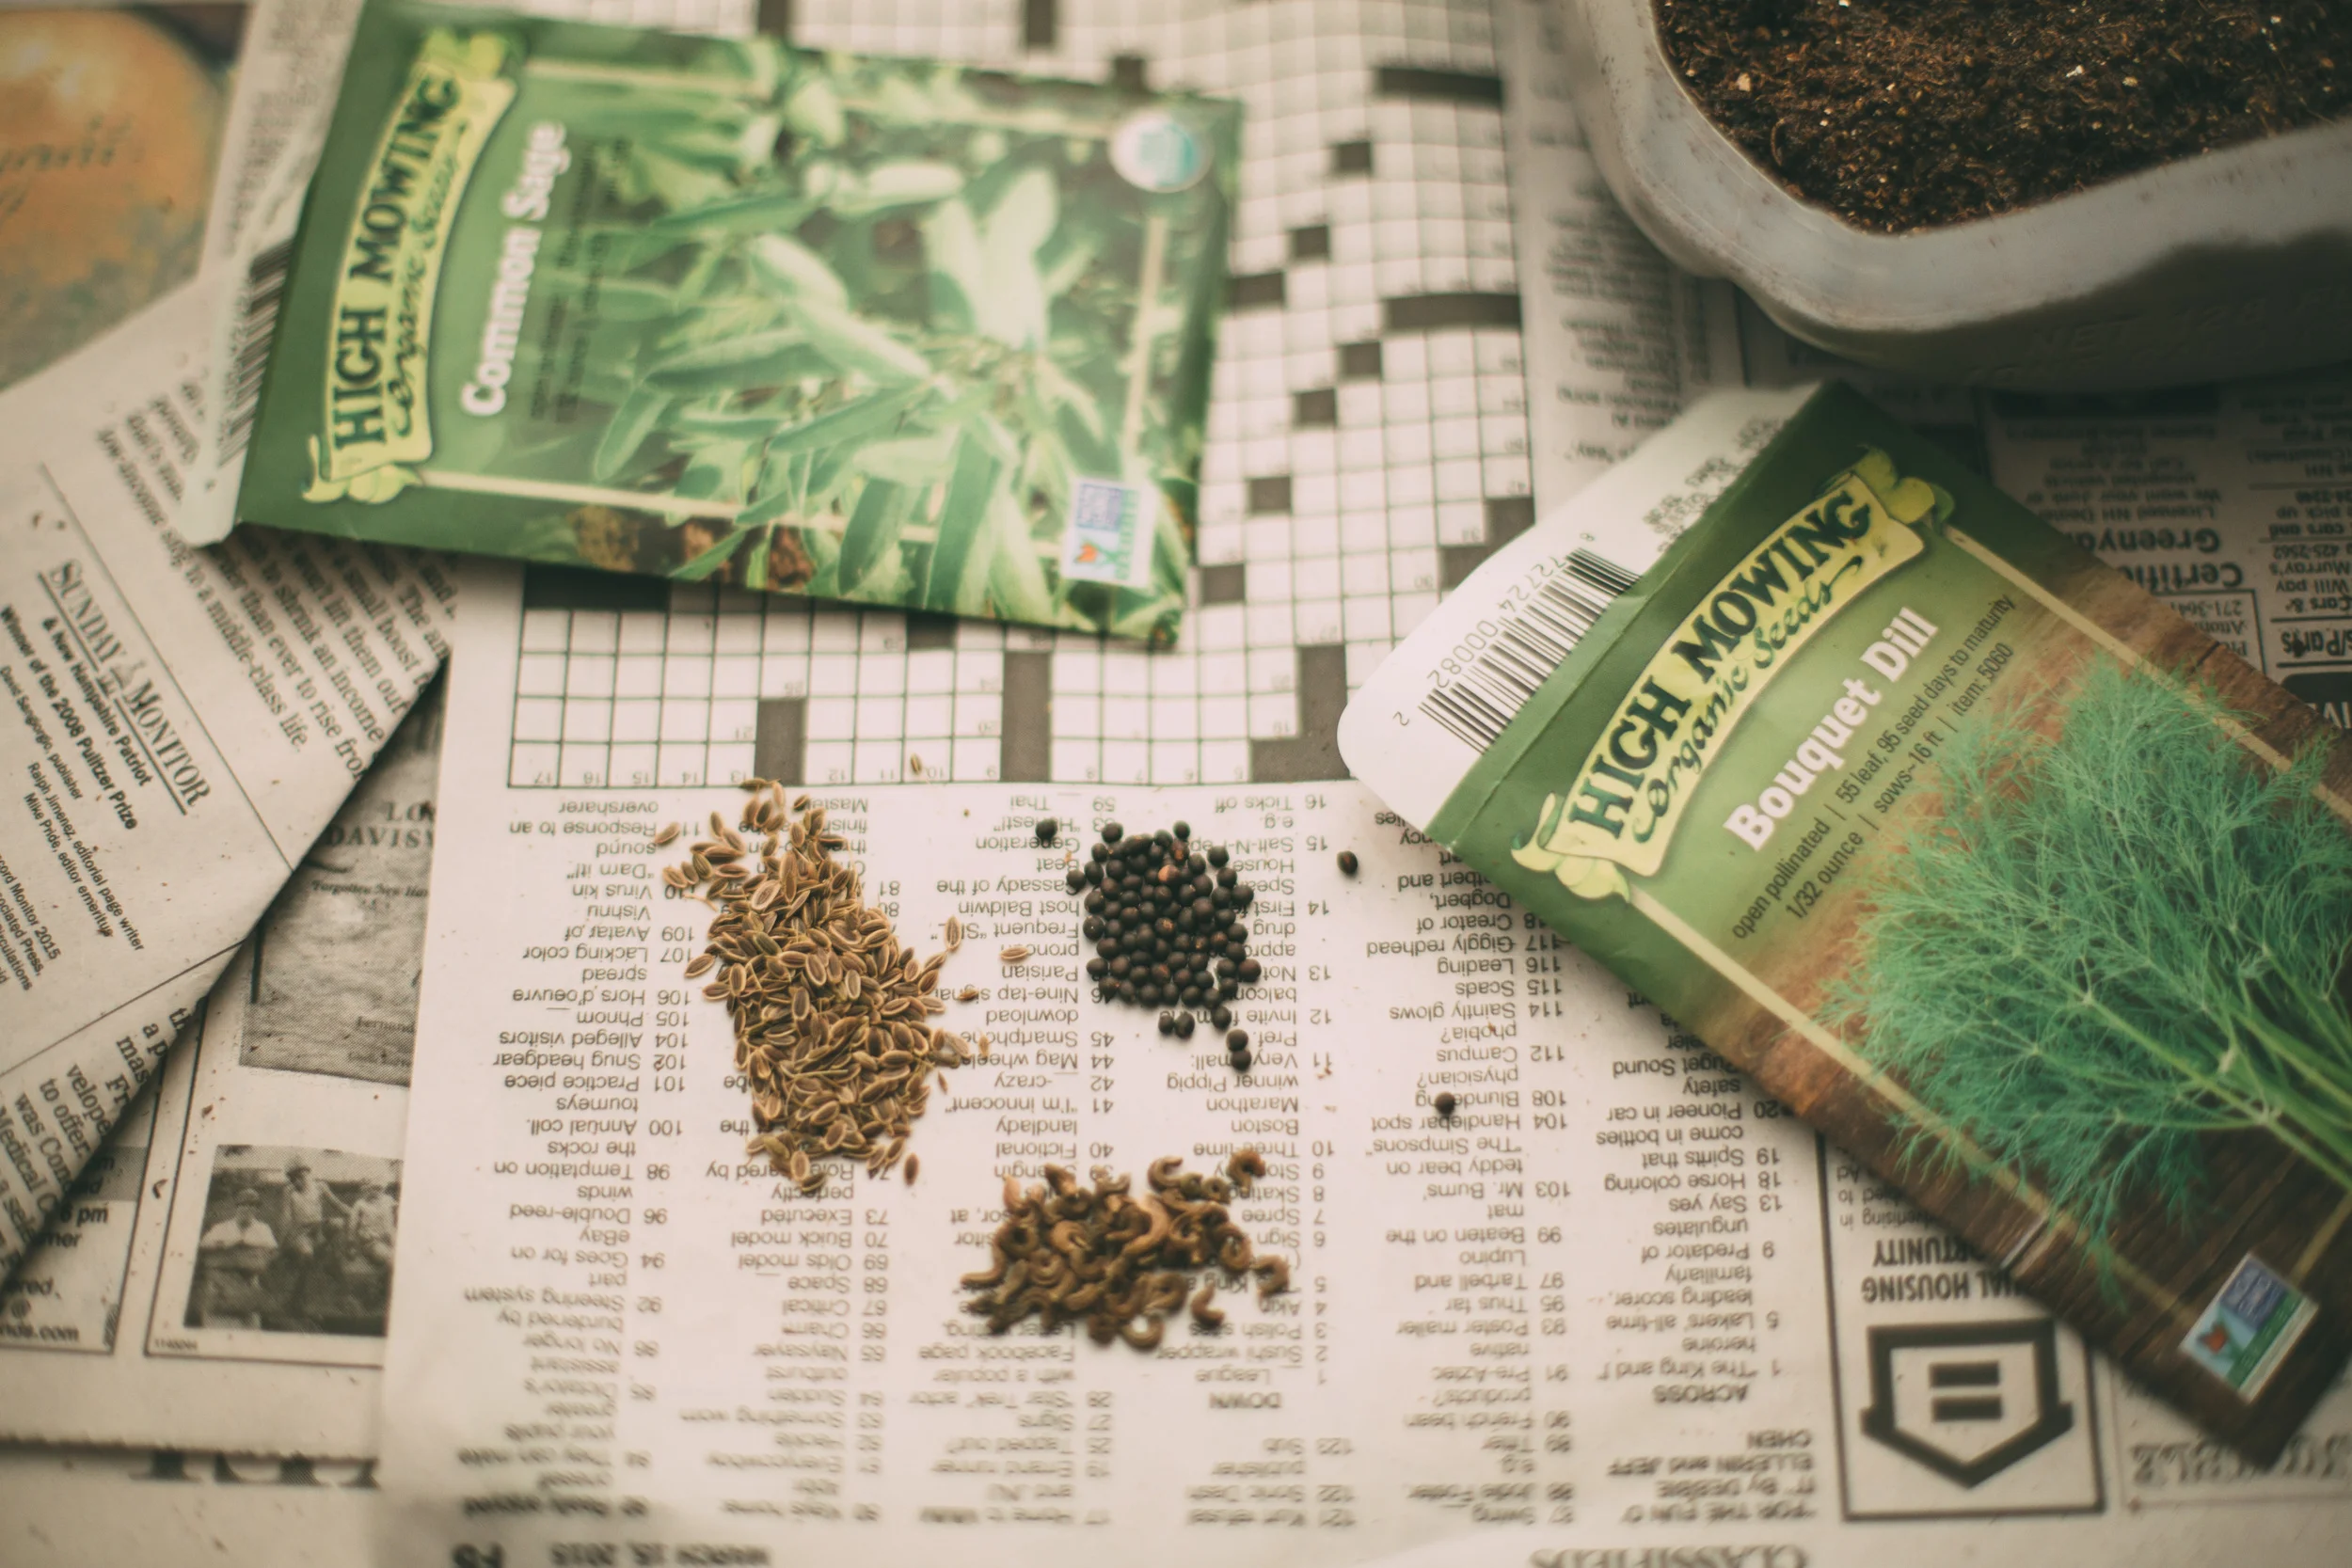
Making natural dyes is easy and you can generally find materials in your kitchen or outside! You can use vegetables, fruits, skins of either of those, flowers, tea, coffee, etc...
This is a great project for anyone in the family and you also don't have to worry about toxic dyes if you want to eat the eggs after.
There are a few different ways you can do this. What worked best for us was:
- Chop up and put your base material into a pot, cover with water and boil for 30 minutes.
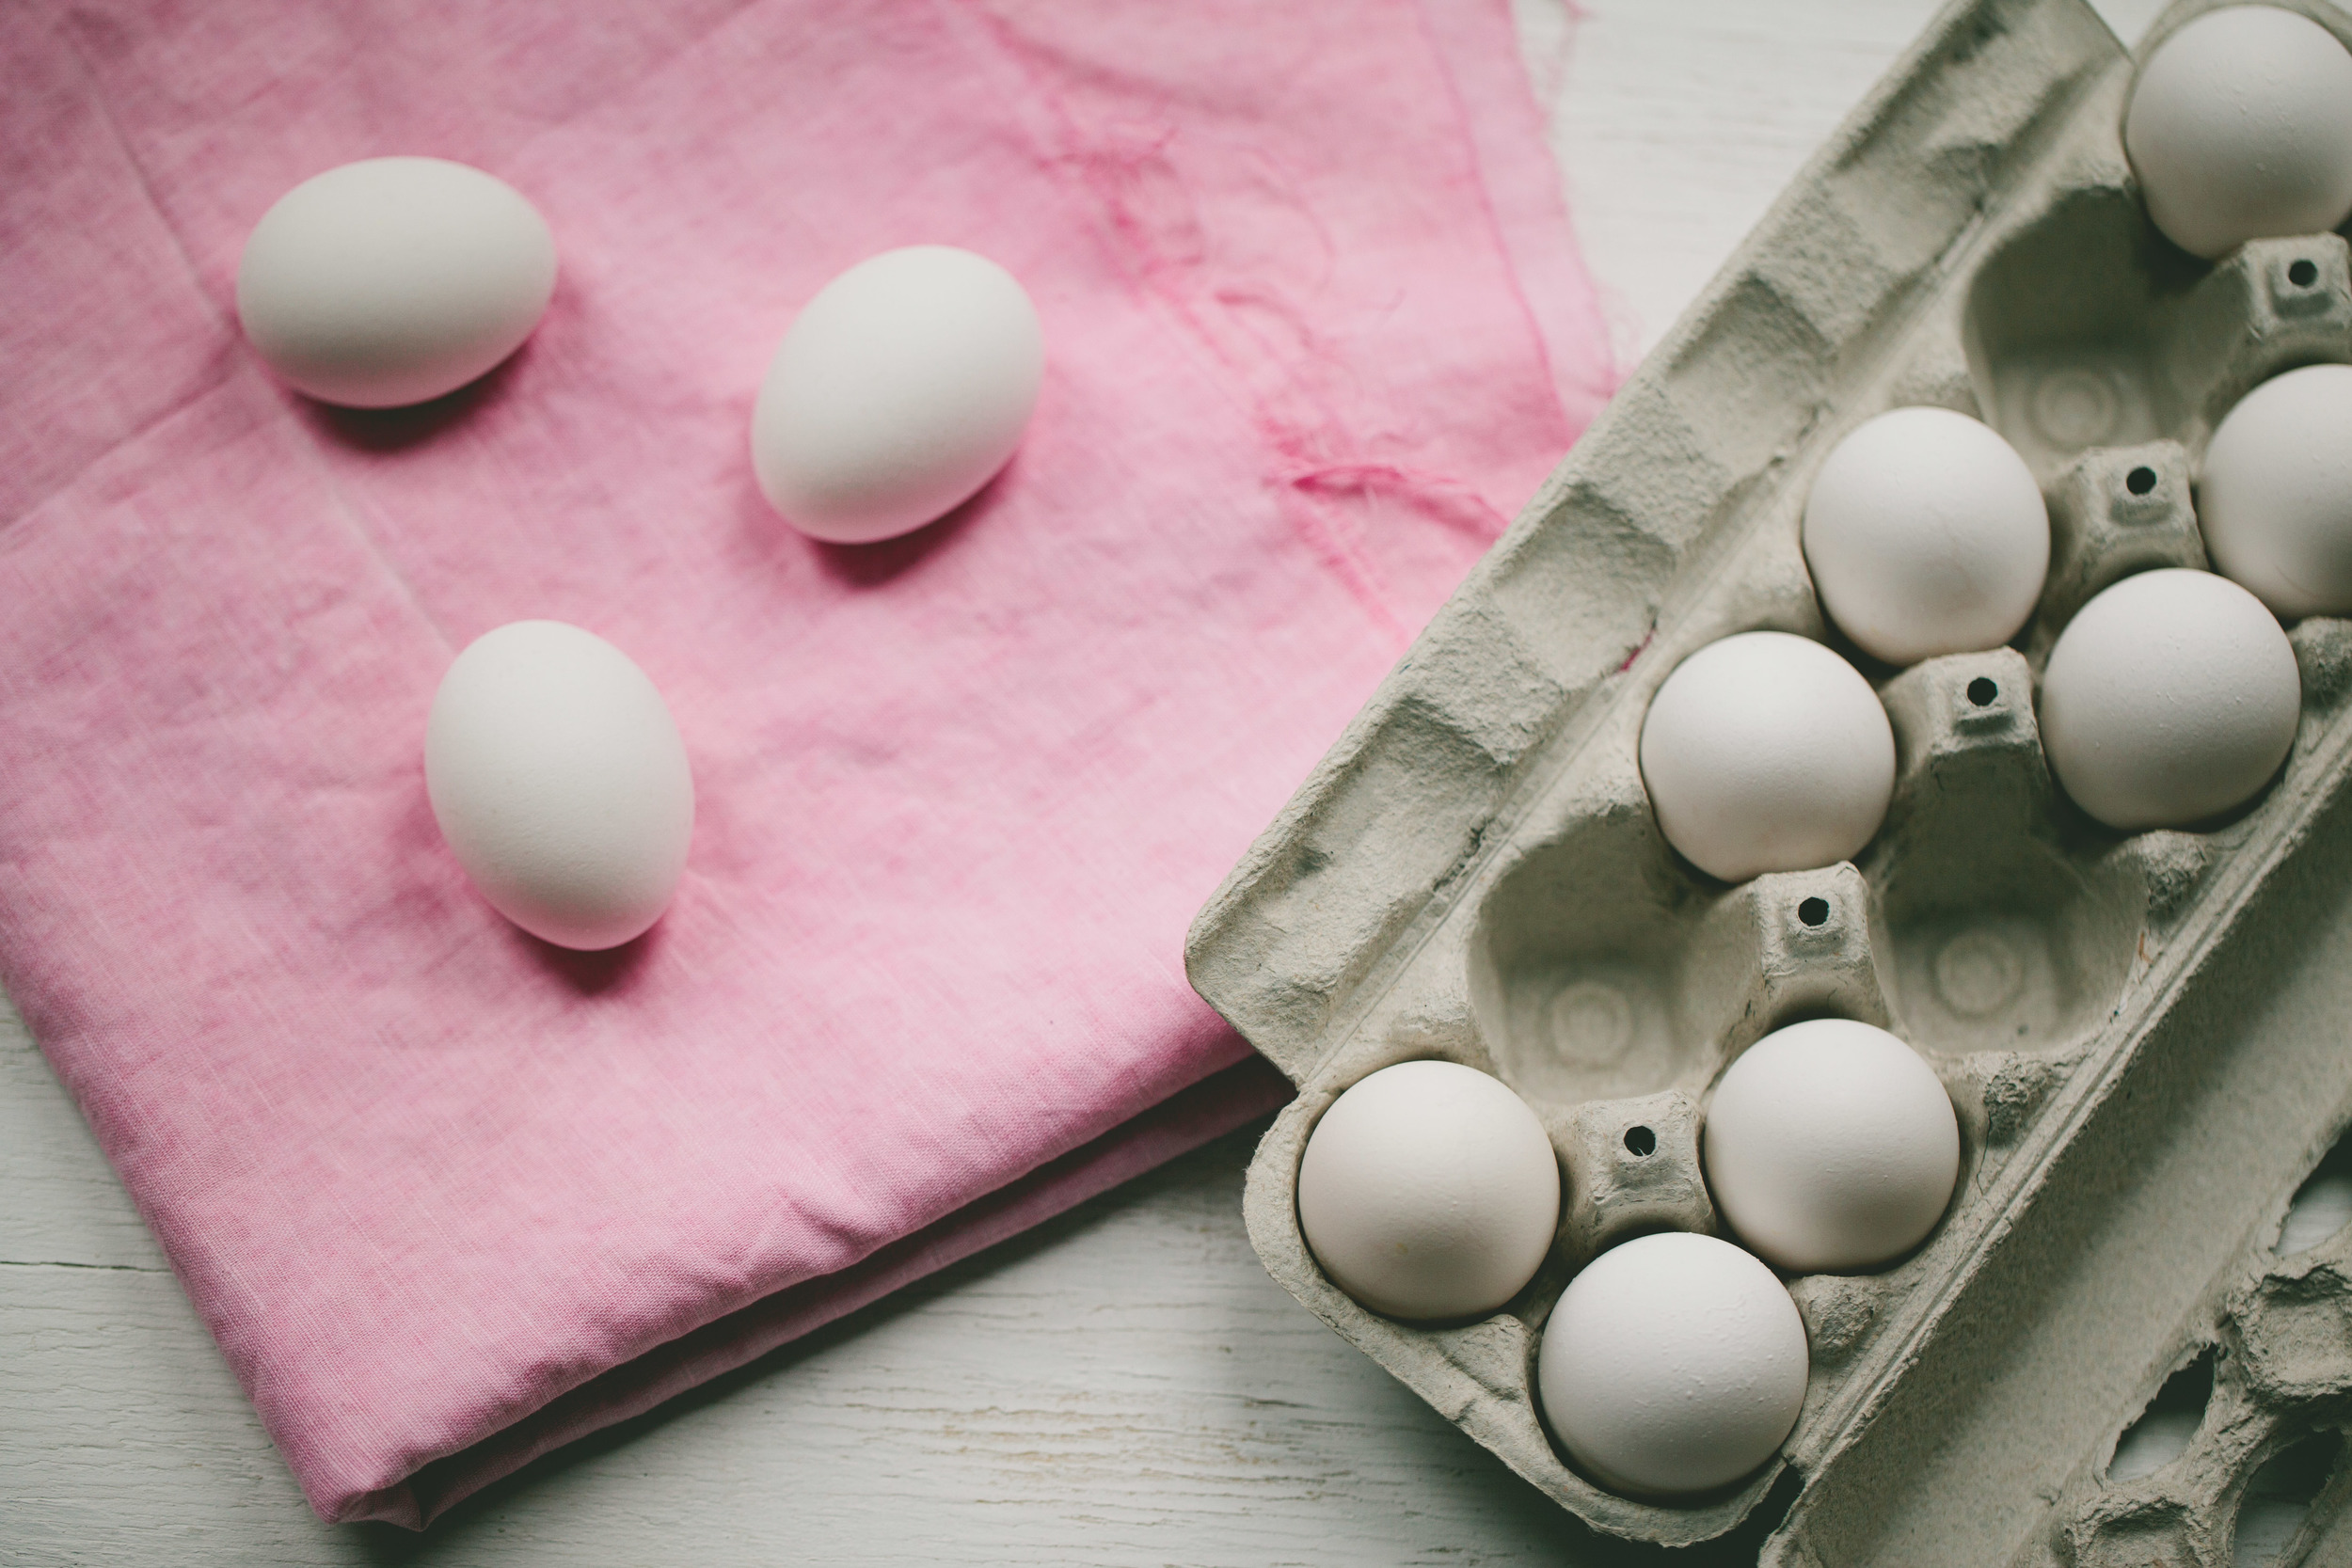
- During the 30 min, hard boil your eggs.
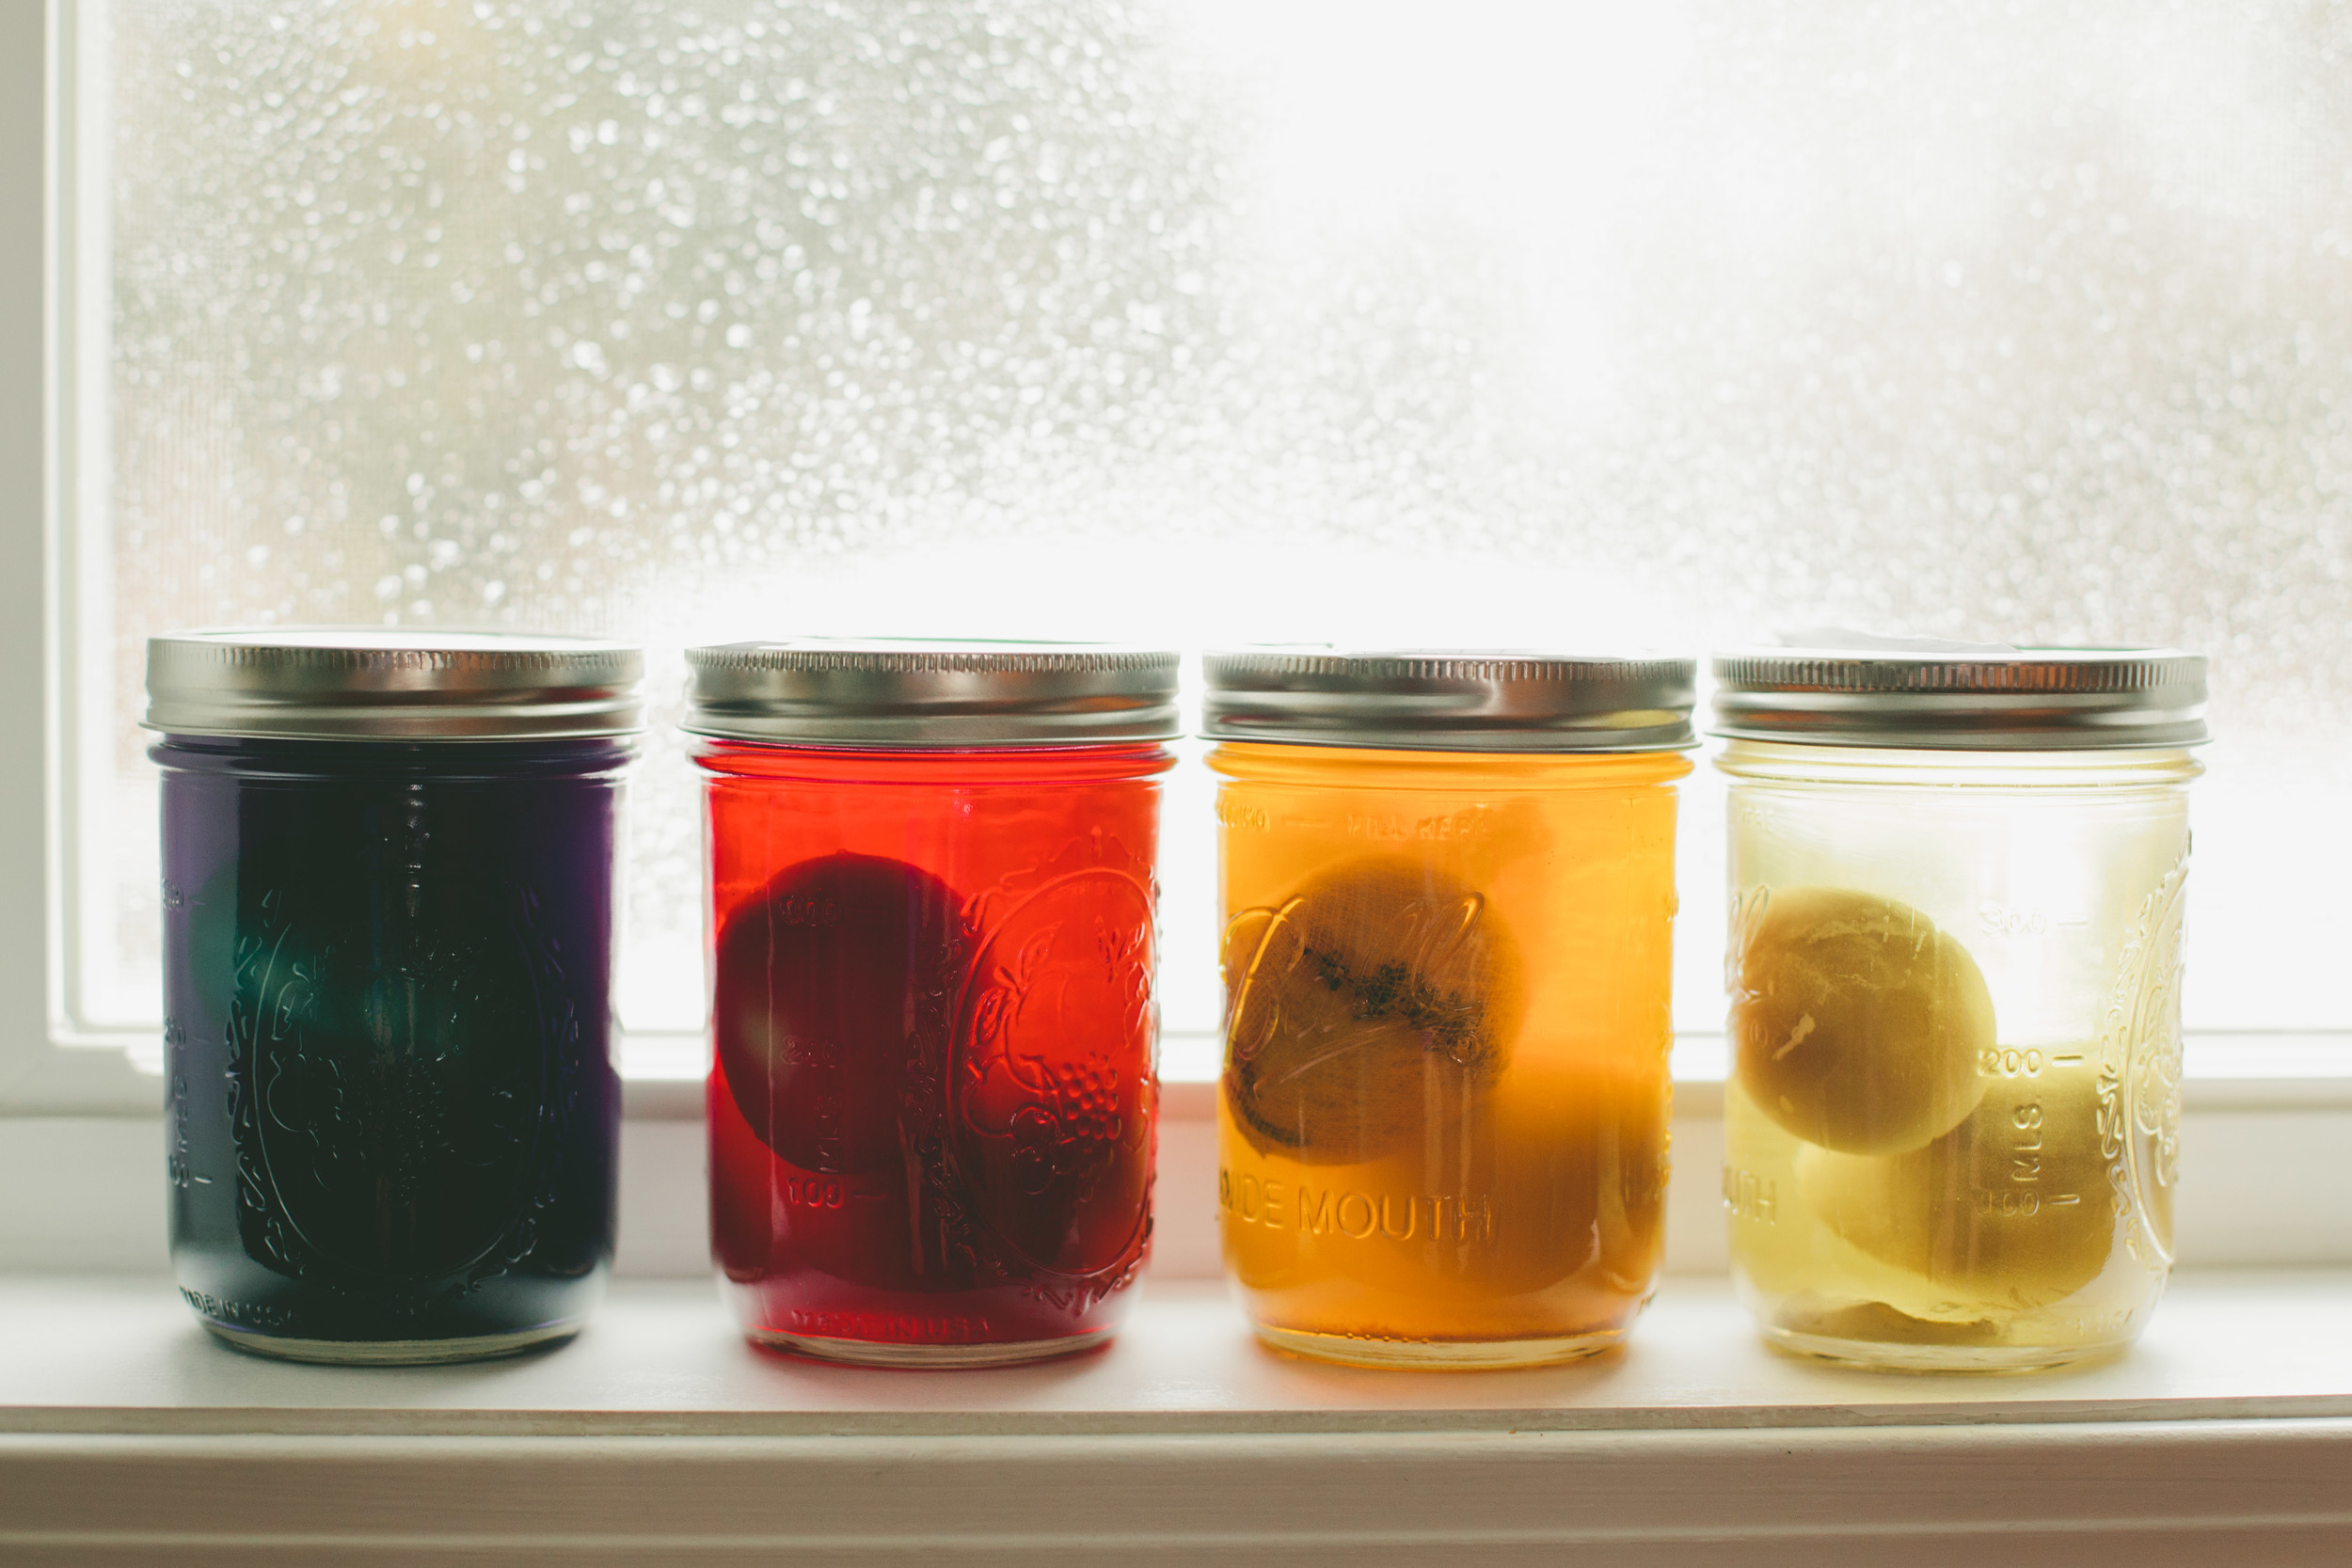
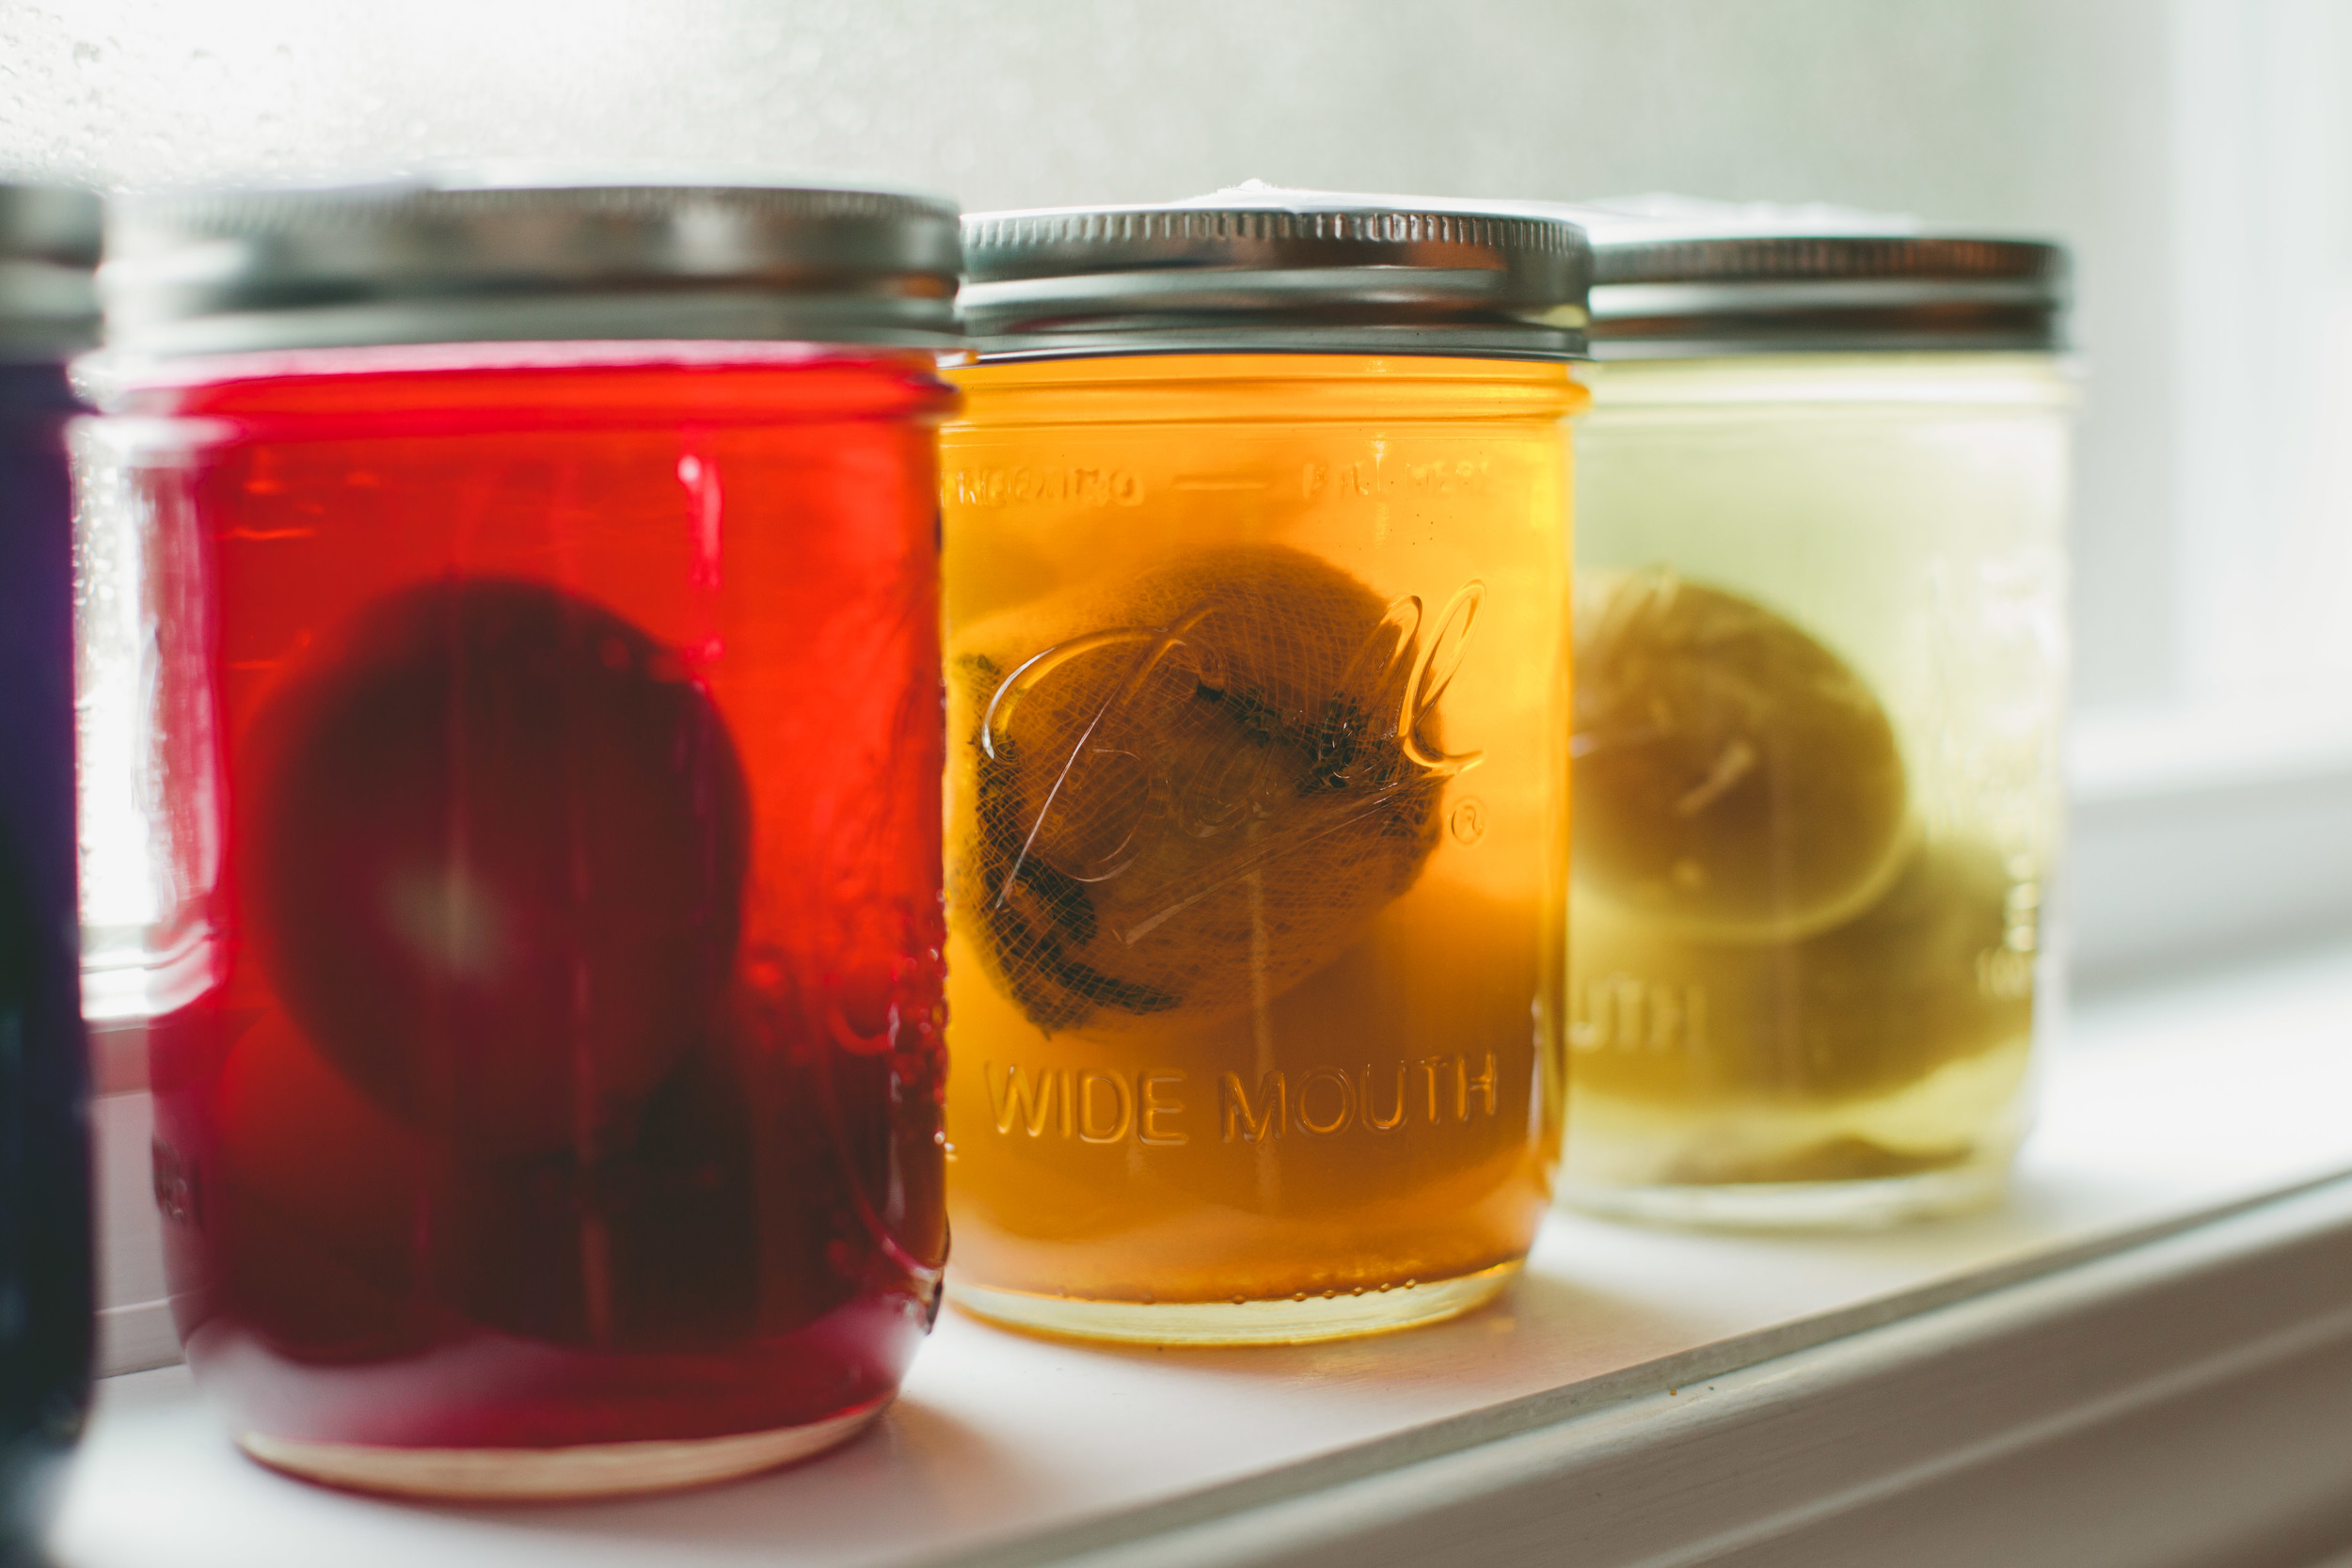
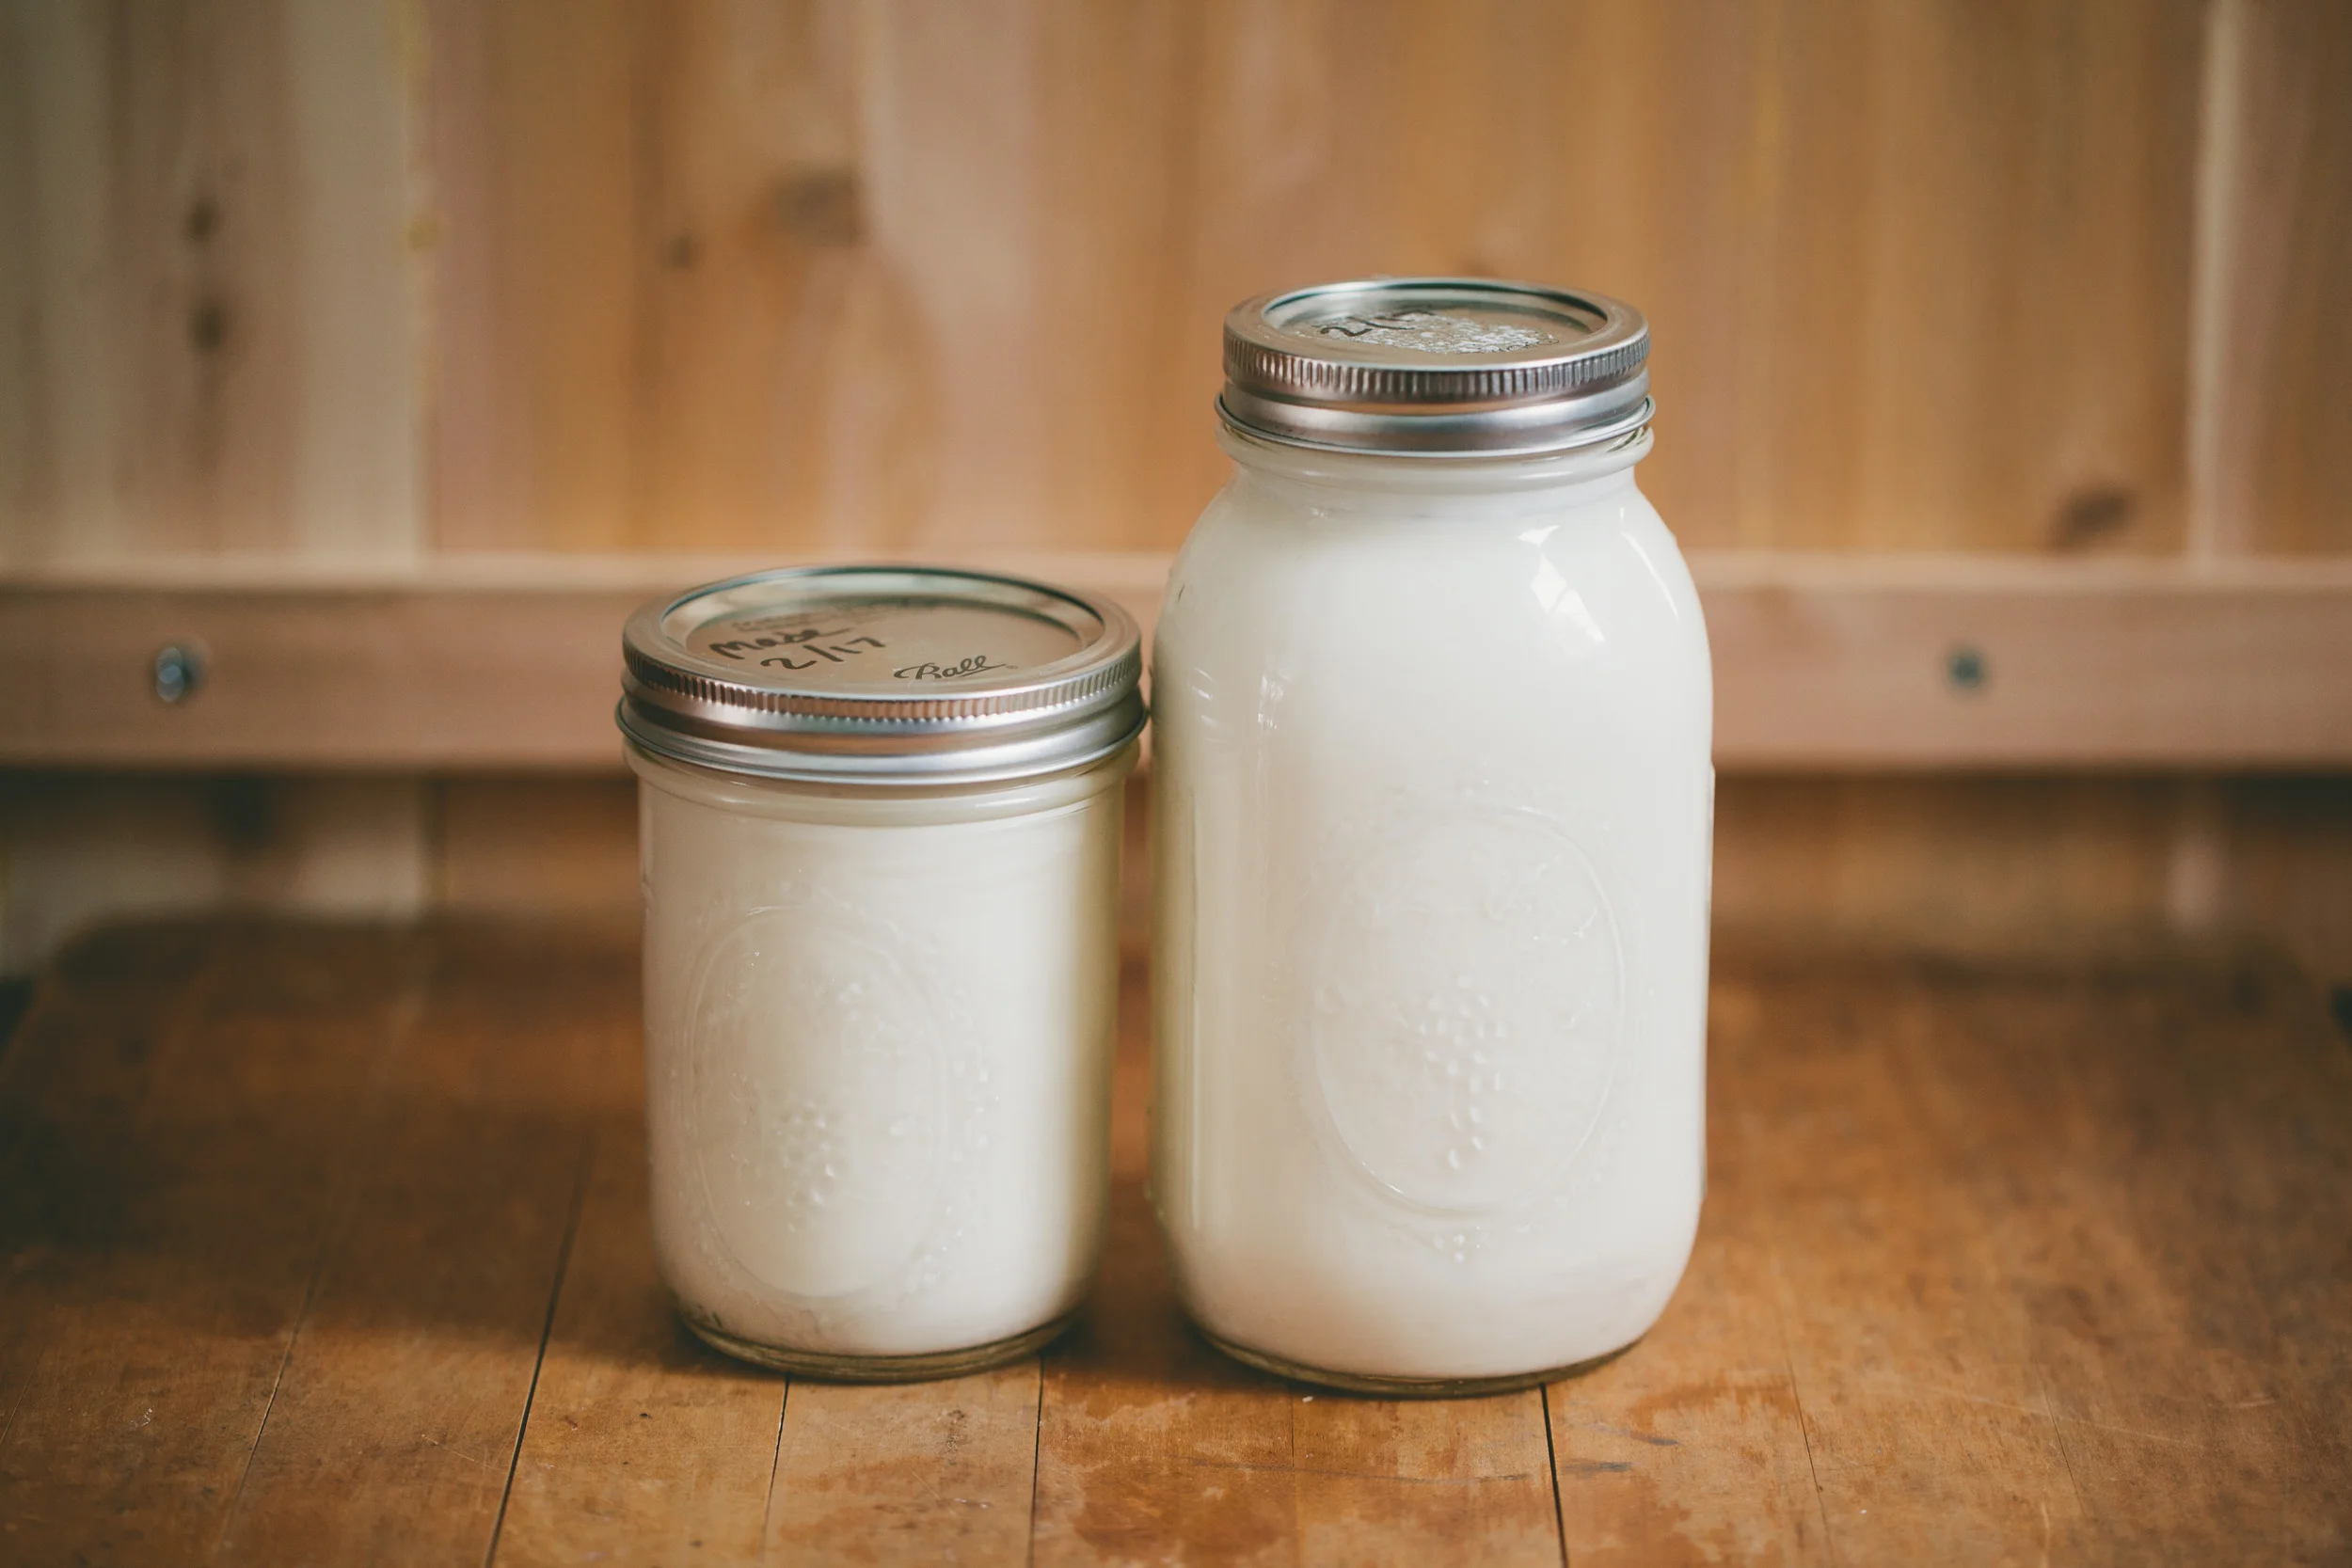
- Once your base material has boiled, strain and pour into a jar (we used mason jars).
- Stir in 2 tablespoons of white vinegar and let it cool down for a bit.
- Put your egg(s) in the jar.
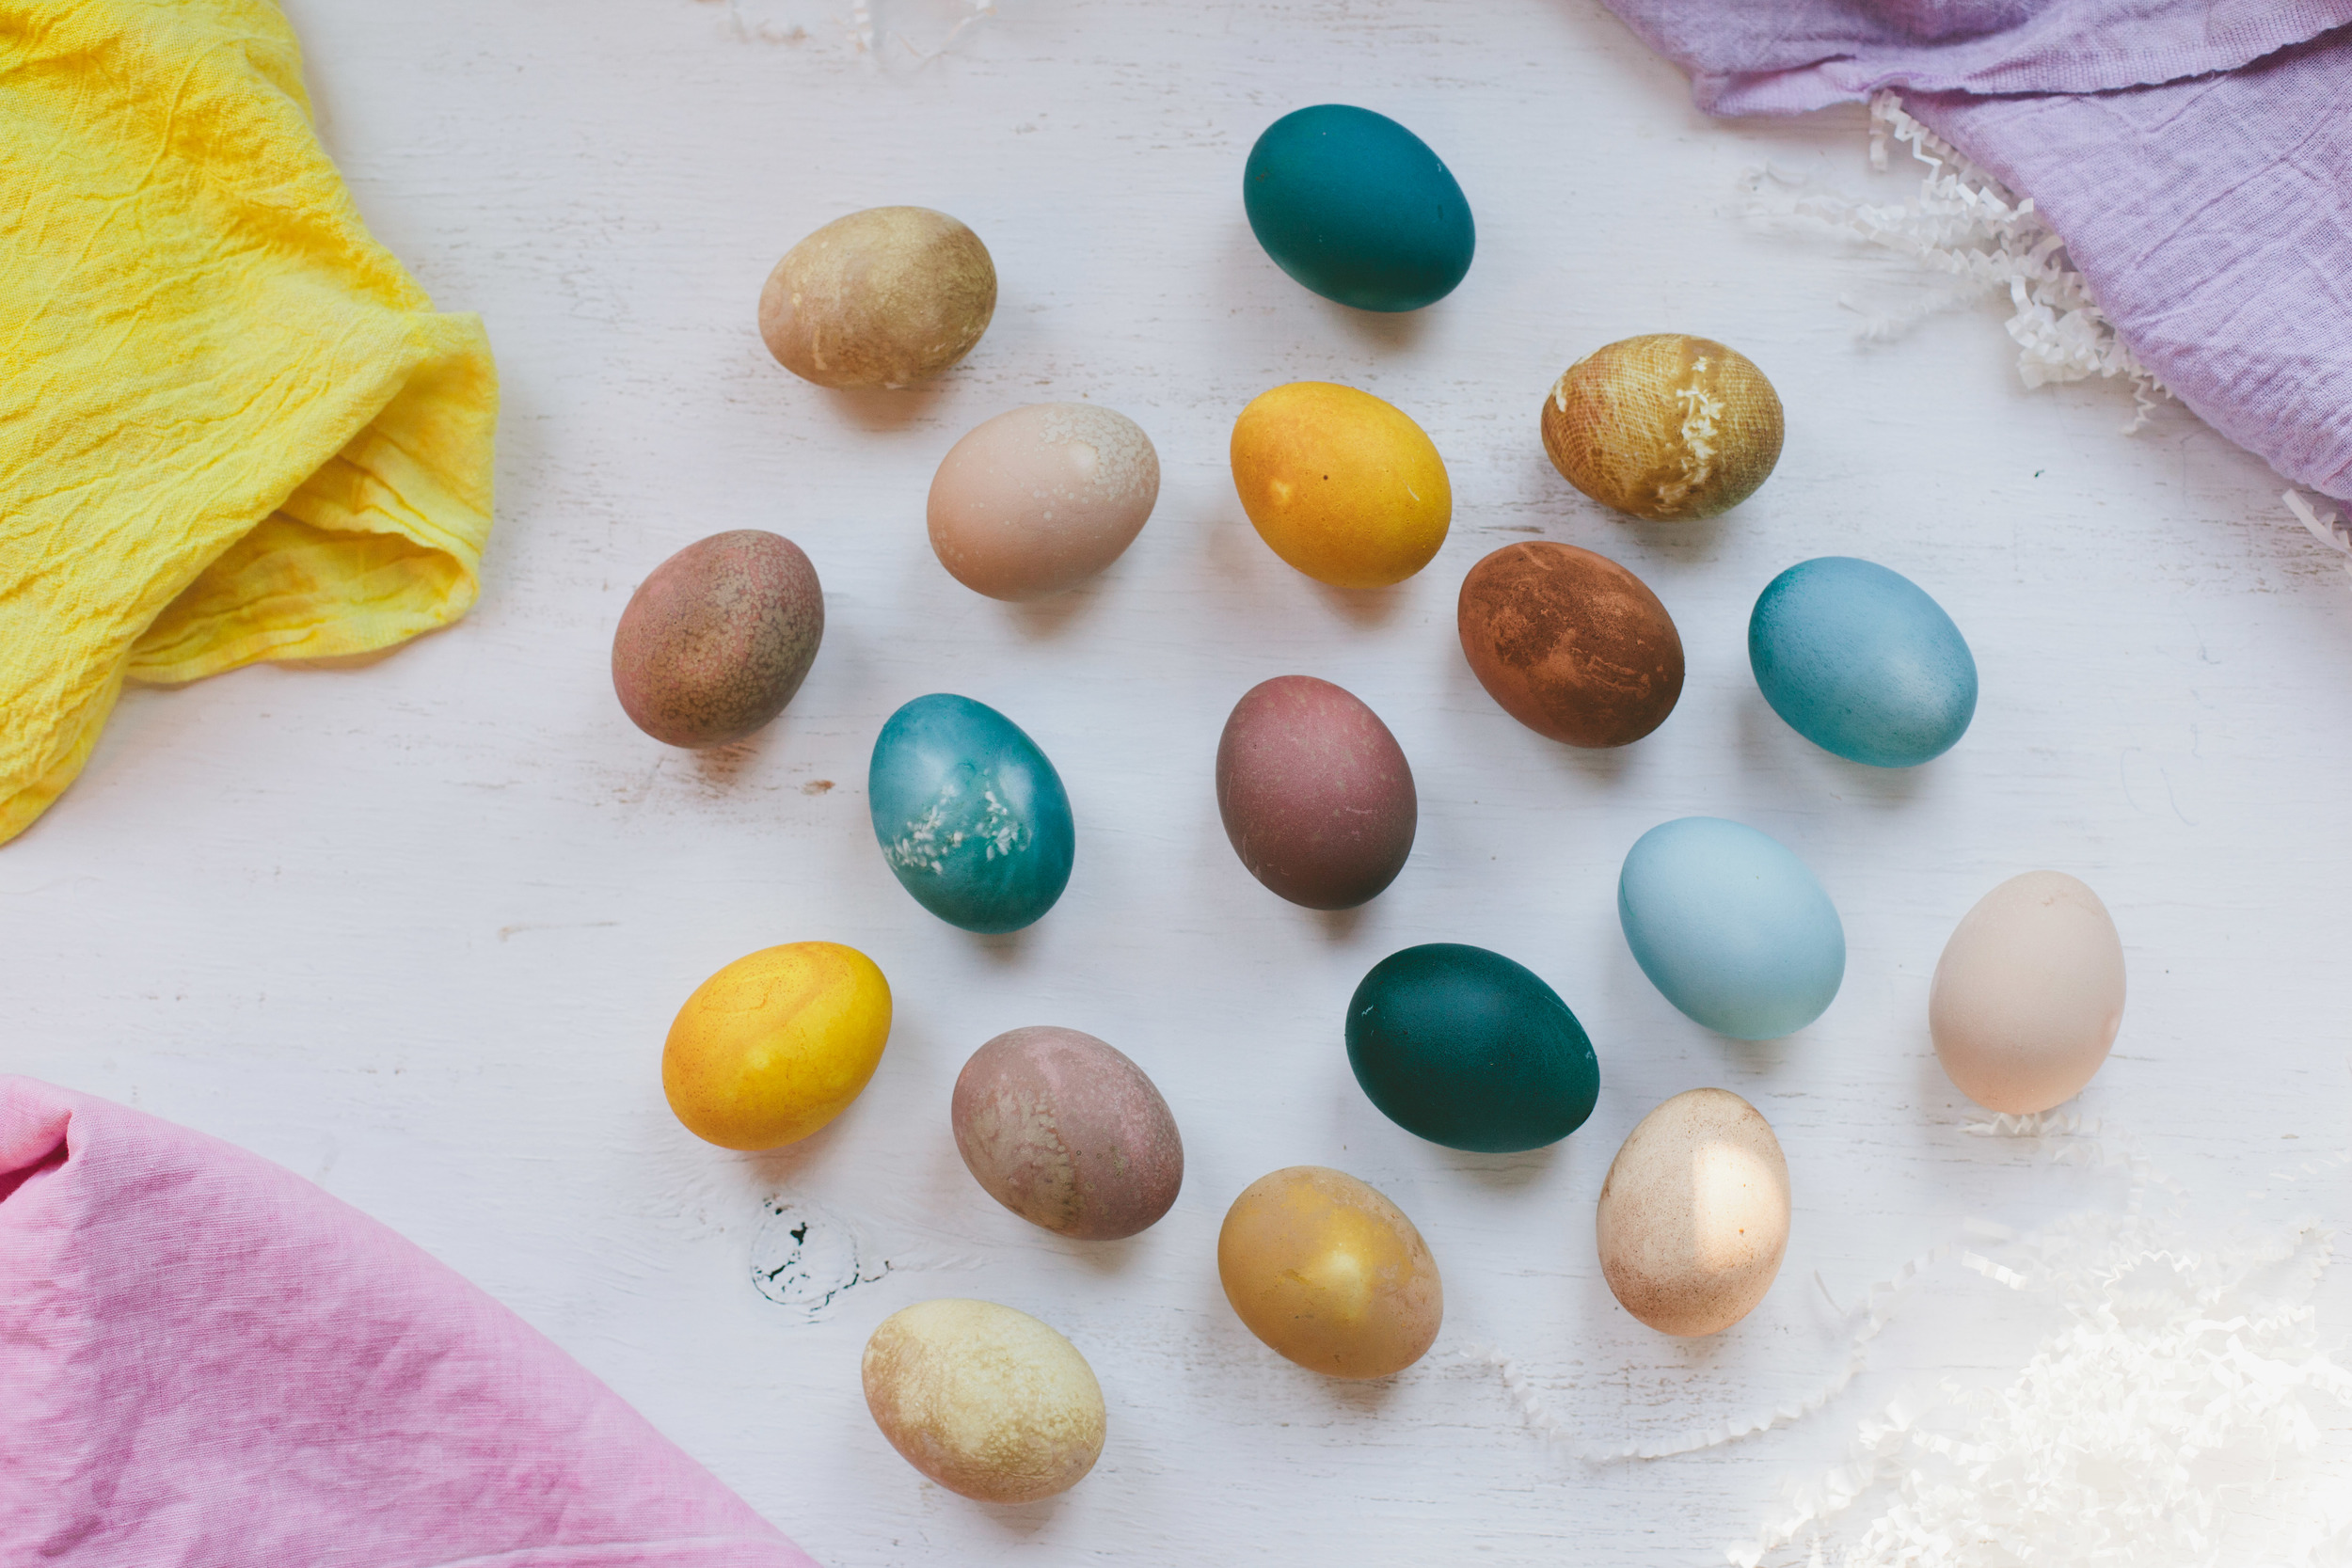
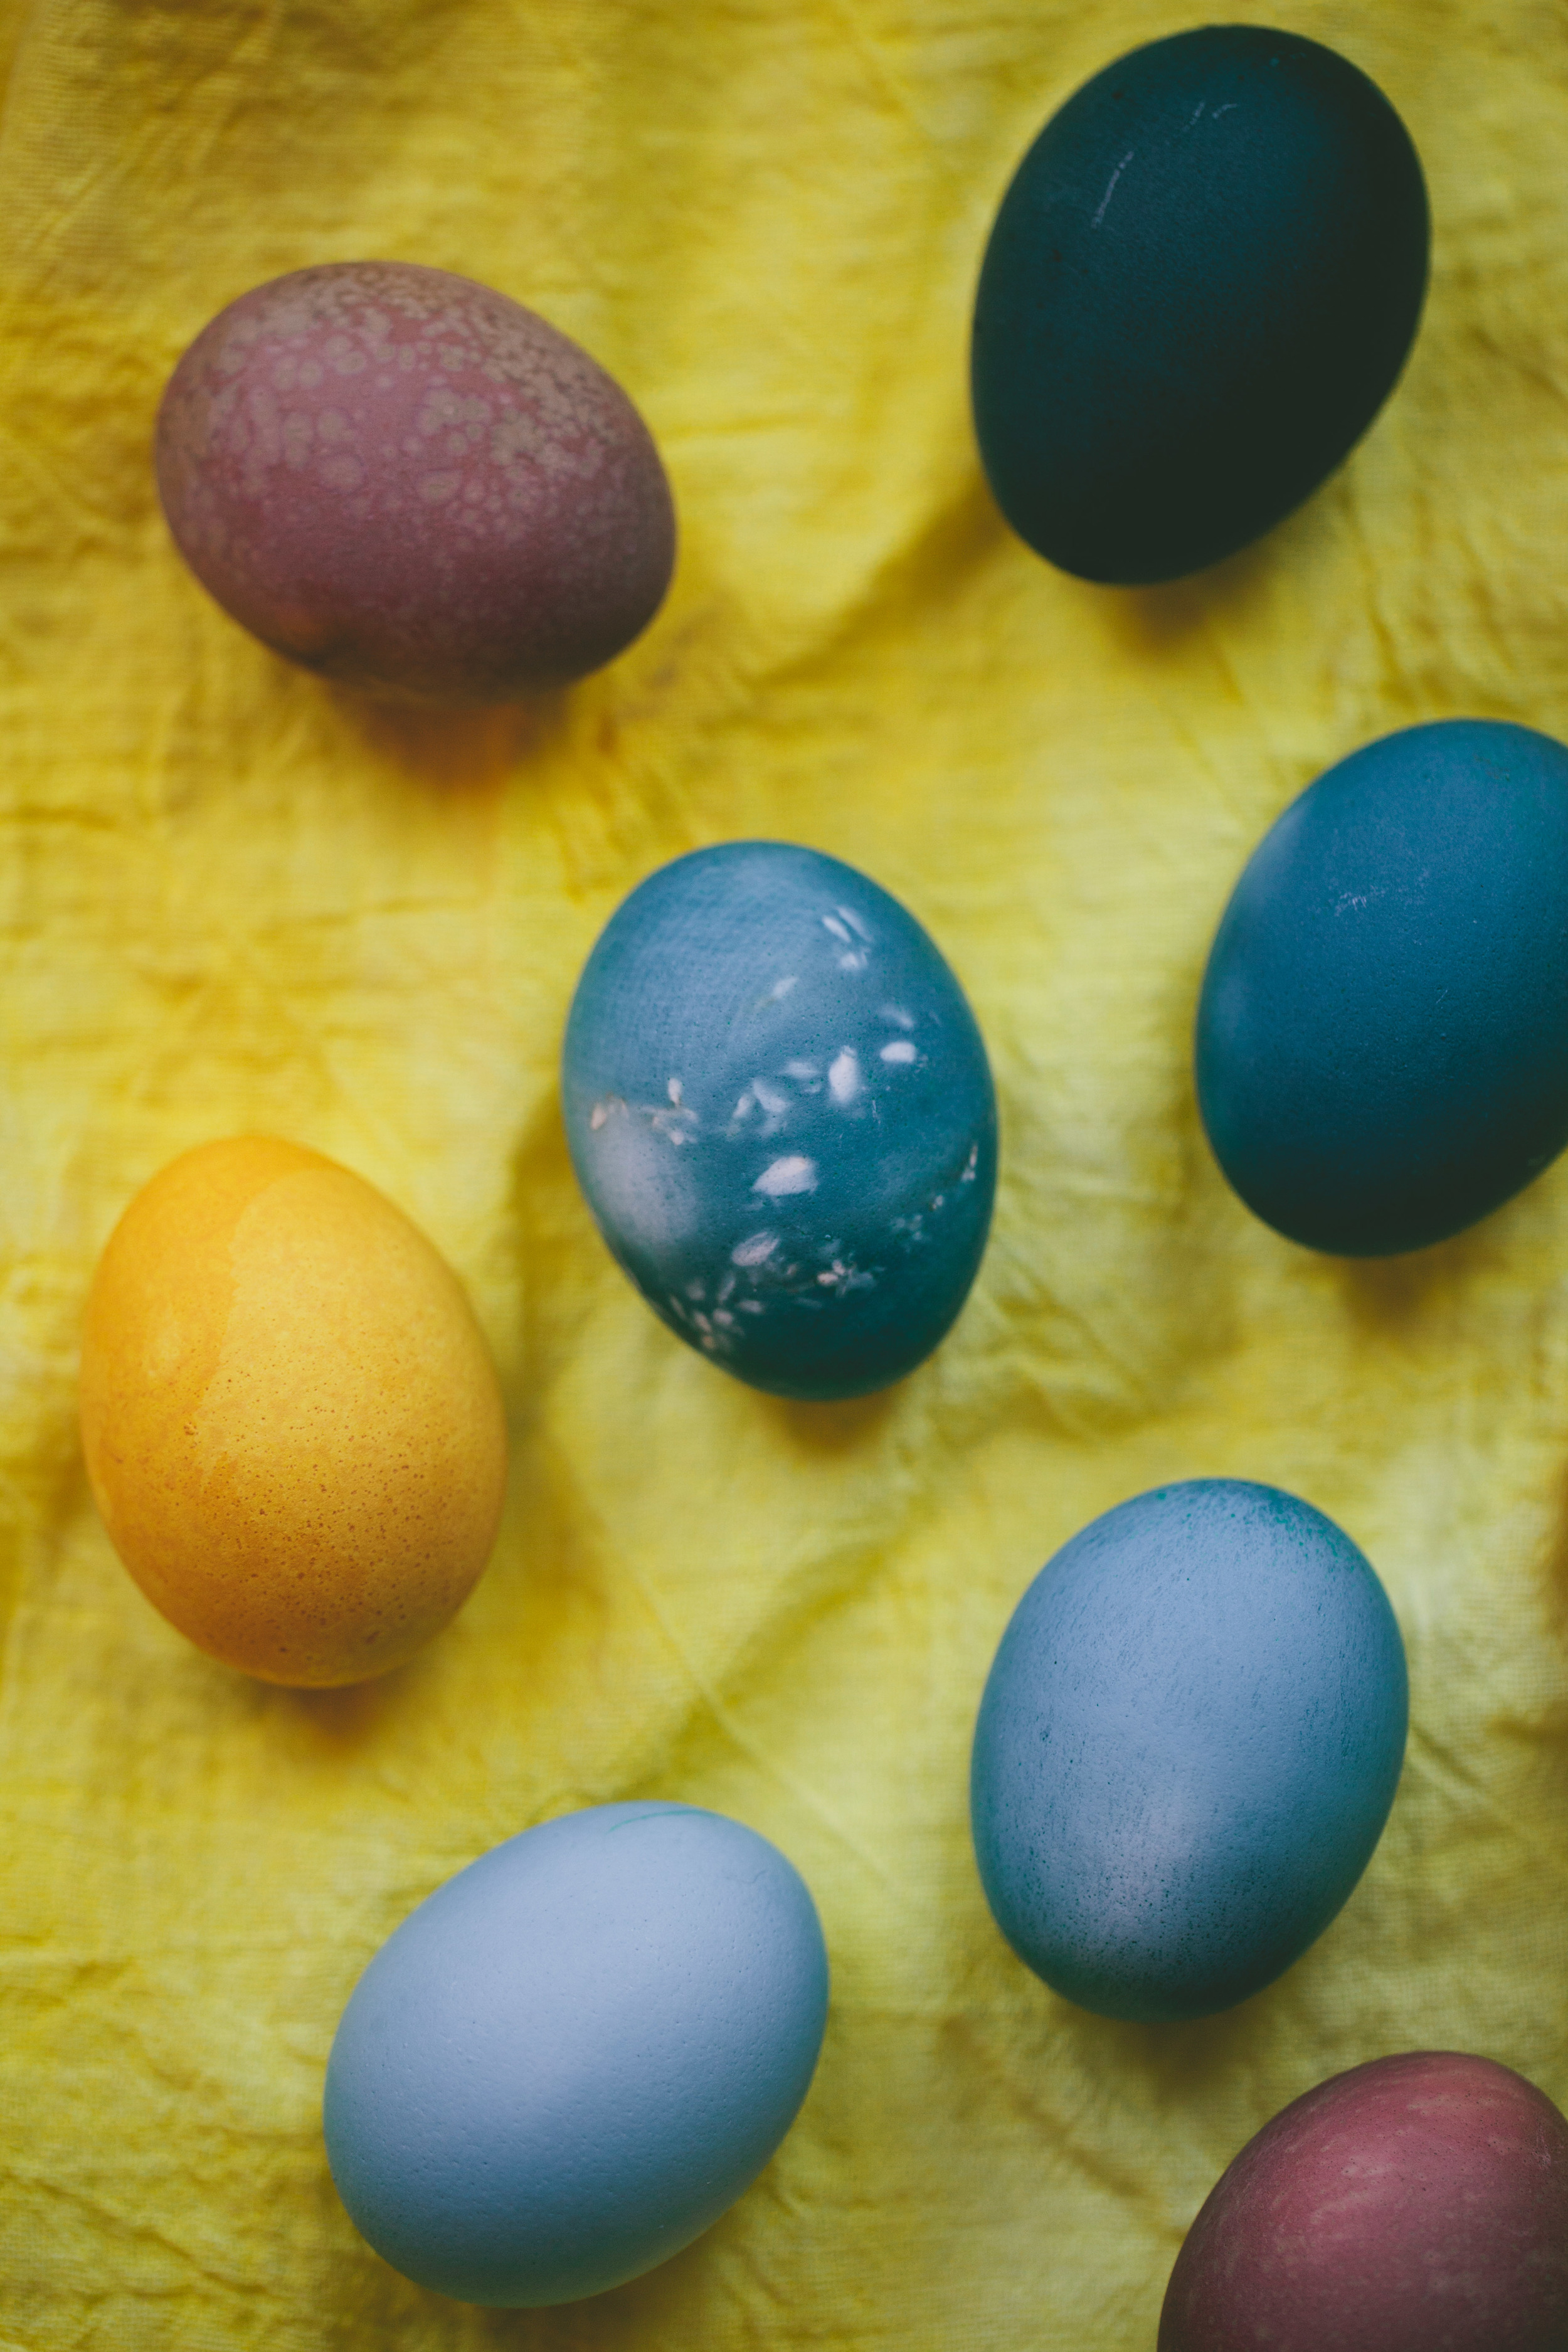
We let some of our eggs sit overnight and some just for 3 hours or so. Here is what we used:
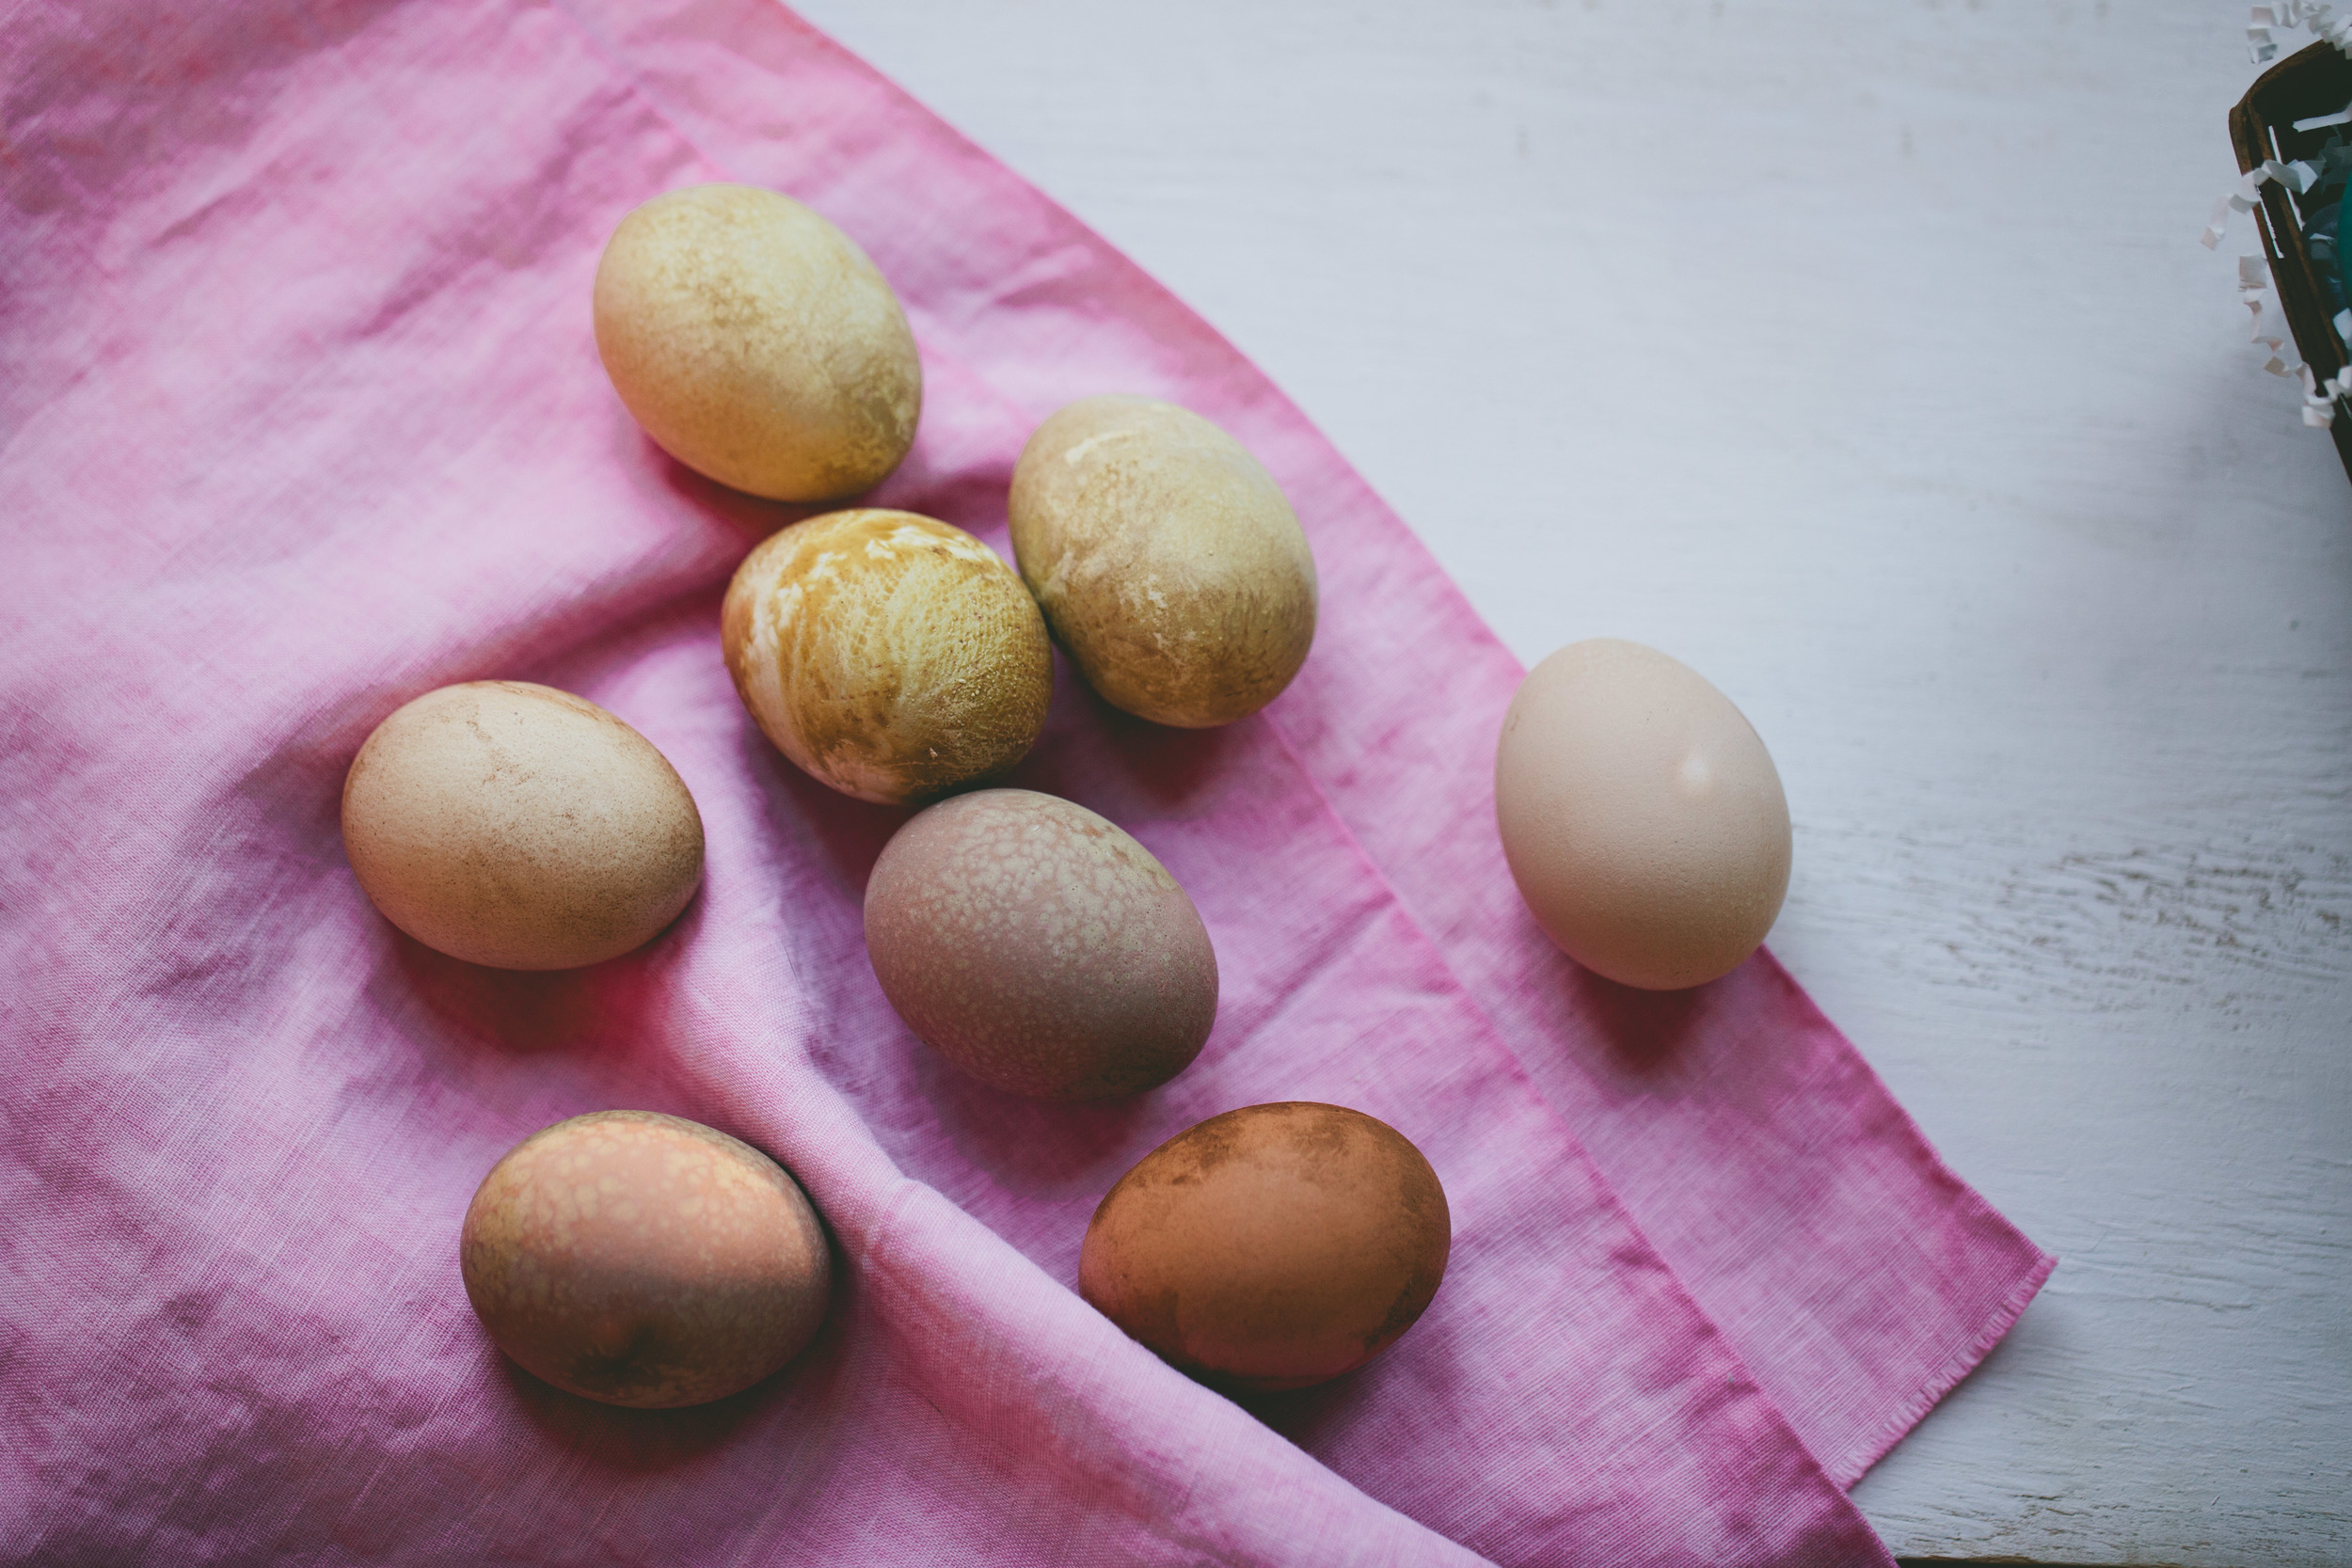
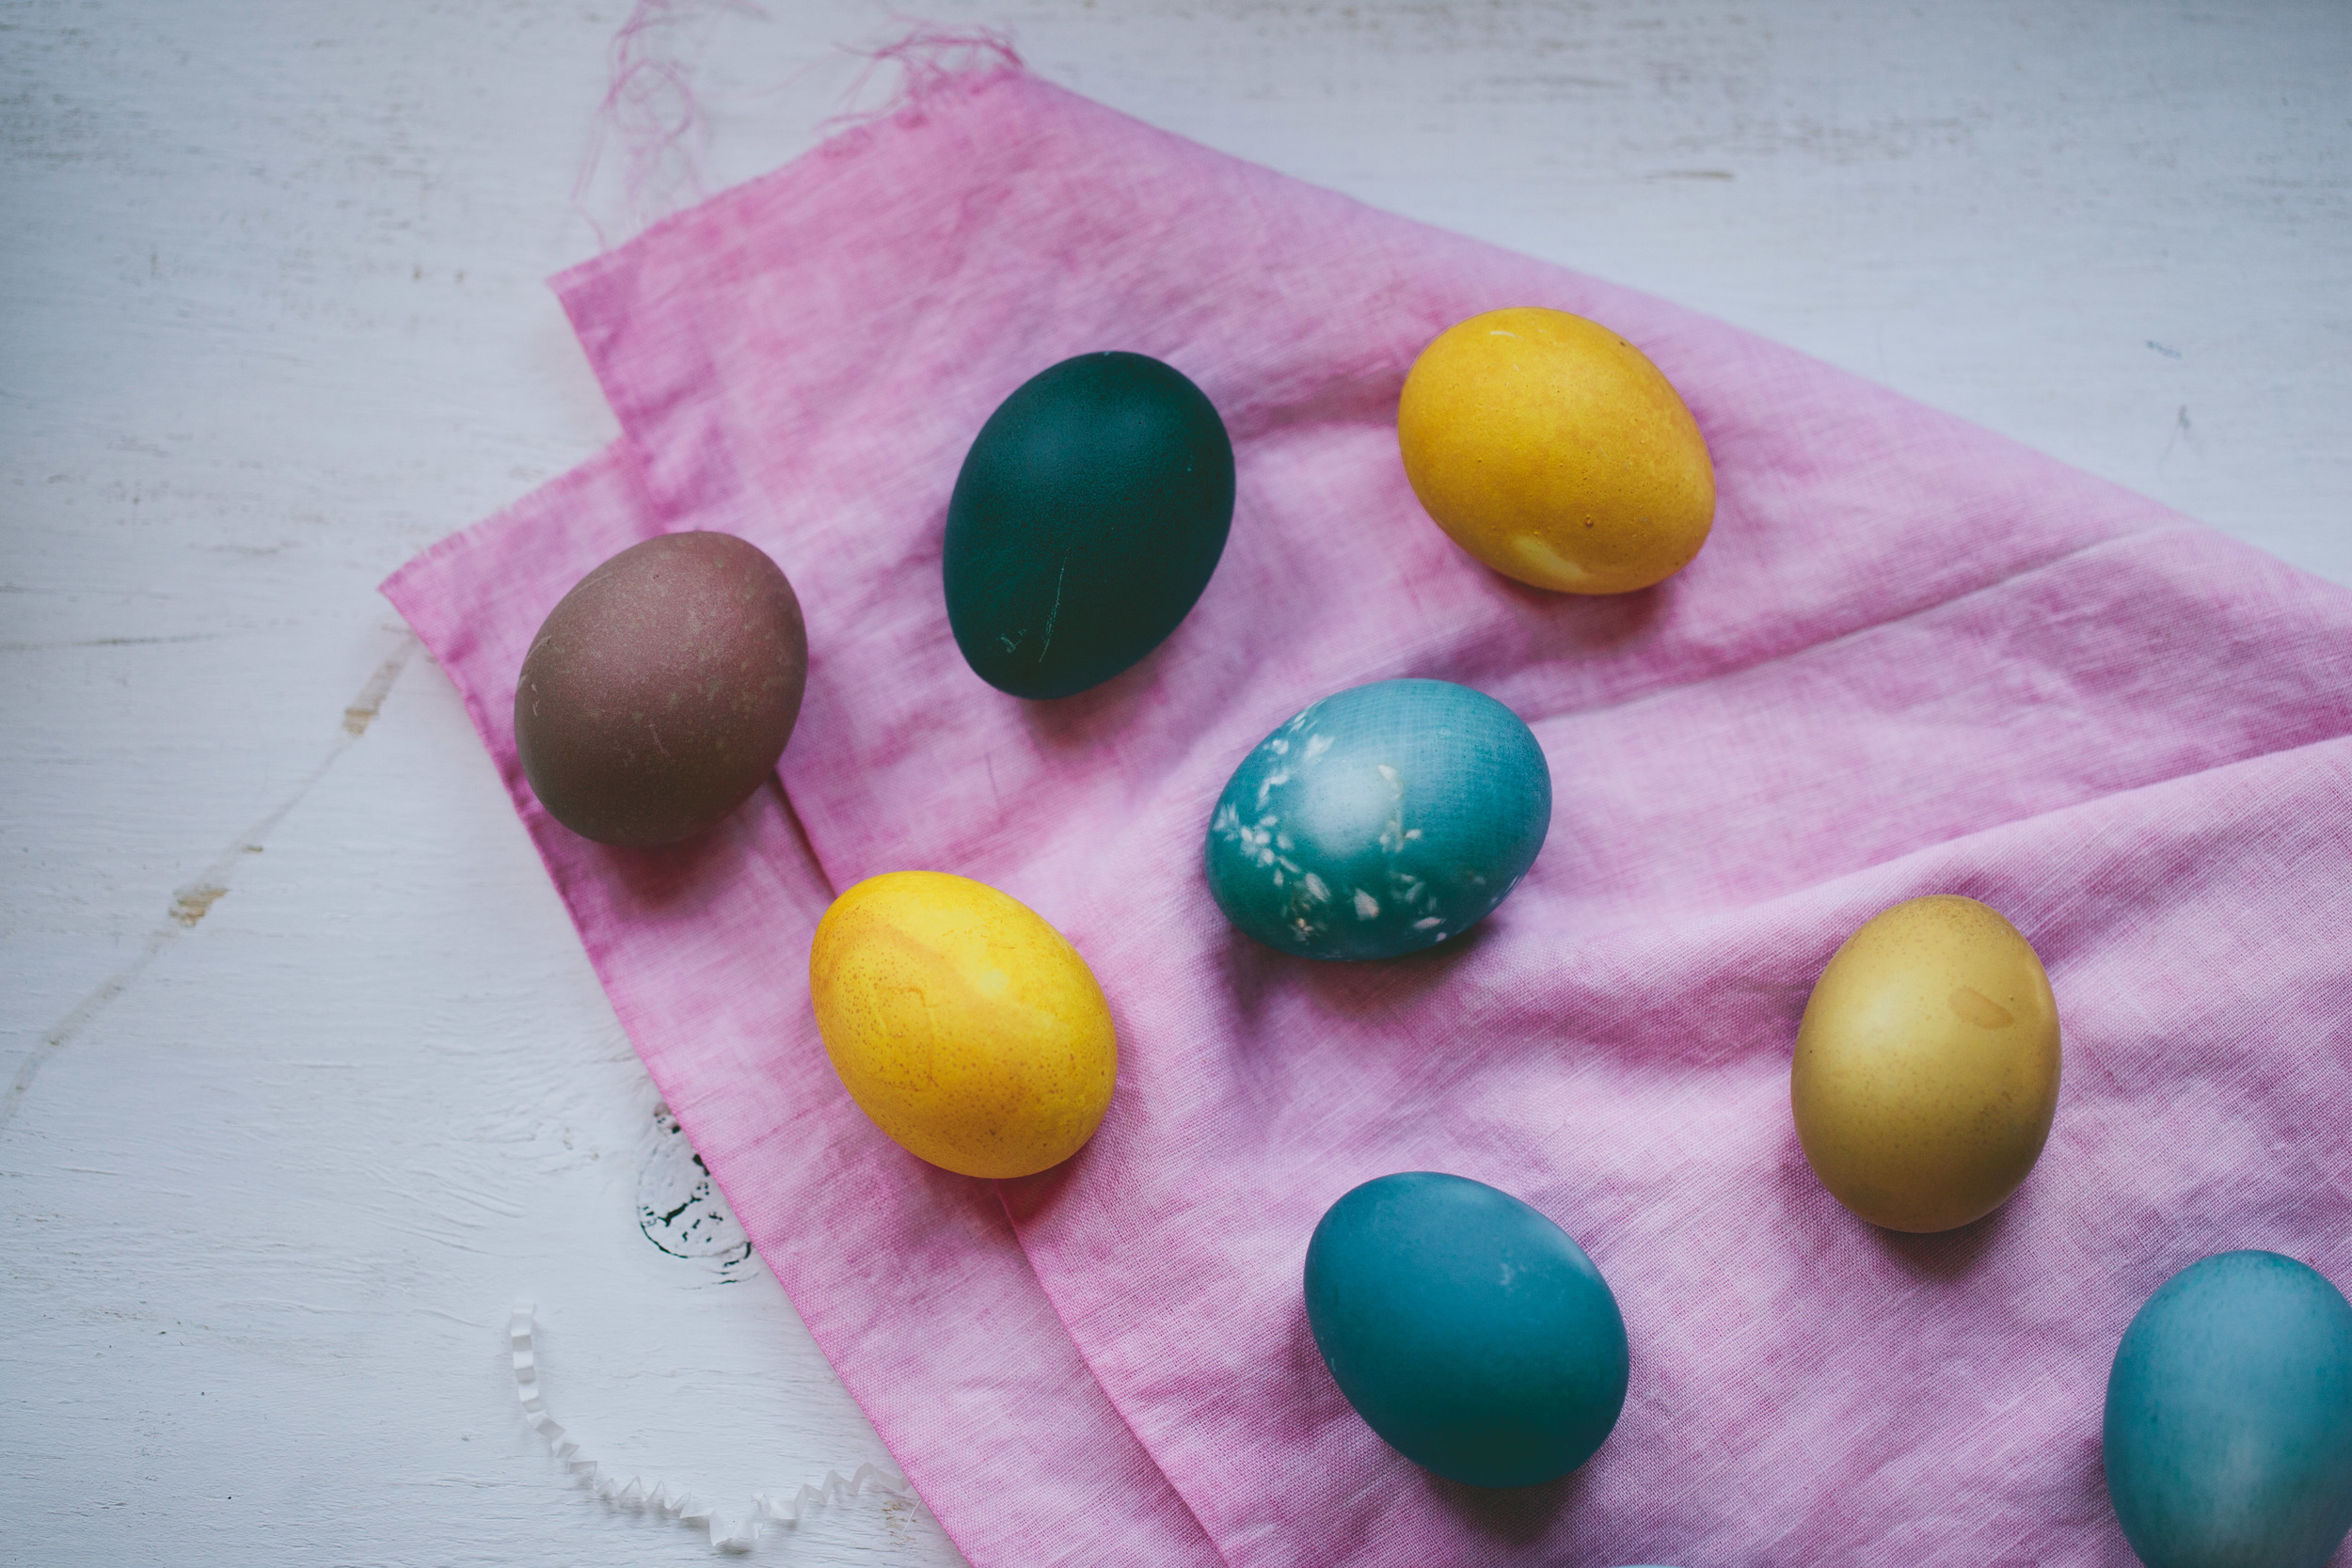
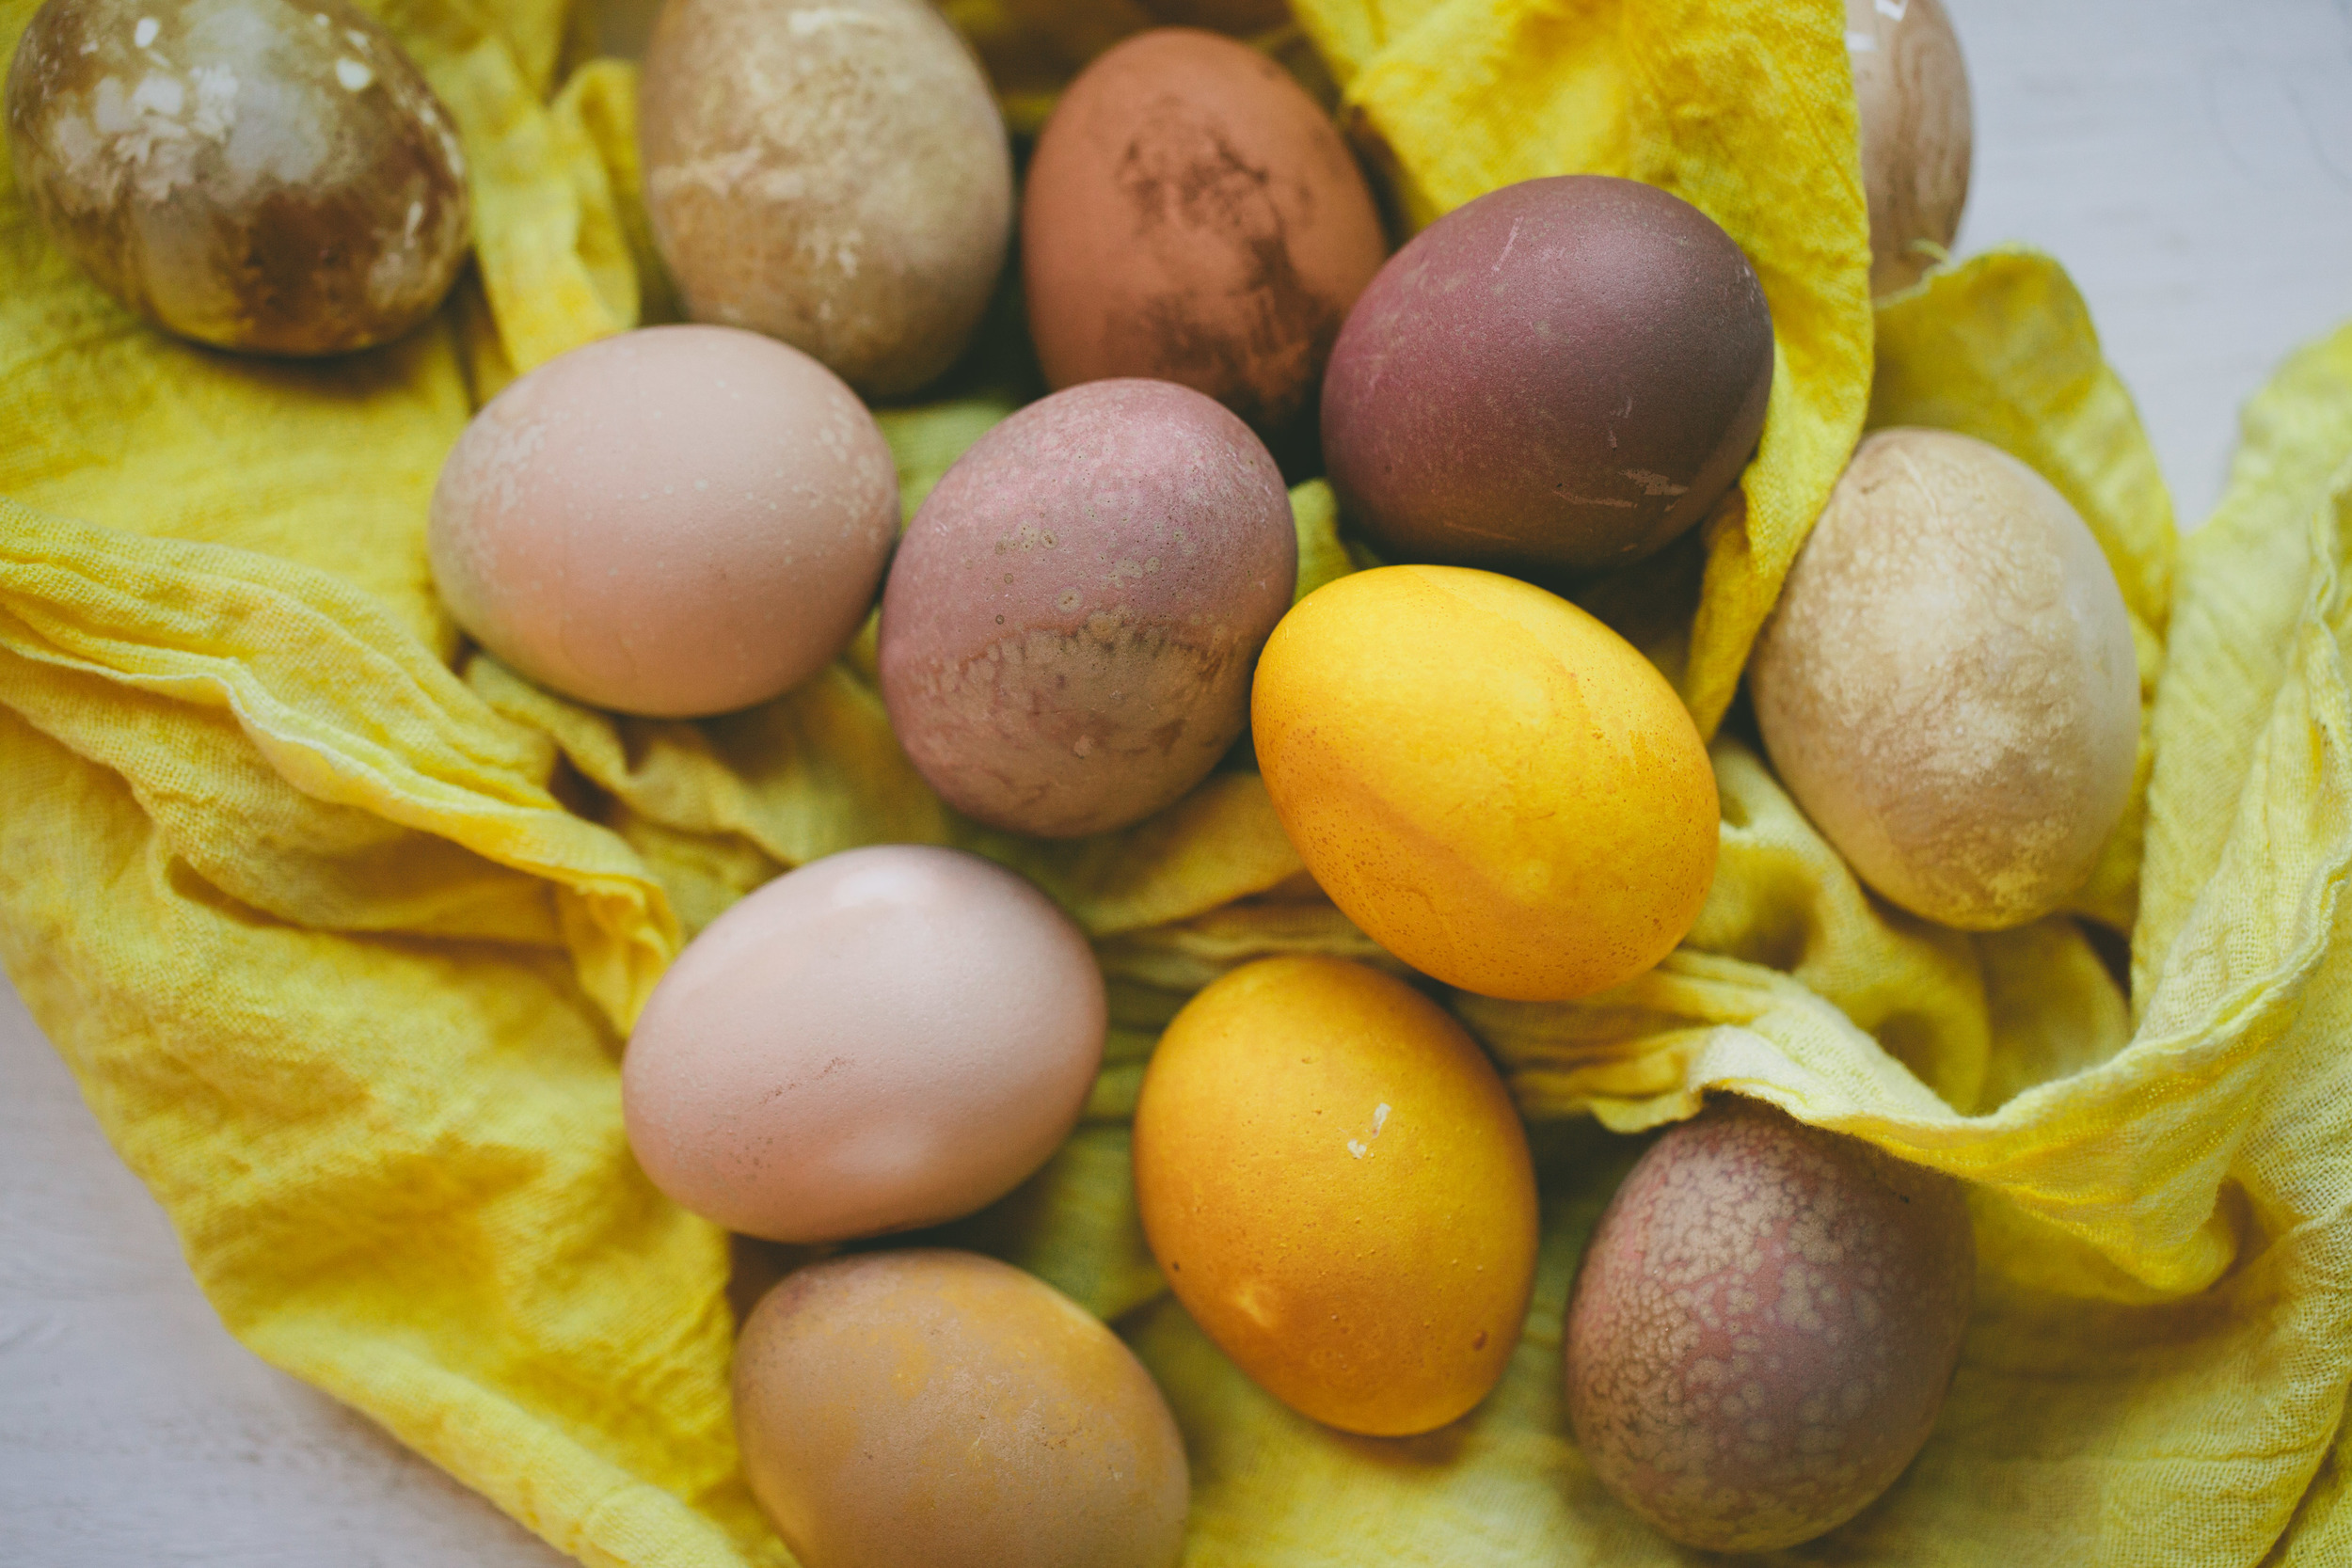
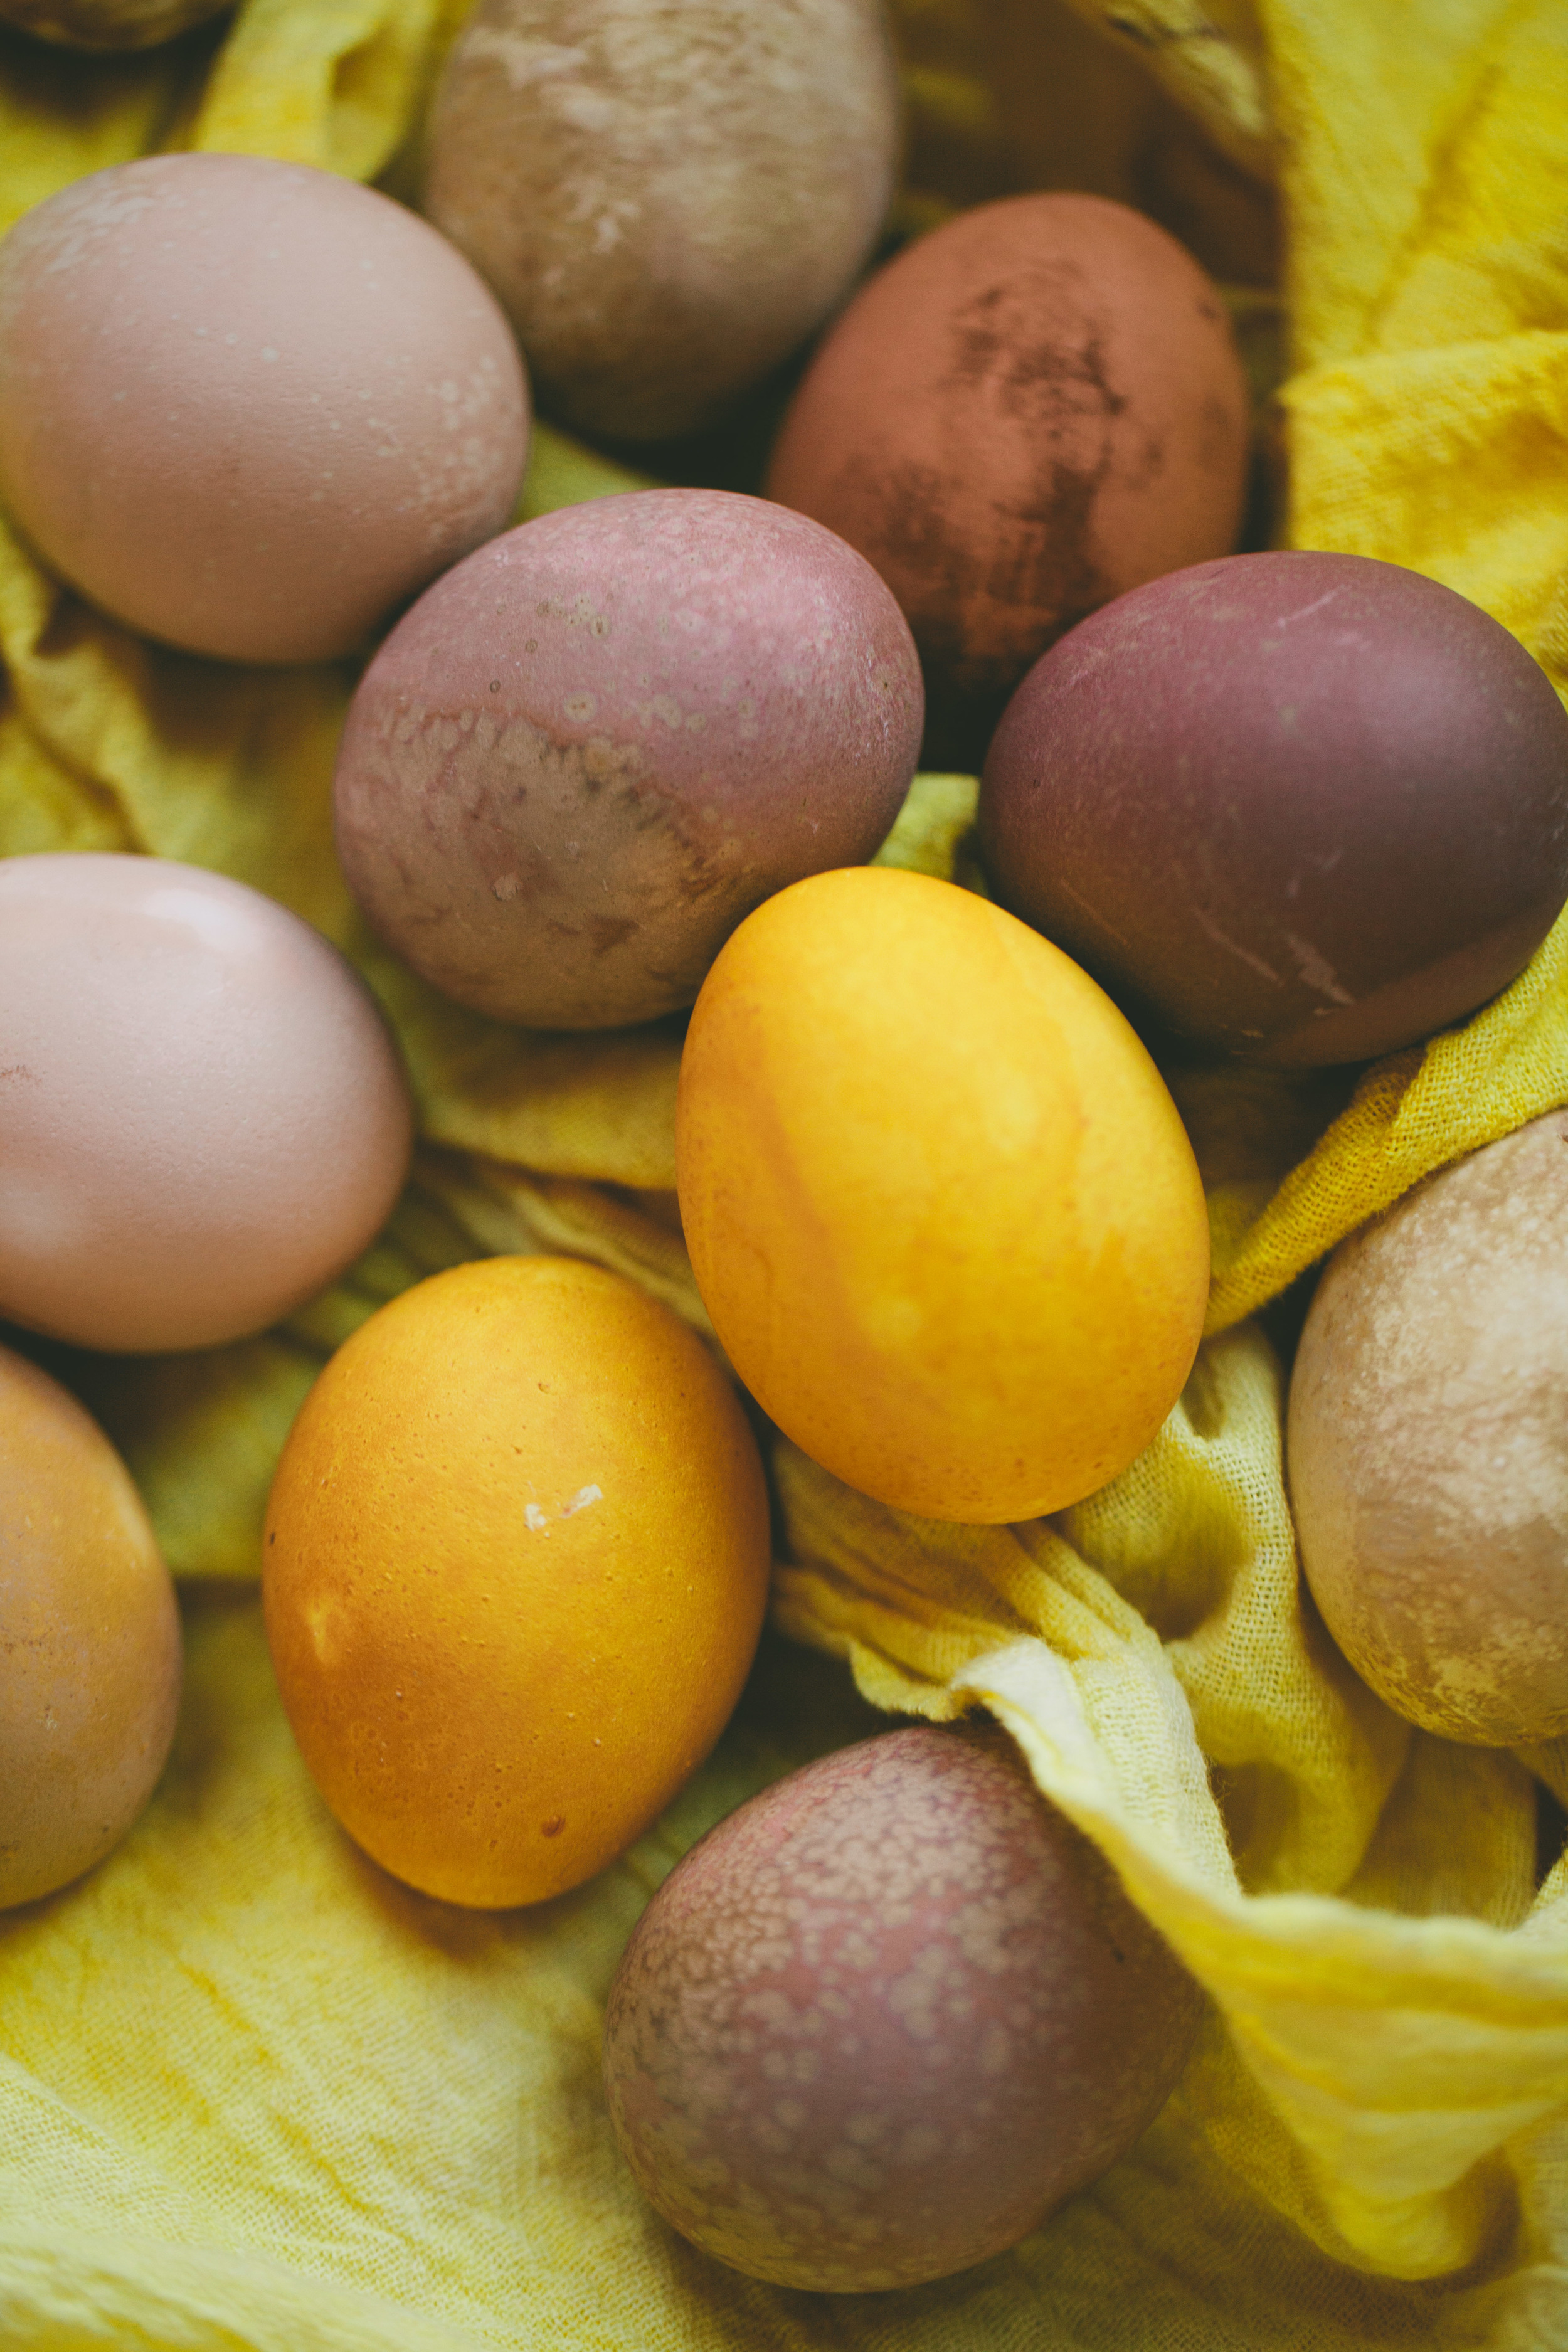
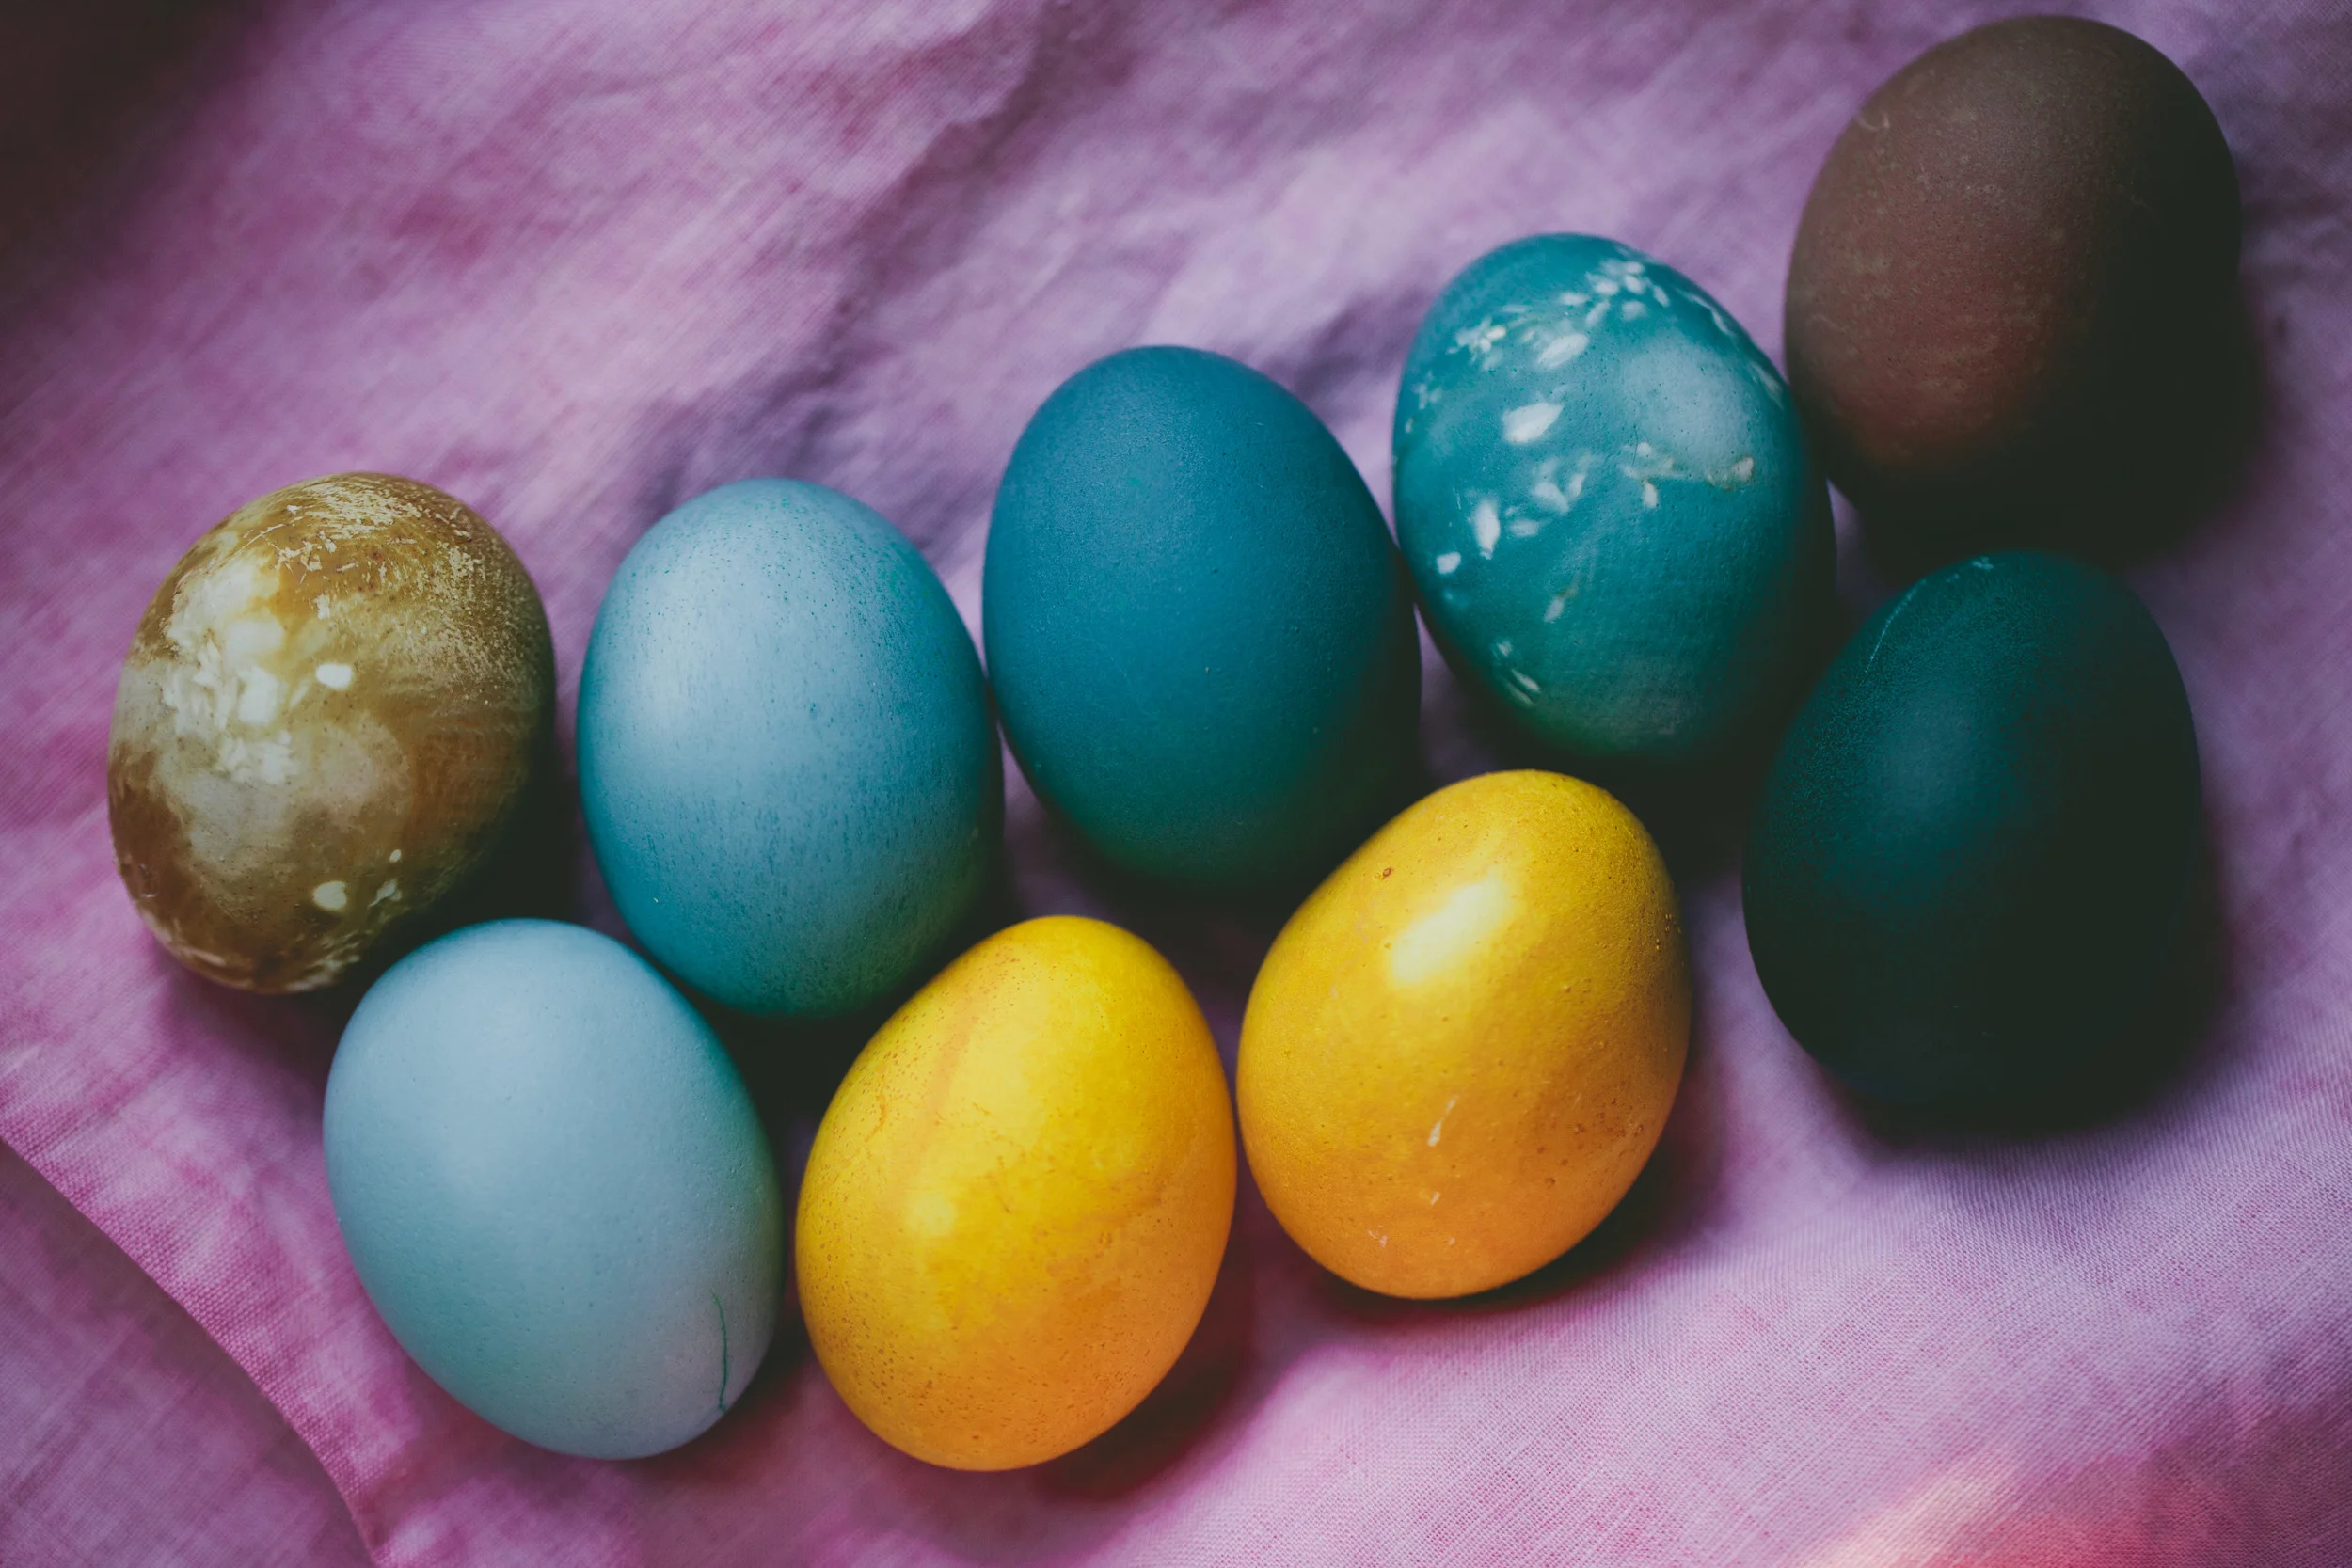
Yellow: Turmeric - Best left for 3 hours
Red/pink: Beets - Left overnight seemed to work best
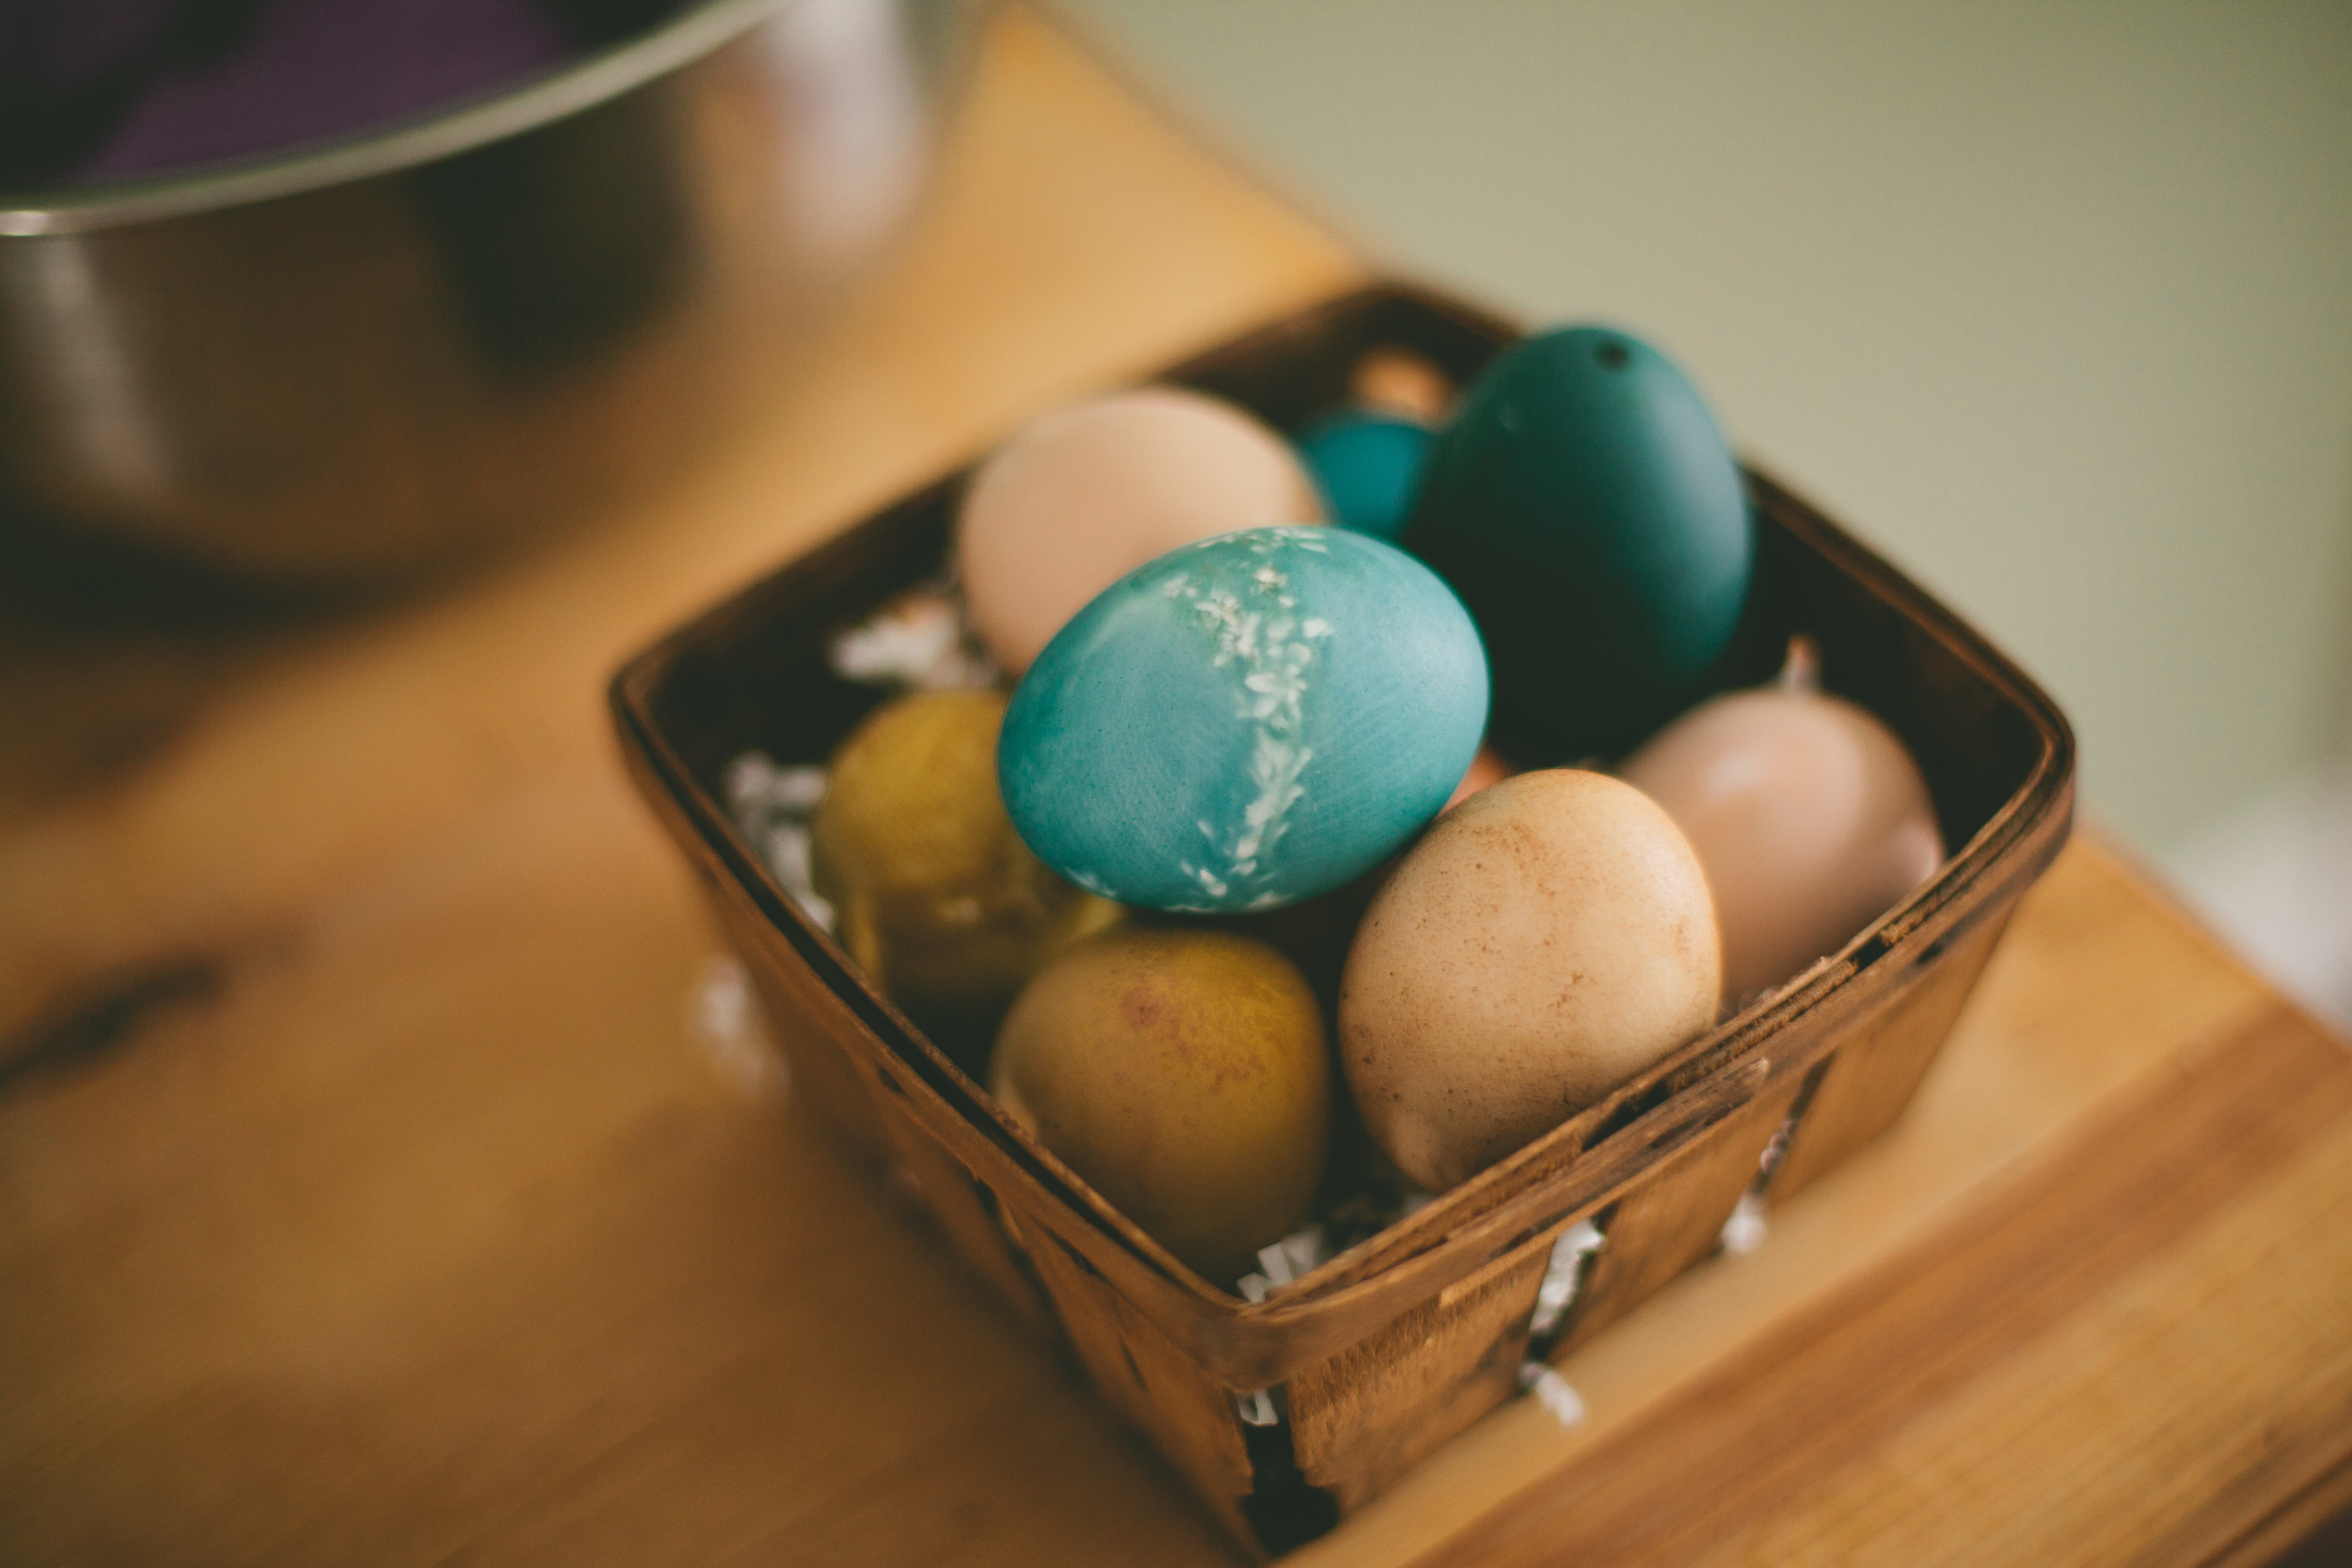
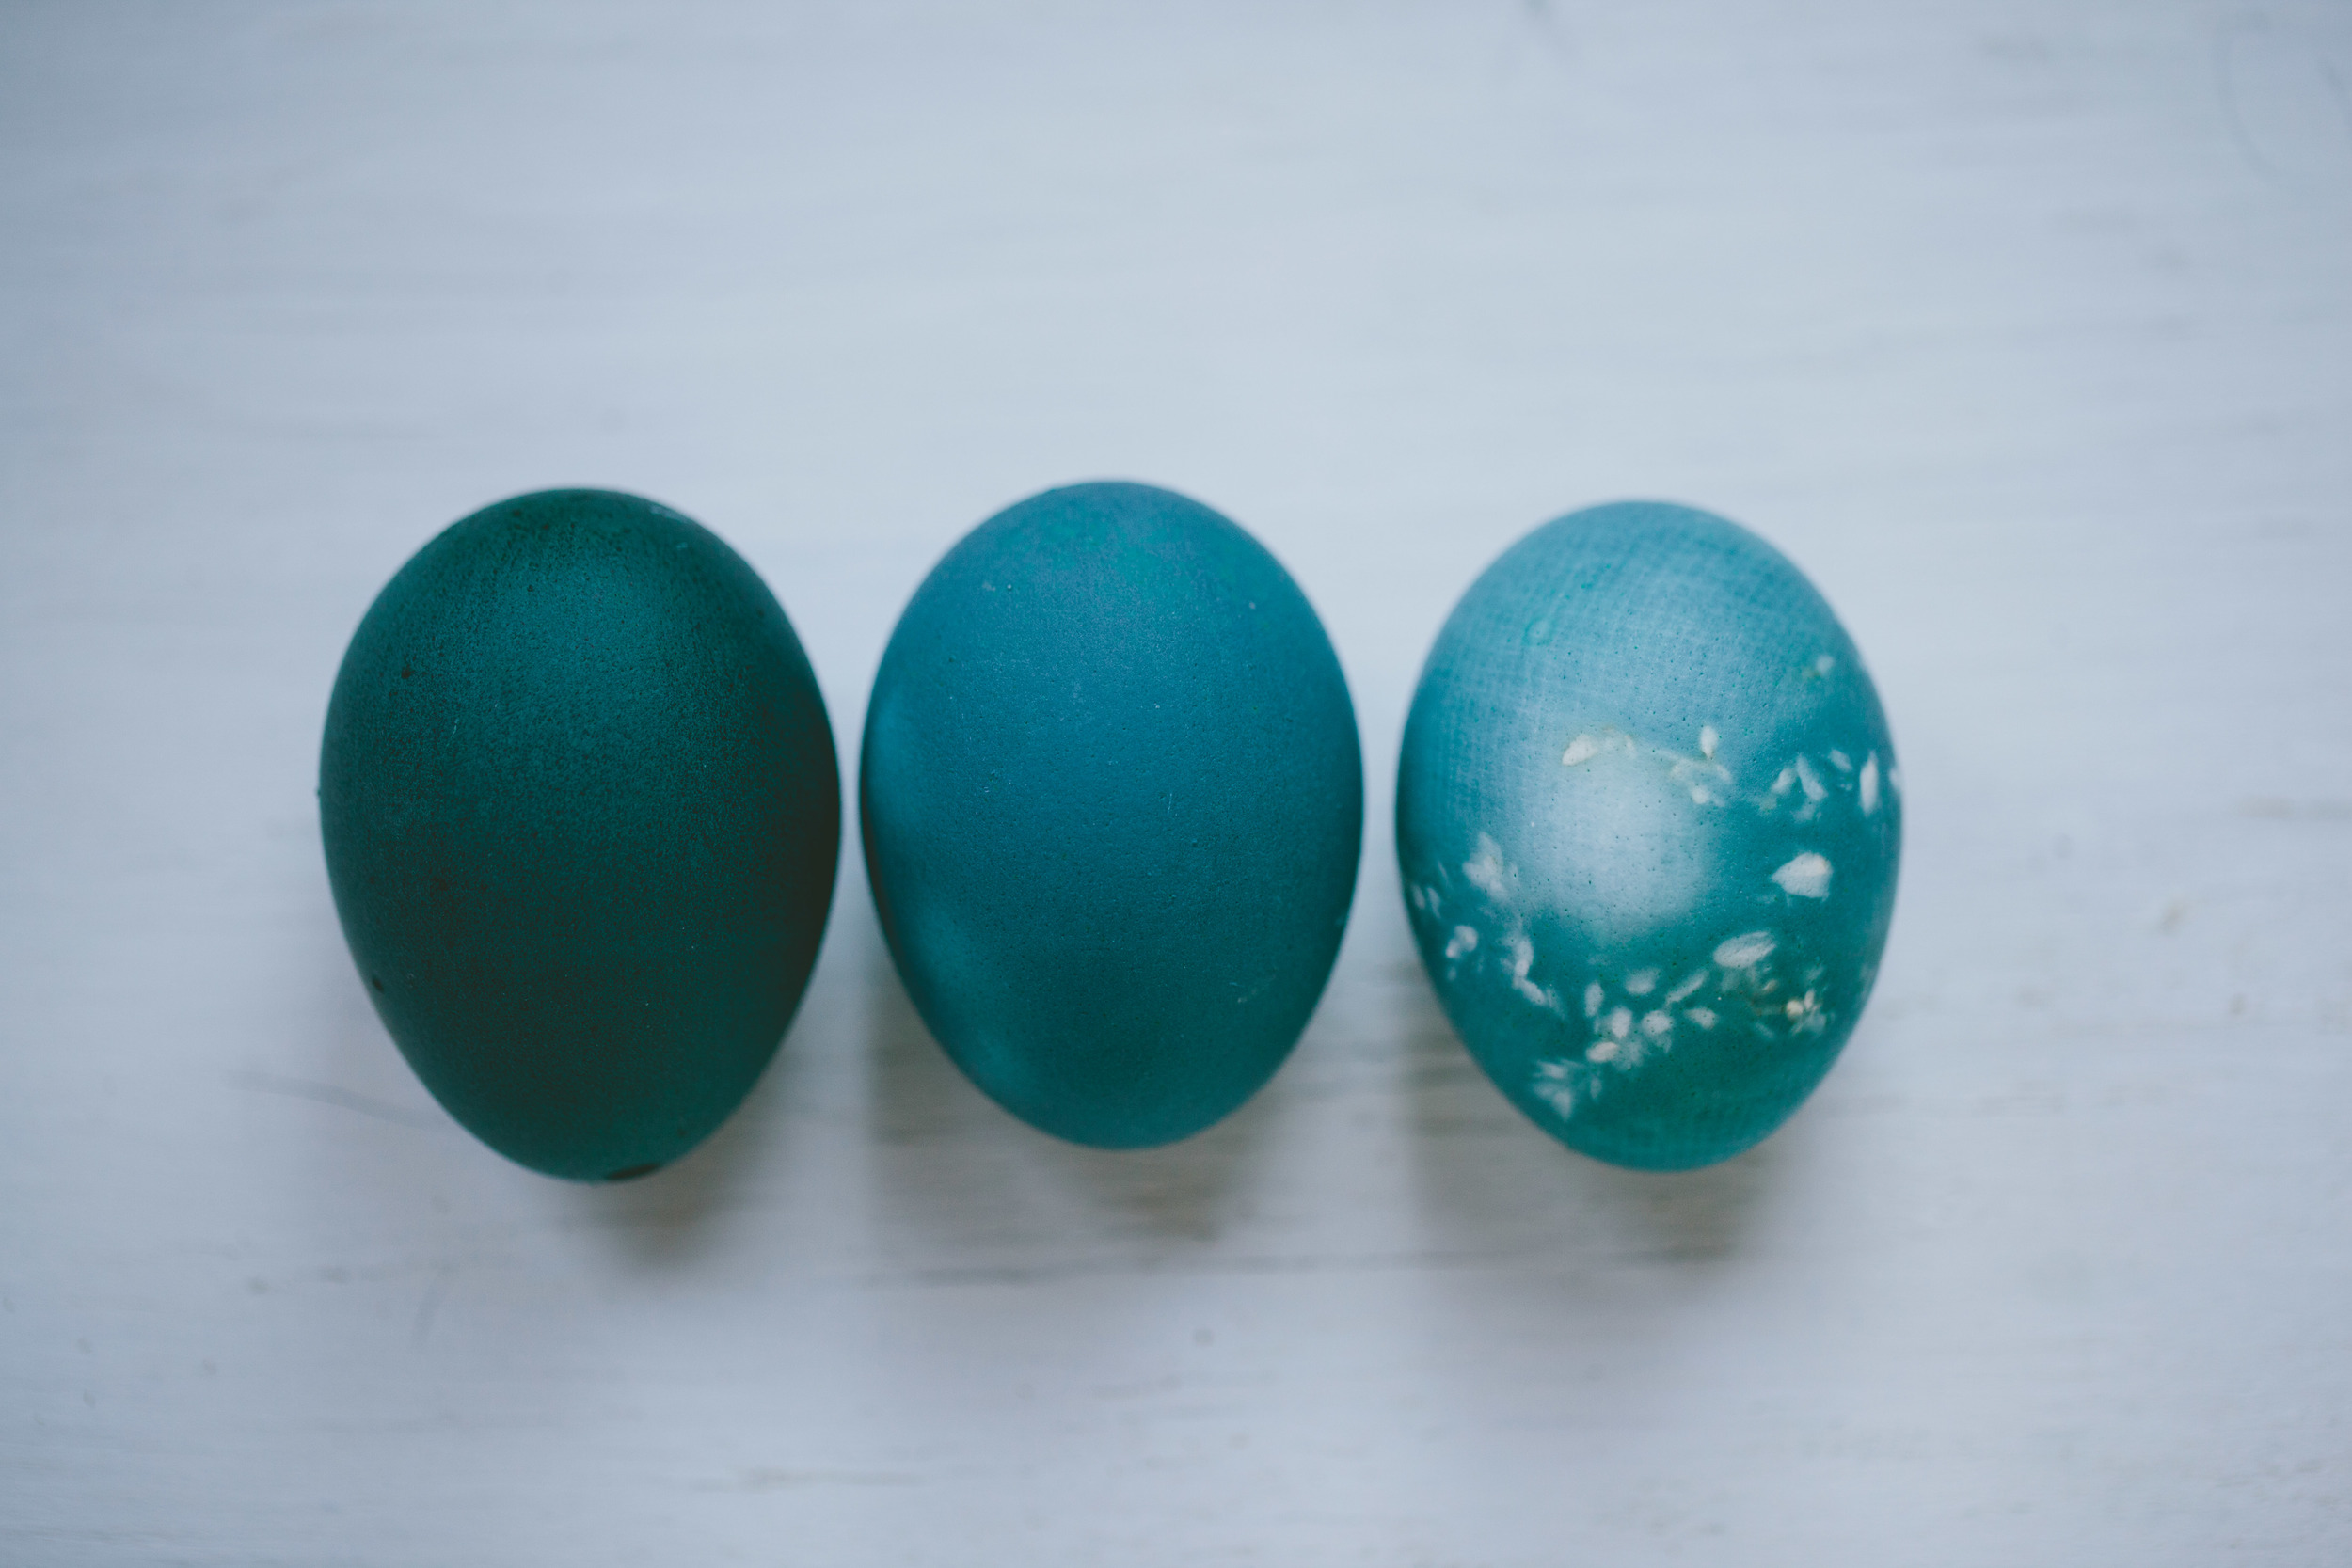
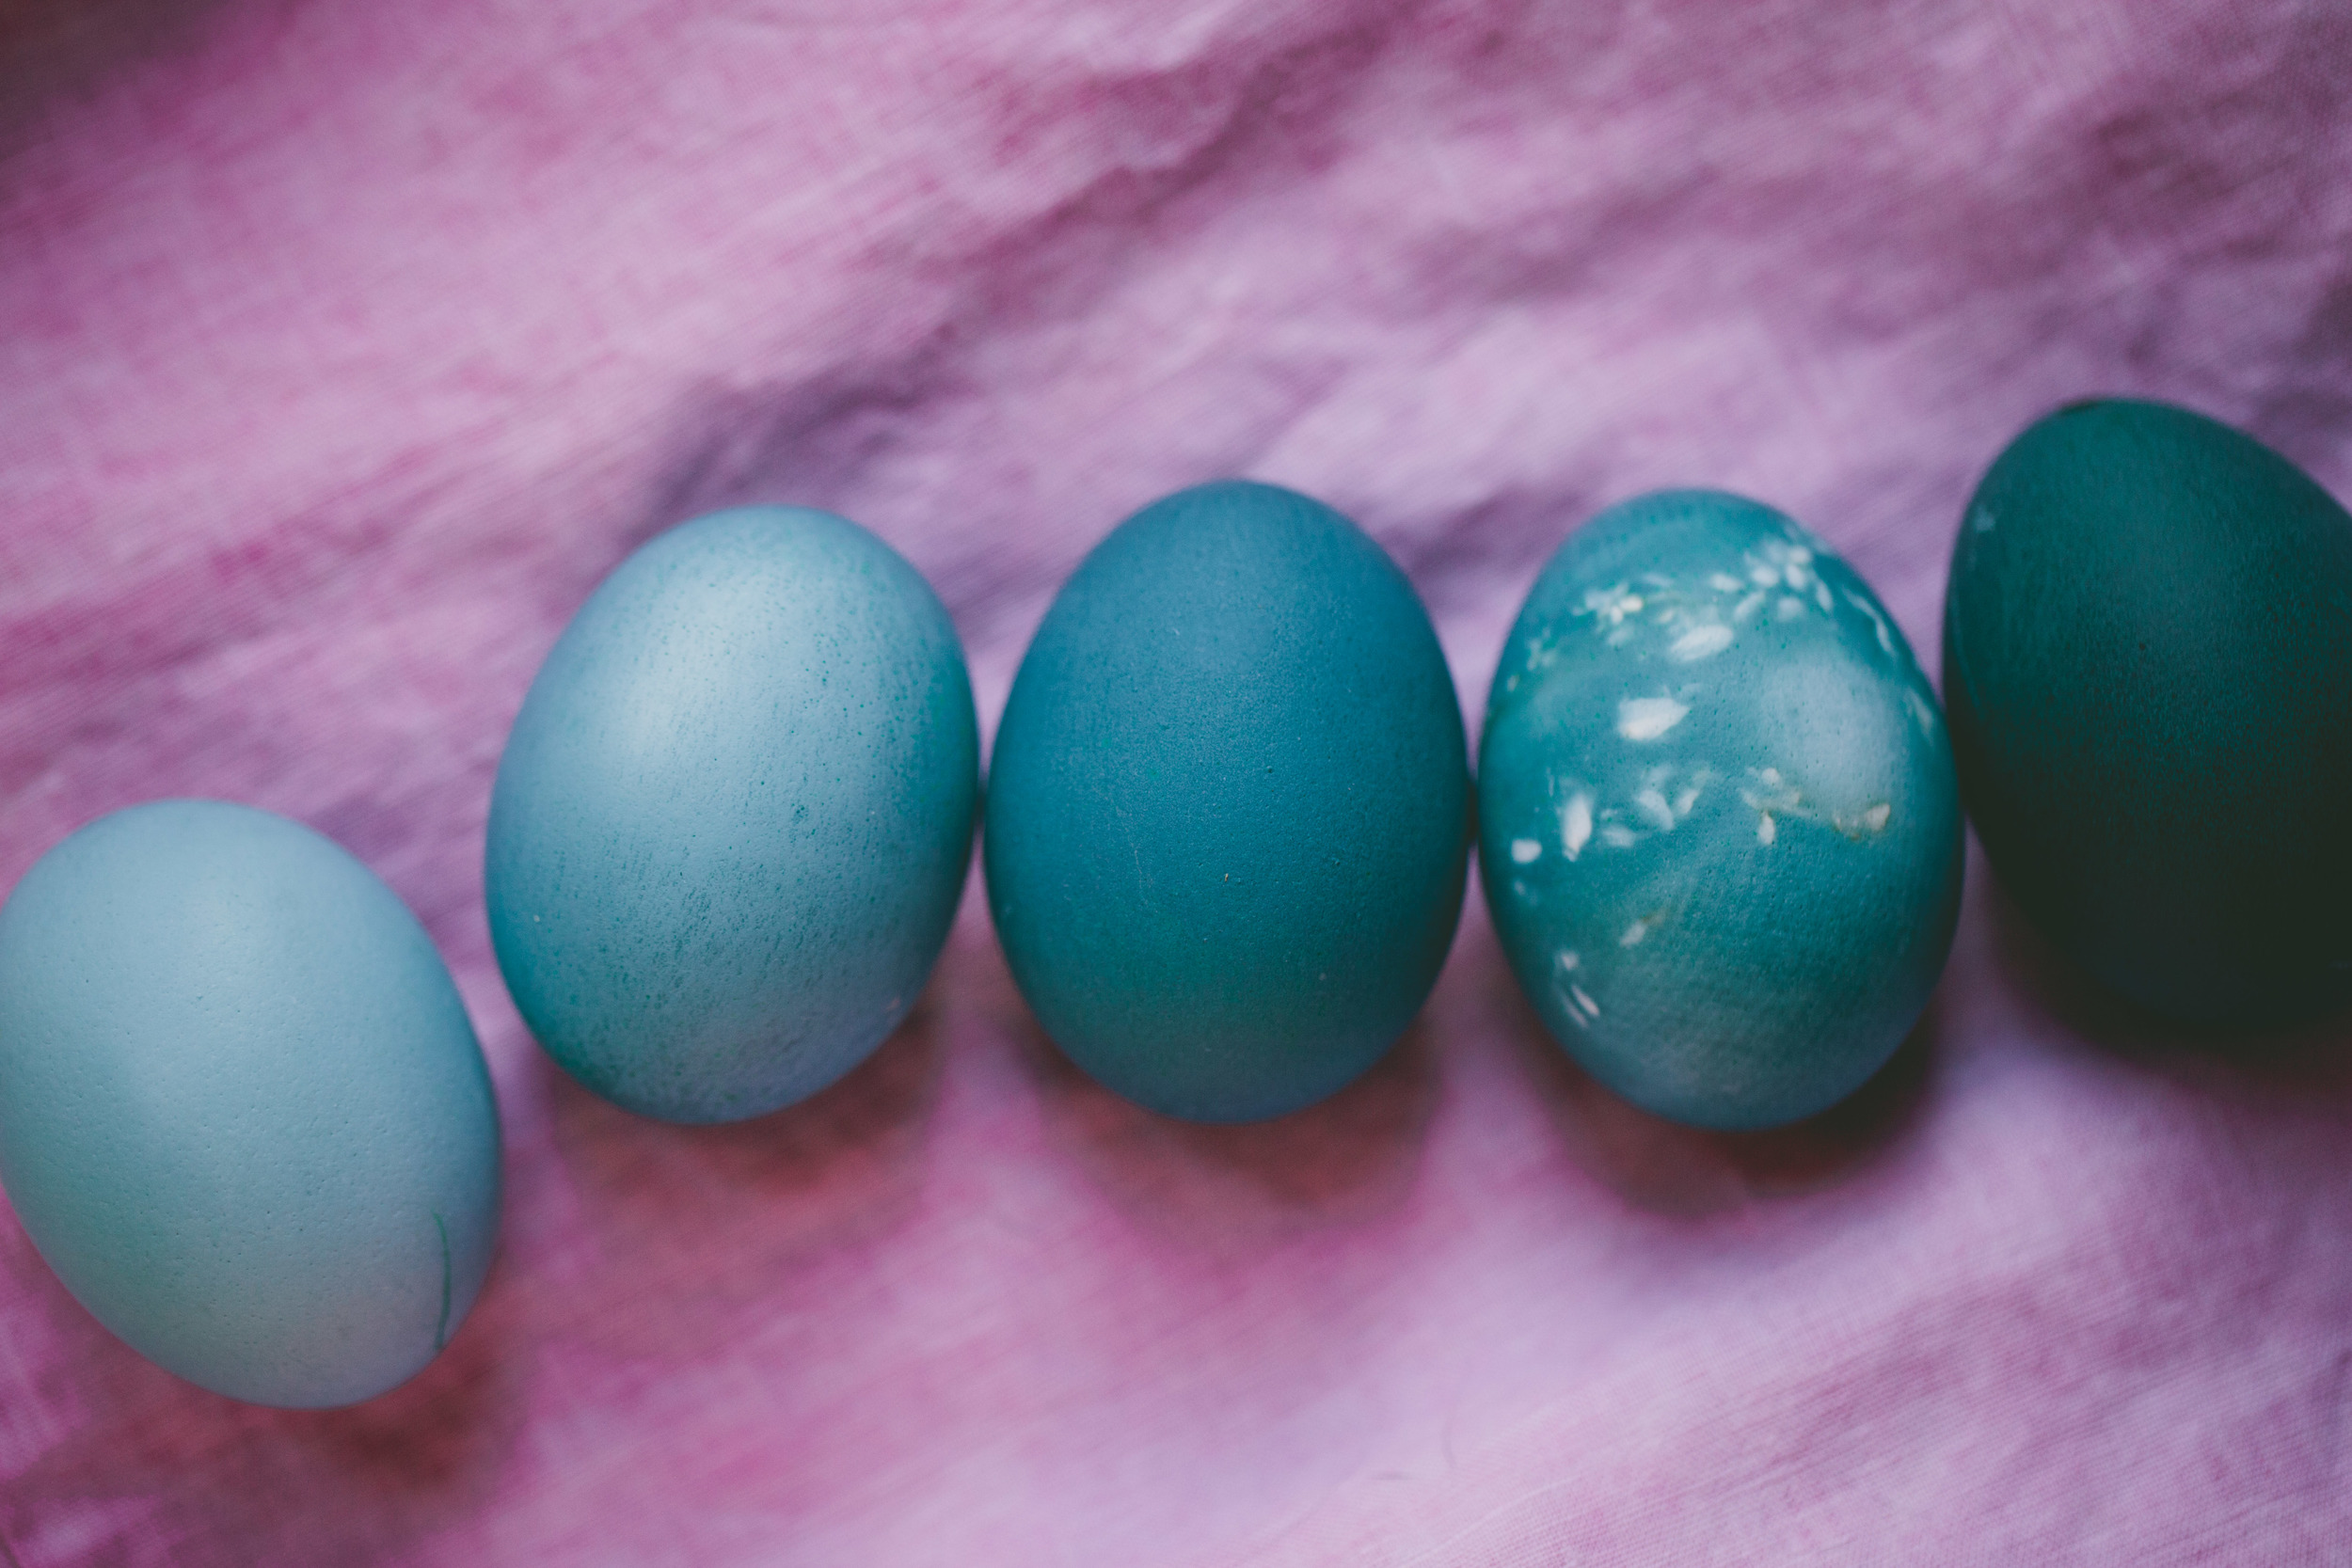
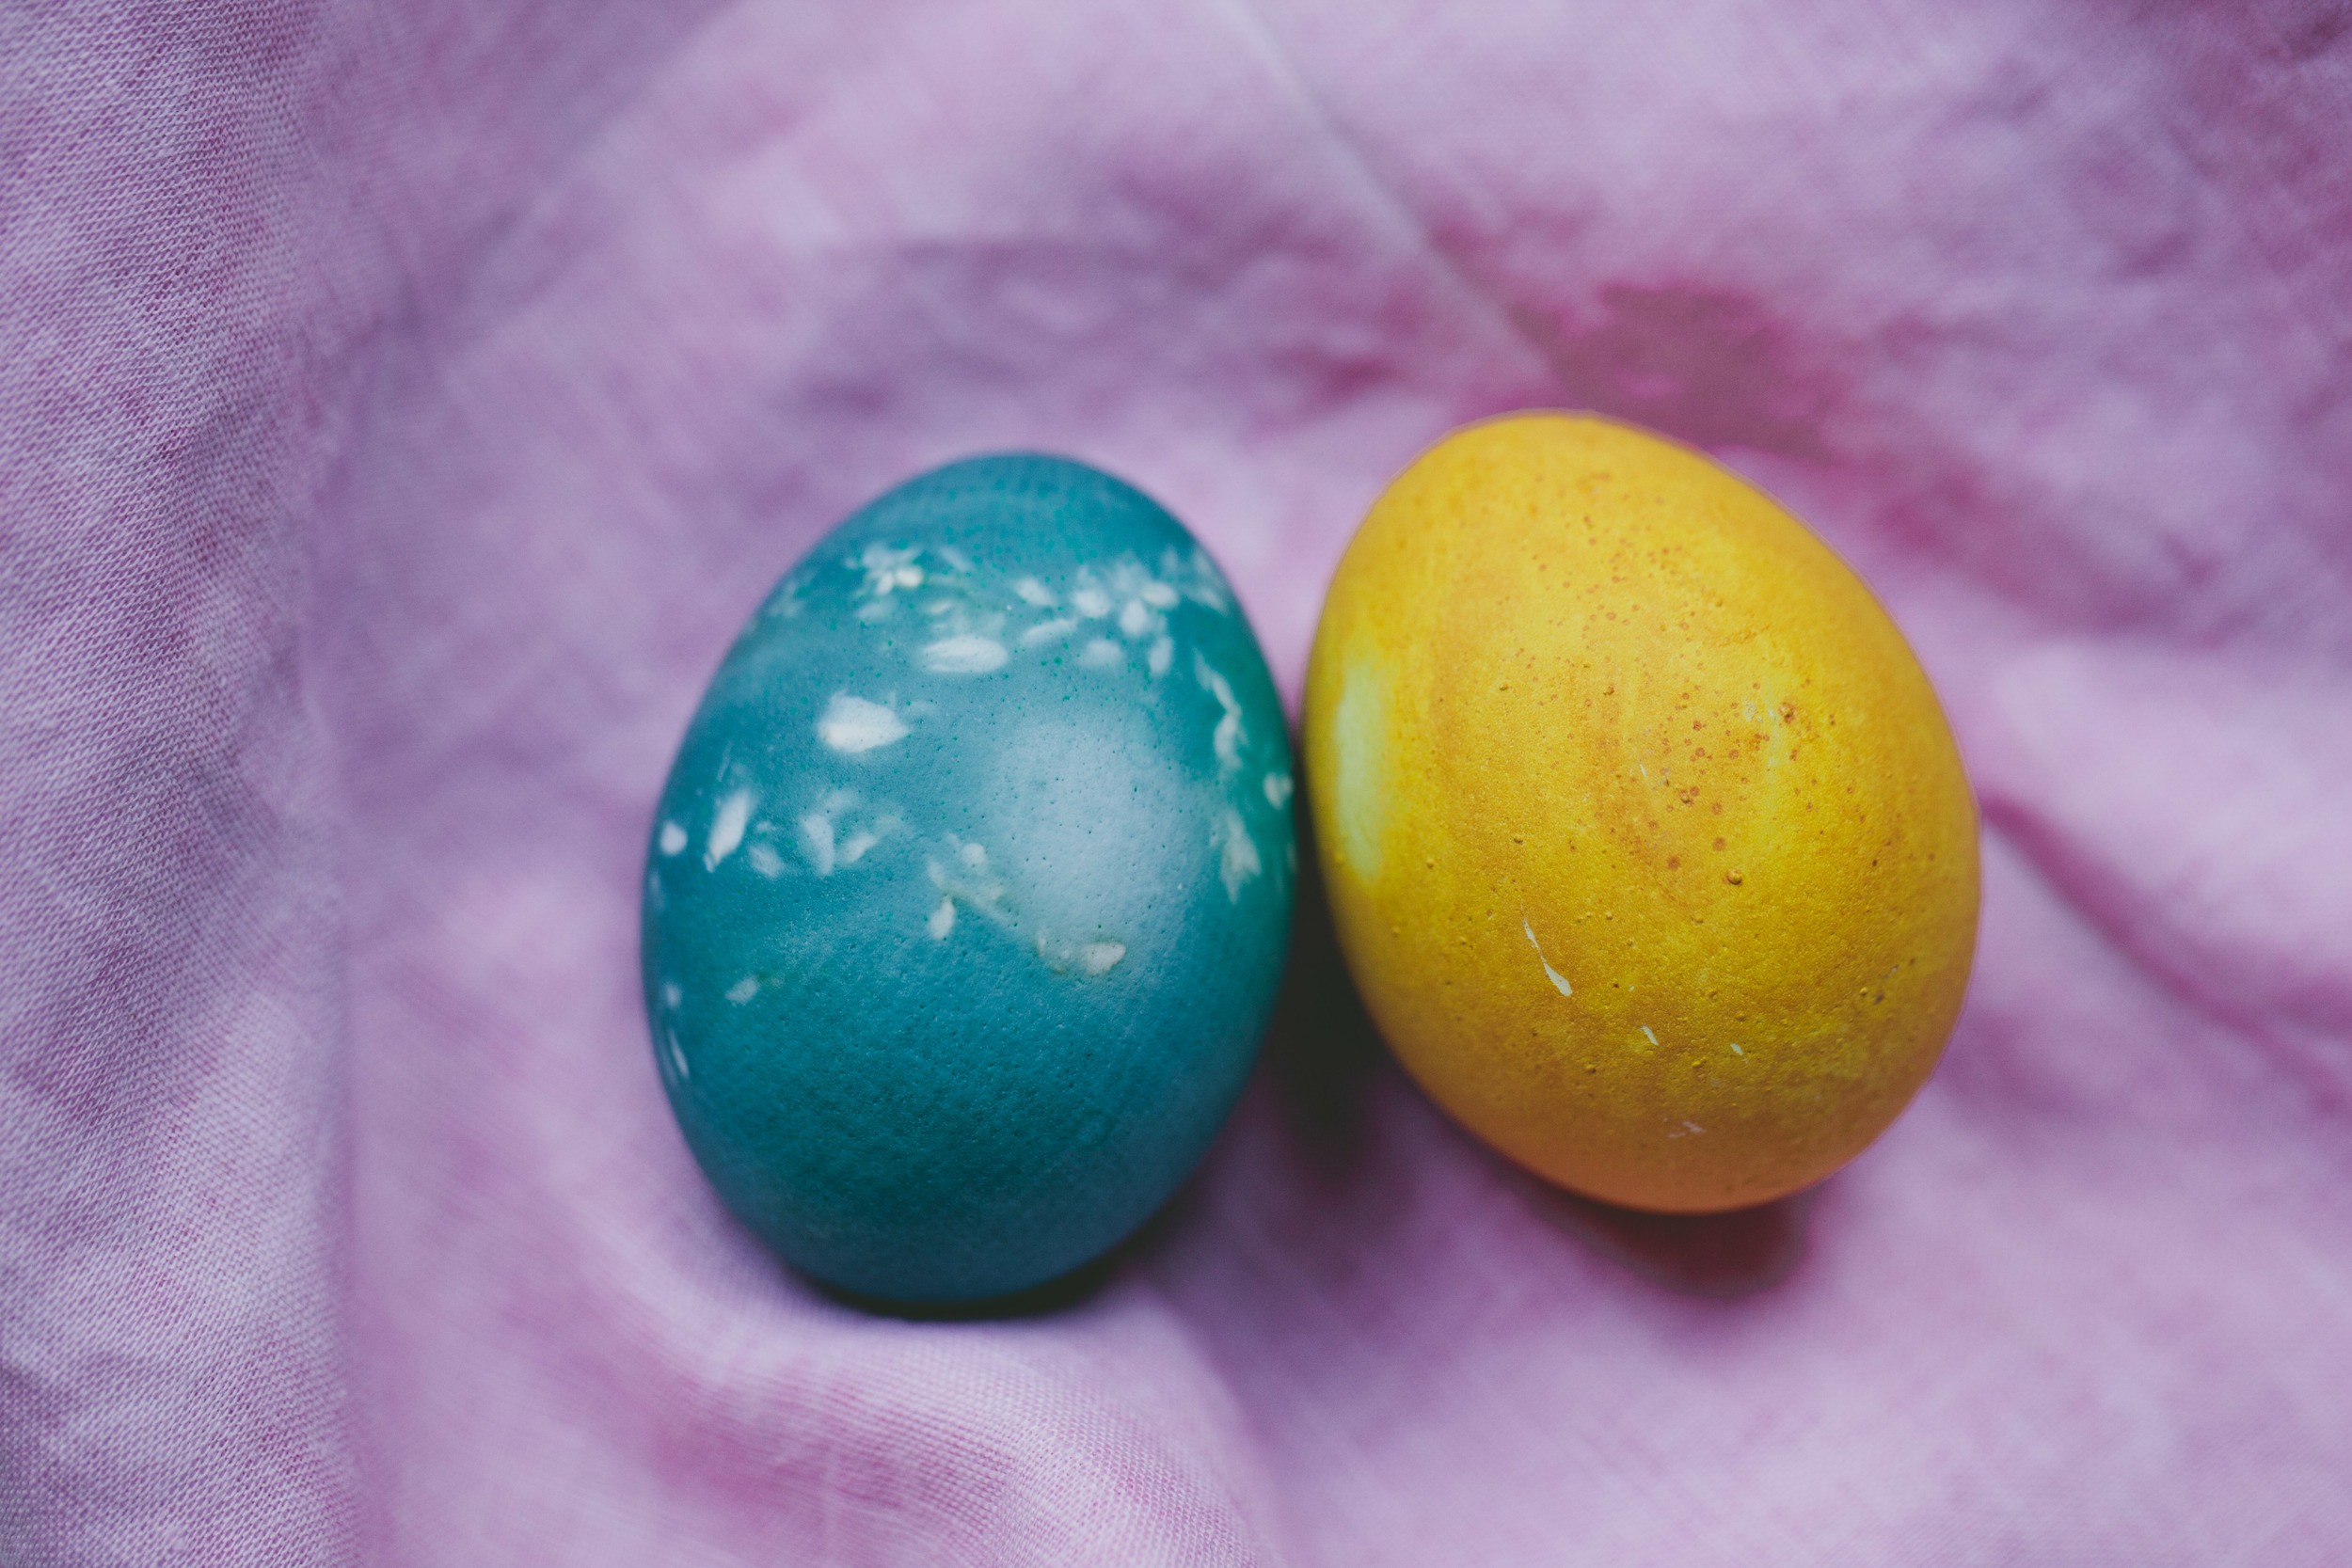
Blue: Red Cabbage - (This was our favorite!) - Leave overnight. It starts out purple and turns to blue. For a deeper darker blue use a brown egg.
Green: Spinach - We didn't have too much luck with this, but there was a slight green tint to it.
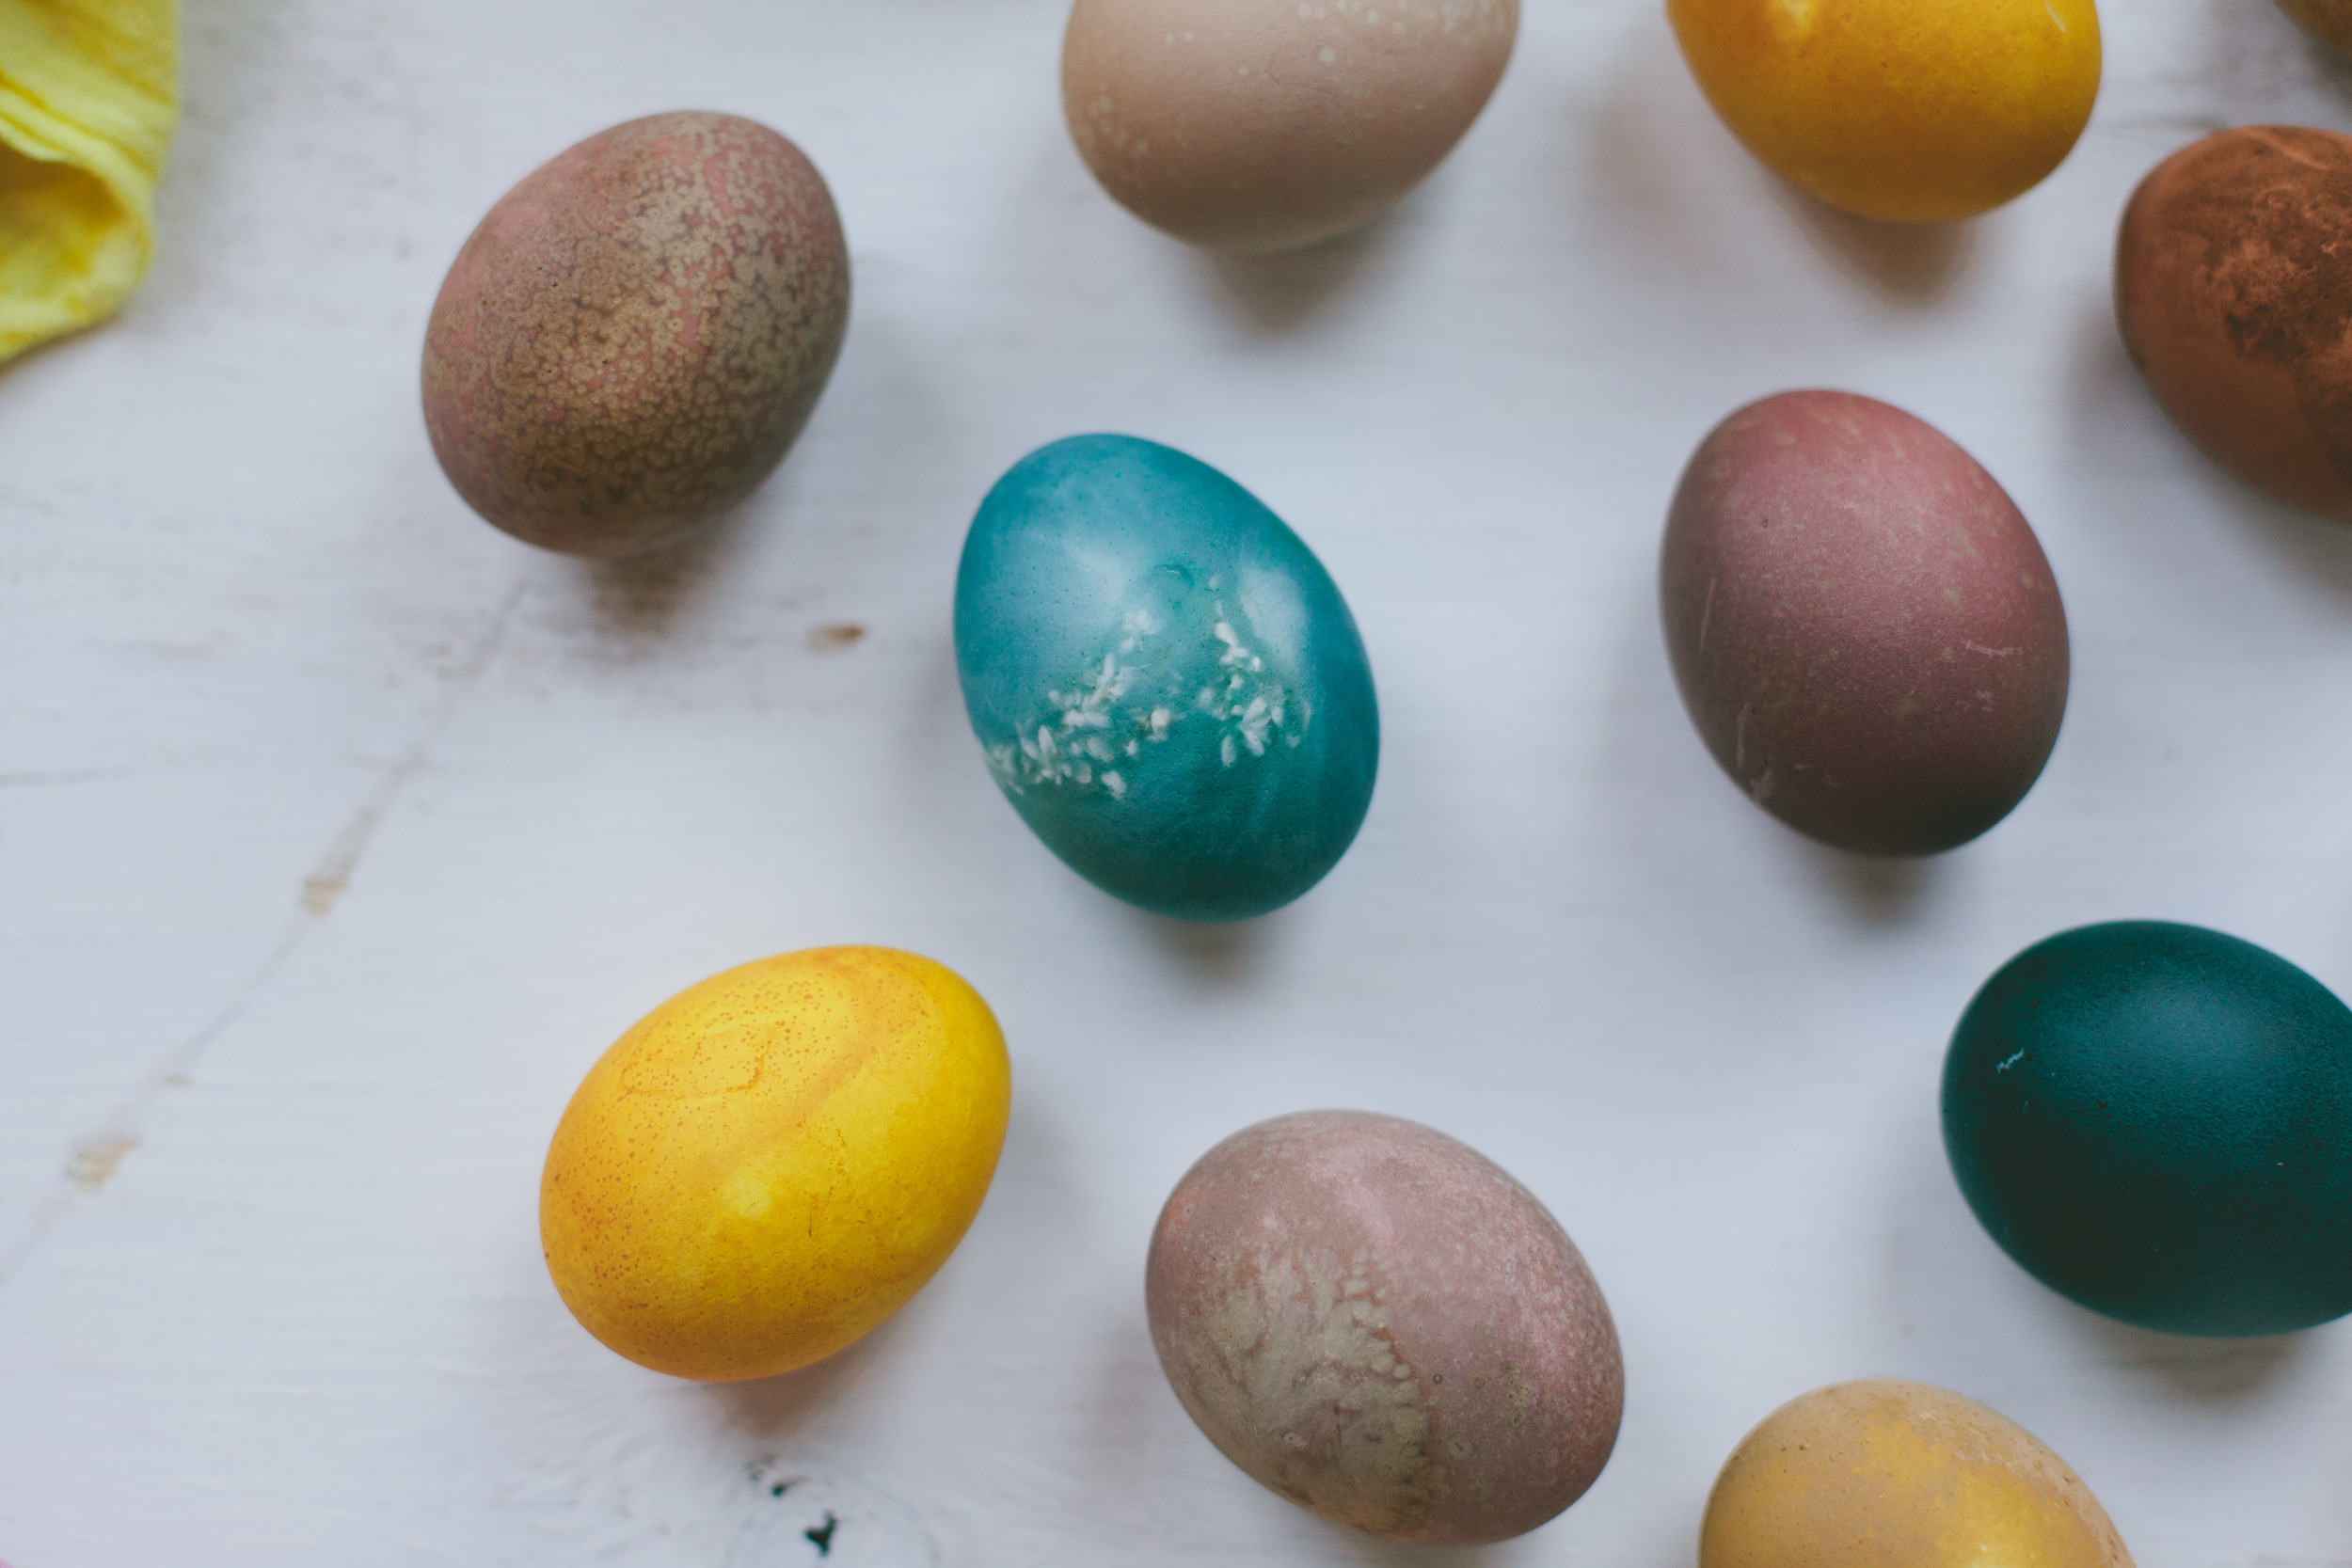
Brown: Coffee - Mix the coffee with water, no vinegar, soak overnight, this will create some interesting textures.
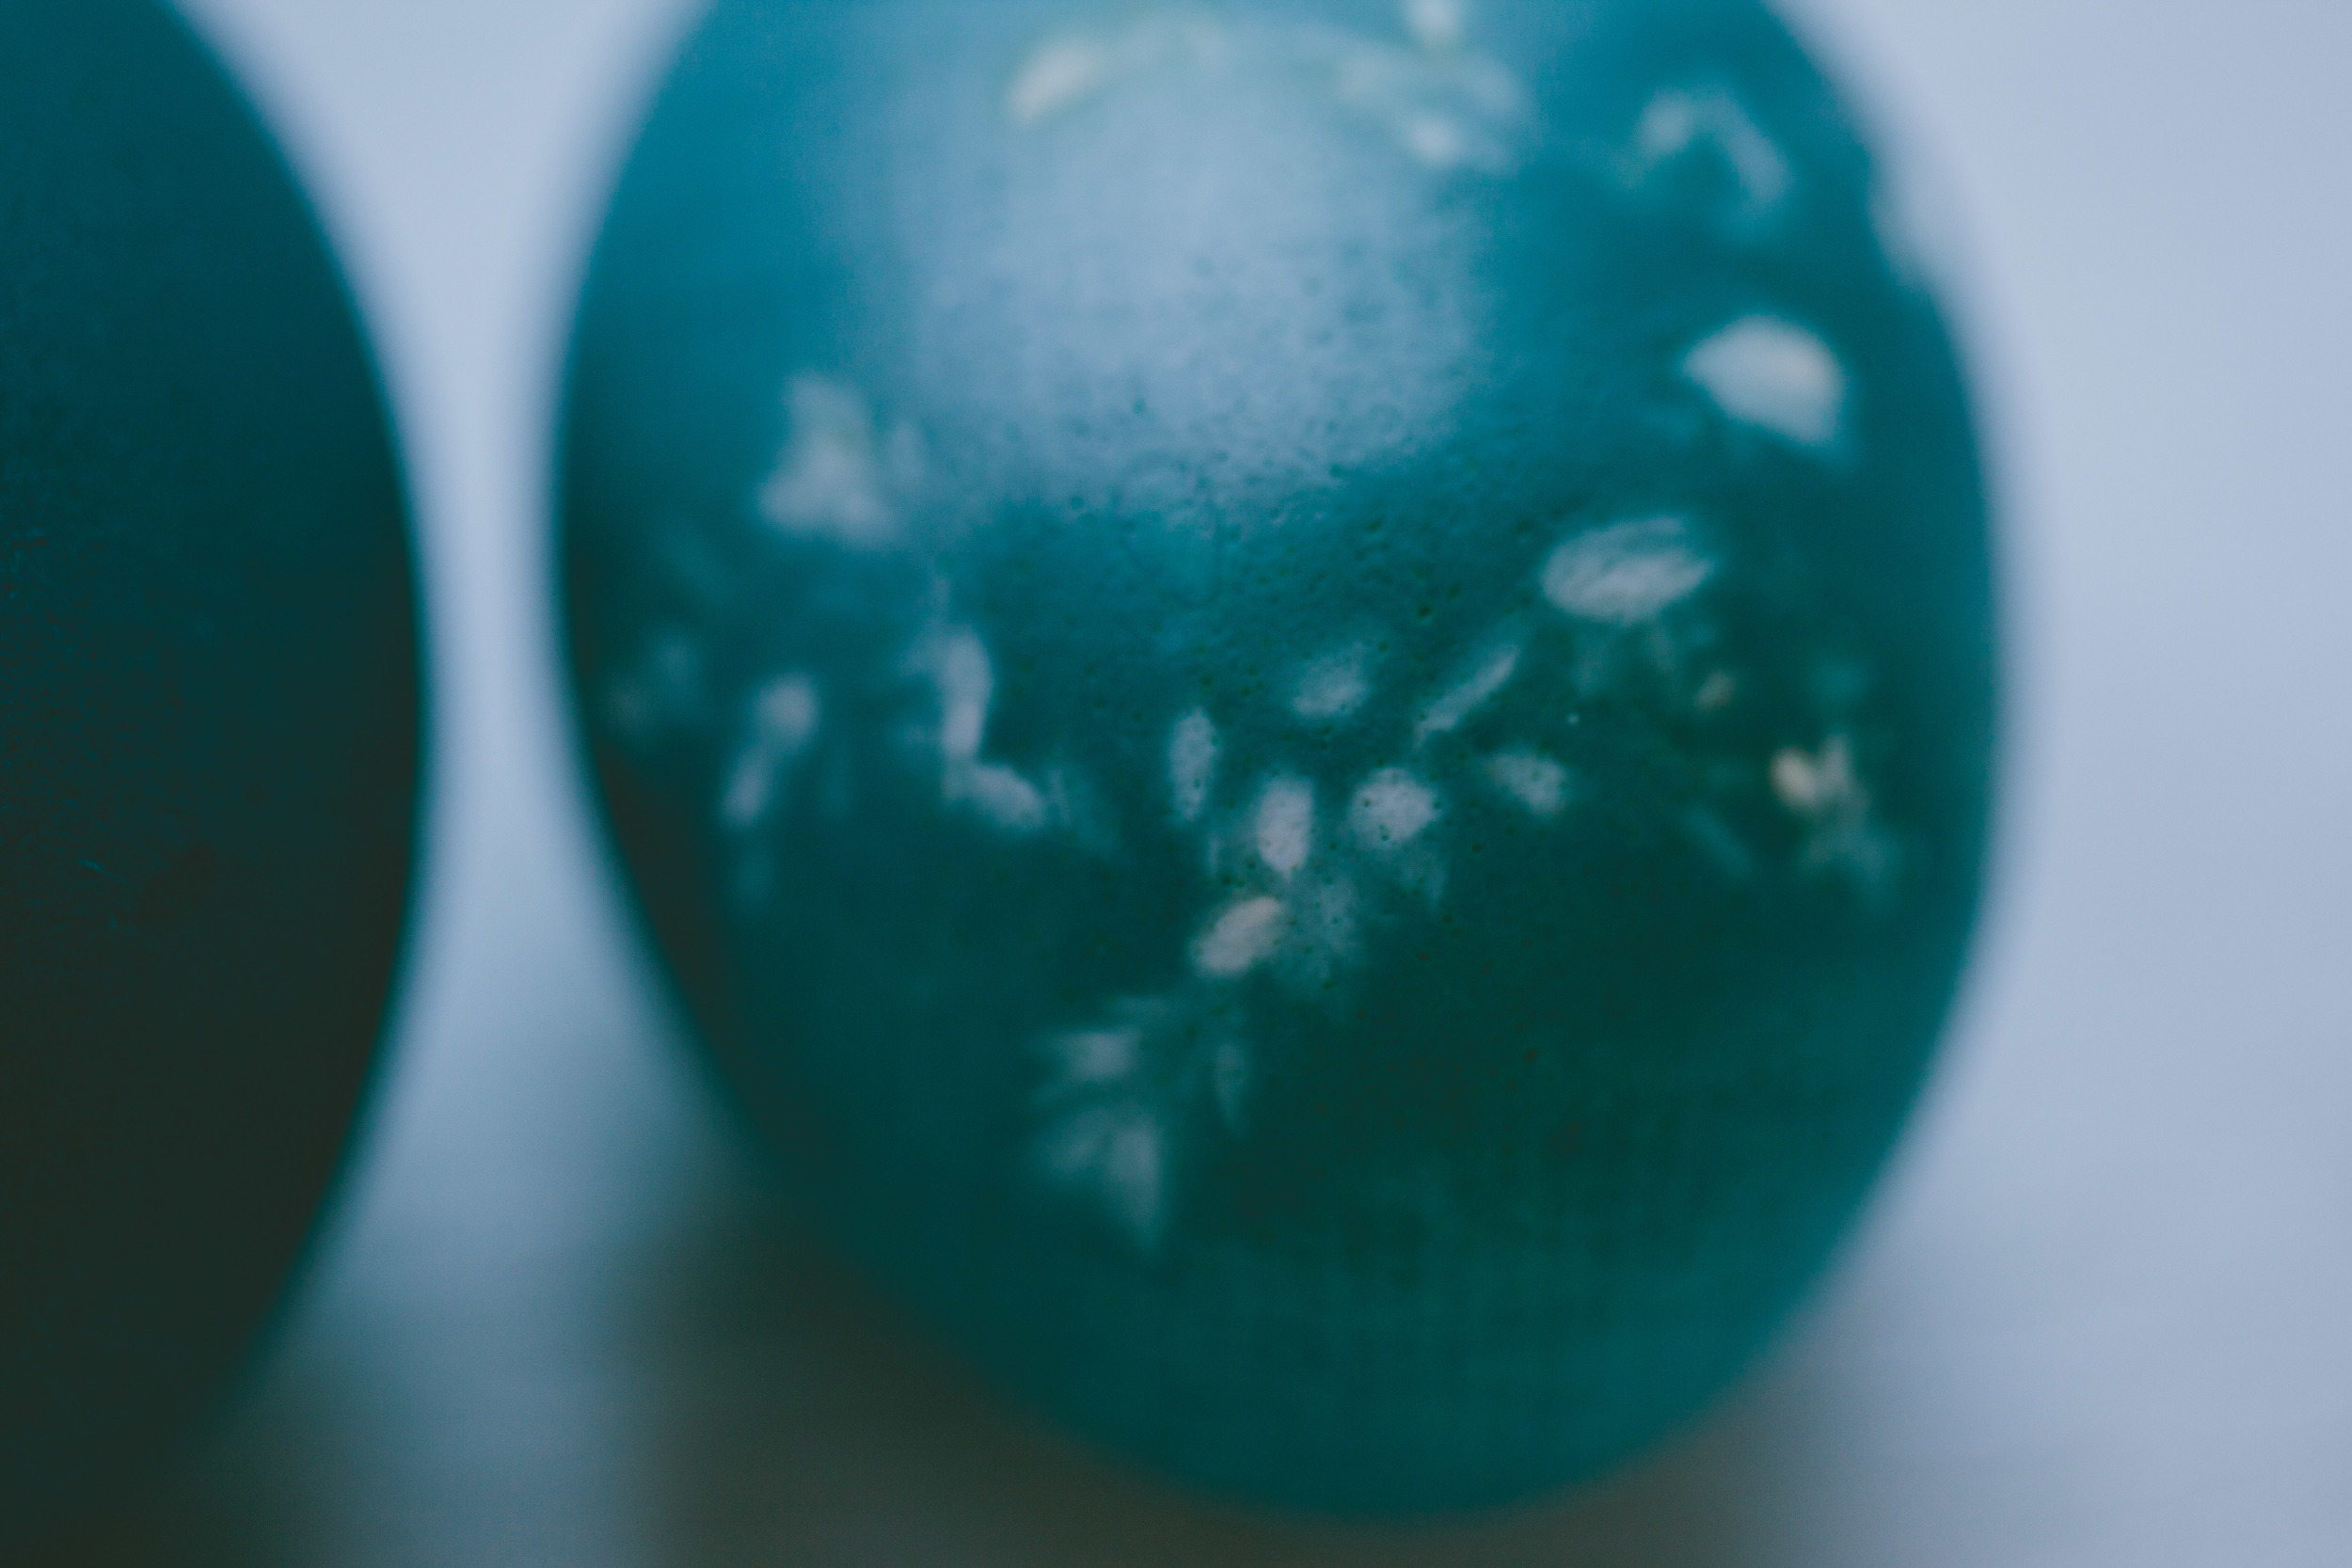
To put some nice patterns on the eggs wrap some herbs around them or string. You can see on one of our blue eggs that we wrapped some thyme around it to create some patterns.
Once you have soaked them put them on a drying rack and wait until they are dry. Then put them out for display!